The Grip Truck
| « The Odyssey | From Gatsby to Statiq » |
May 2021
I've accumulated enough gear that there is no hope of fitting it into any of the cars the family owns. (I don't even own a dedicated car, I'm just a part-time co-owner of a tiny Smart car which reaches its full capacity at 21 eight-packs of LaCroix.)
I'd been looking around for new or used Sprinter vans; however, due to a combination of COVID and Mercedes having some regulatory issues with their diesel engine, Sprinters were essentially unobtainable. Even used ones were going to for near-new pricing, which seemed kind of dumb.
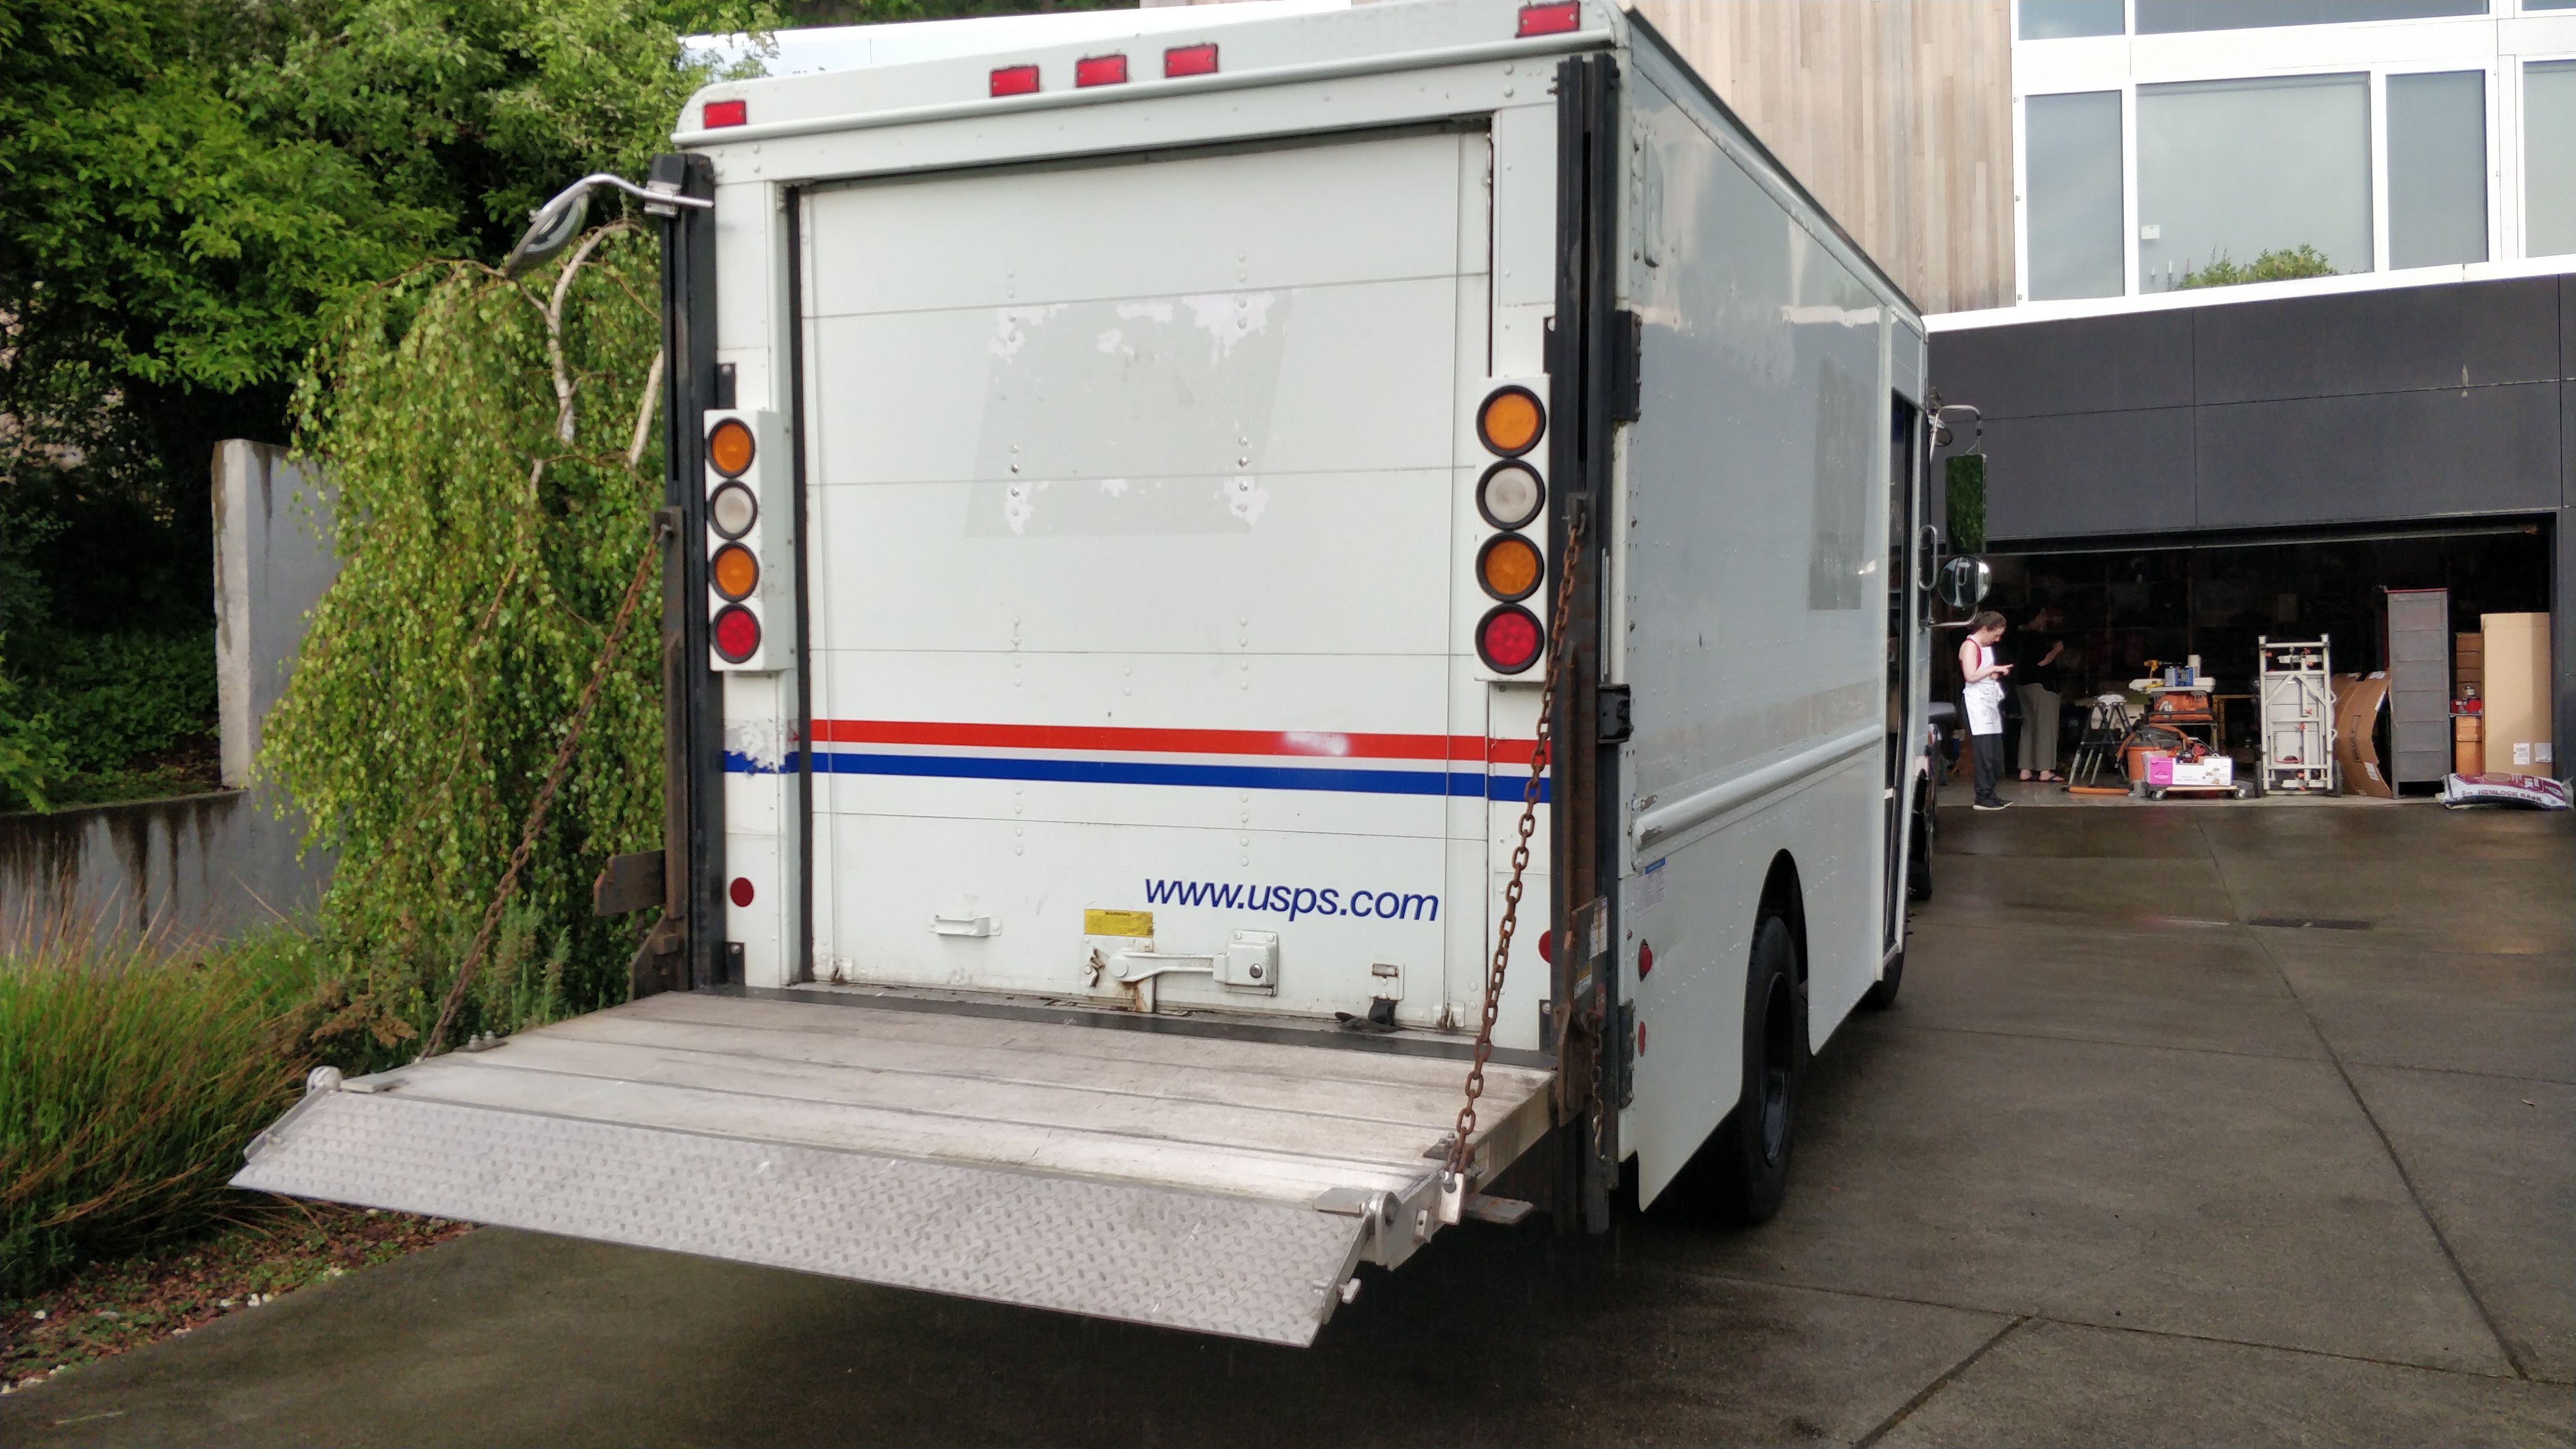
After trawling through Craigslist late one night, I come across the brilliantly named "Yo Momma Auto Sales" at the north end of Aurora Ave in Seattle offering three former USPS parcel trucks. (I think they're now calling themselves "Van Karma", if you want to buy something absurd from a bunch of amiable jokers.)
A few days later I end up parking this ridiculous new acquisition in front of my house:
October 2021
The truck gets a paint job to look more like an Amazon truck so it can blend in a bit better (the dude at Maaco kindly color-matched it for me). Of course it then gets roped into doing all sorts of theater stuff while I take about a year off from filmmaking.
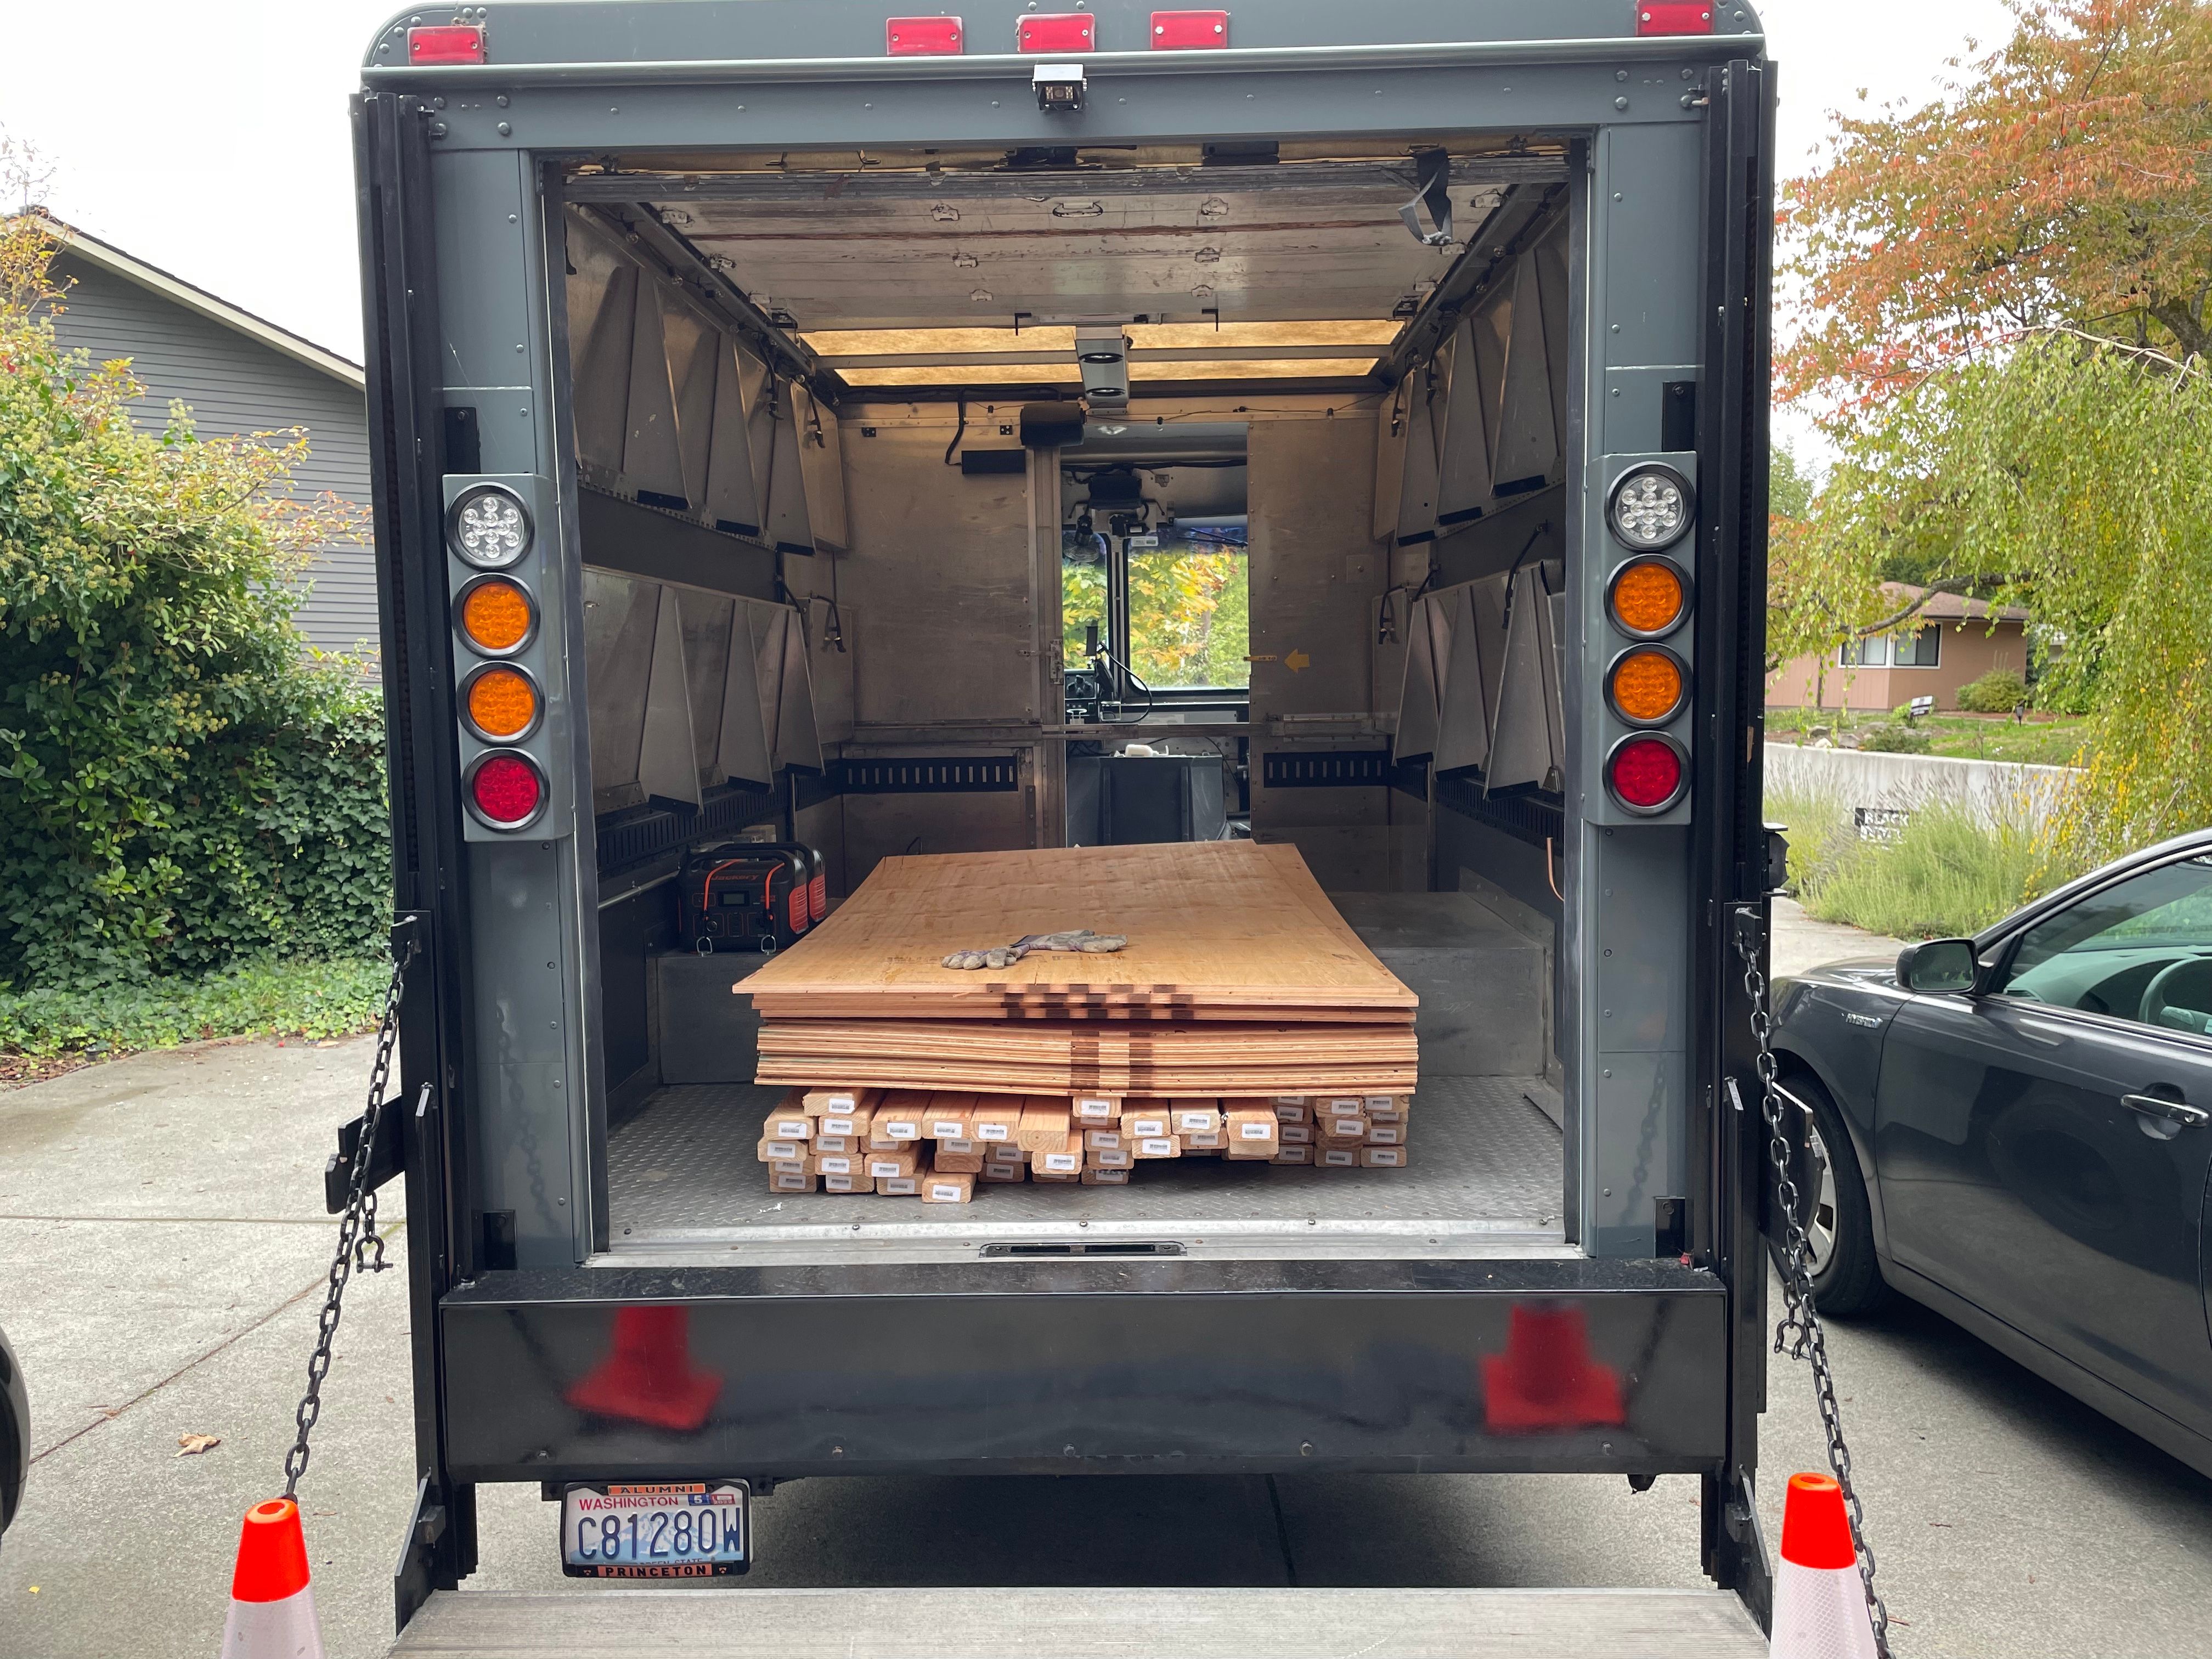
Note the nifty fold-down shelving attached to the walls, tracing back to its parcel truck heritage.
October 2022
Finally back to doing filmmaking, I load up the truck twice in two weeks for two different shoots I'm DP'ing. Significant flaws reveal themselves quickly.
The fold-down shelves are not particularly space-efficient so there's lots of stuff that doesn't fit on the shelves alone. I've welded up three custom carts (modified Rock'n'Roller carts) to give each cart a top shelf, extra storage at the ends, crab wheels, and so on, and they do mostly fit into the aisle between the fold-down shelves, but they are heavy.
The truck now needs to be at least partially unpacked before anything is accessible, and with the tiny and challenging locations I'm working at, this is a major problem because I can't just vomit the truck's contents onto a soundstage (...in my dreams...). I barely have space on location for one of the carts to come off the truck.
The 3D game of Tetris required to access anything means that pretty much only I can unpack and pack the truck, which is not a good use of time when on location.
On the first shoot, one of my carts carrying C-stands and the like falls off the back of the truck's lift gate while we're filming (we were parked in a slanted driveway). Whoops.
On the second shoot, I hit a huge pothole in the road on the way home and two Aputure Nova P300c's (about 35 pounds each) fall off the shelves and onto a bunch of other gear in the center aisle. Whoops.
Thankfully nothing and nobody is broken in the process, but it does feel like this is a "first one's free" kind of warning.
November 2022
Time to rethink the entire arrangement.
Given the nature of the work I'll be doing, I want to think of the truck as a library where everything is easily accessible and all the core gear has a home without plugging up the center aisle. The carts are going to get scrapped and space for every last piece of gear is carefully allocated on custom shelving. I compile a spreadsheet of every item that needs to get on the truck, including dimensions and weight so I can balance the truck front-to-back and left-to-right.
The custom shelving is going to be based on aluminum extrusion - a fun material I've worked with before, and something that I calculate to weigh about half of what the equivalent wood structure would have been.
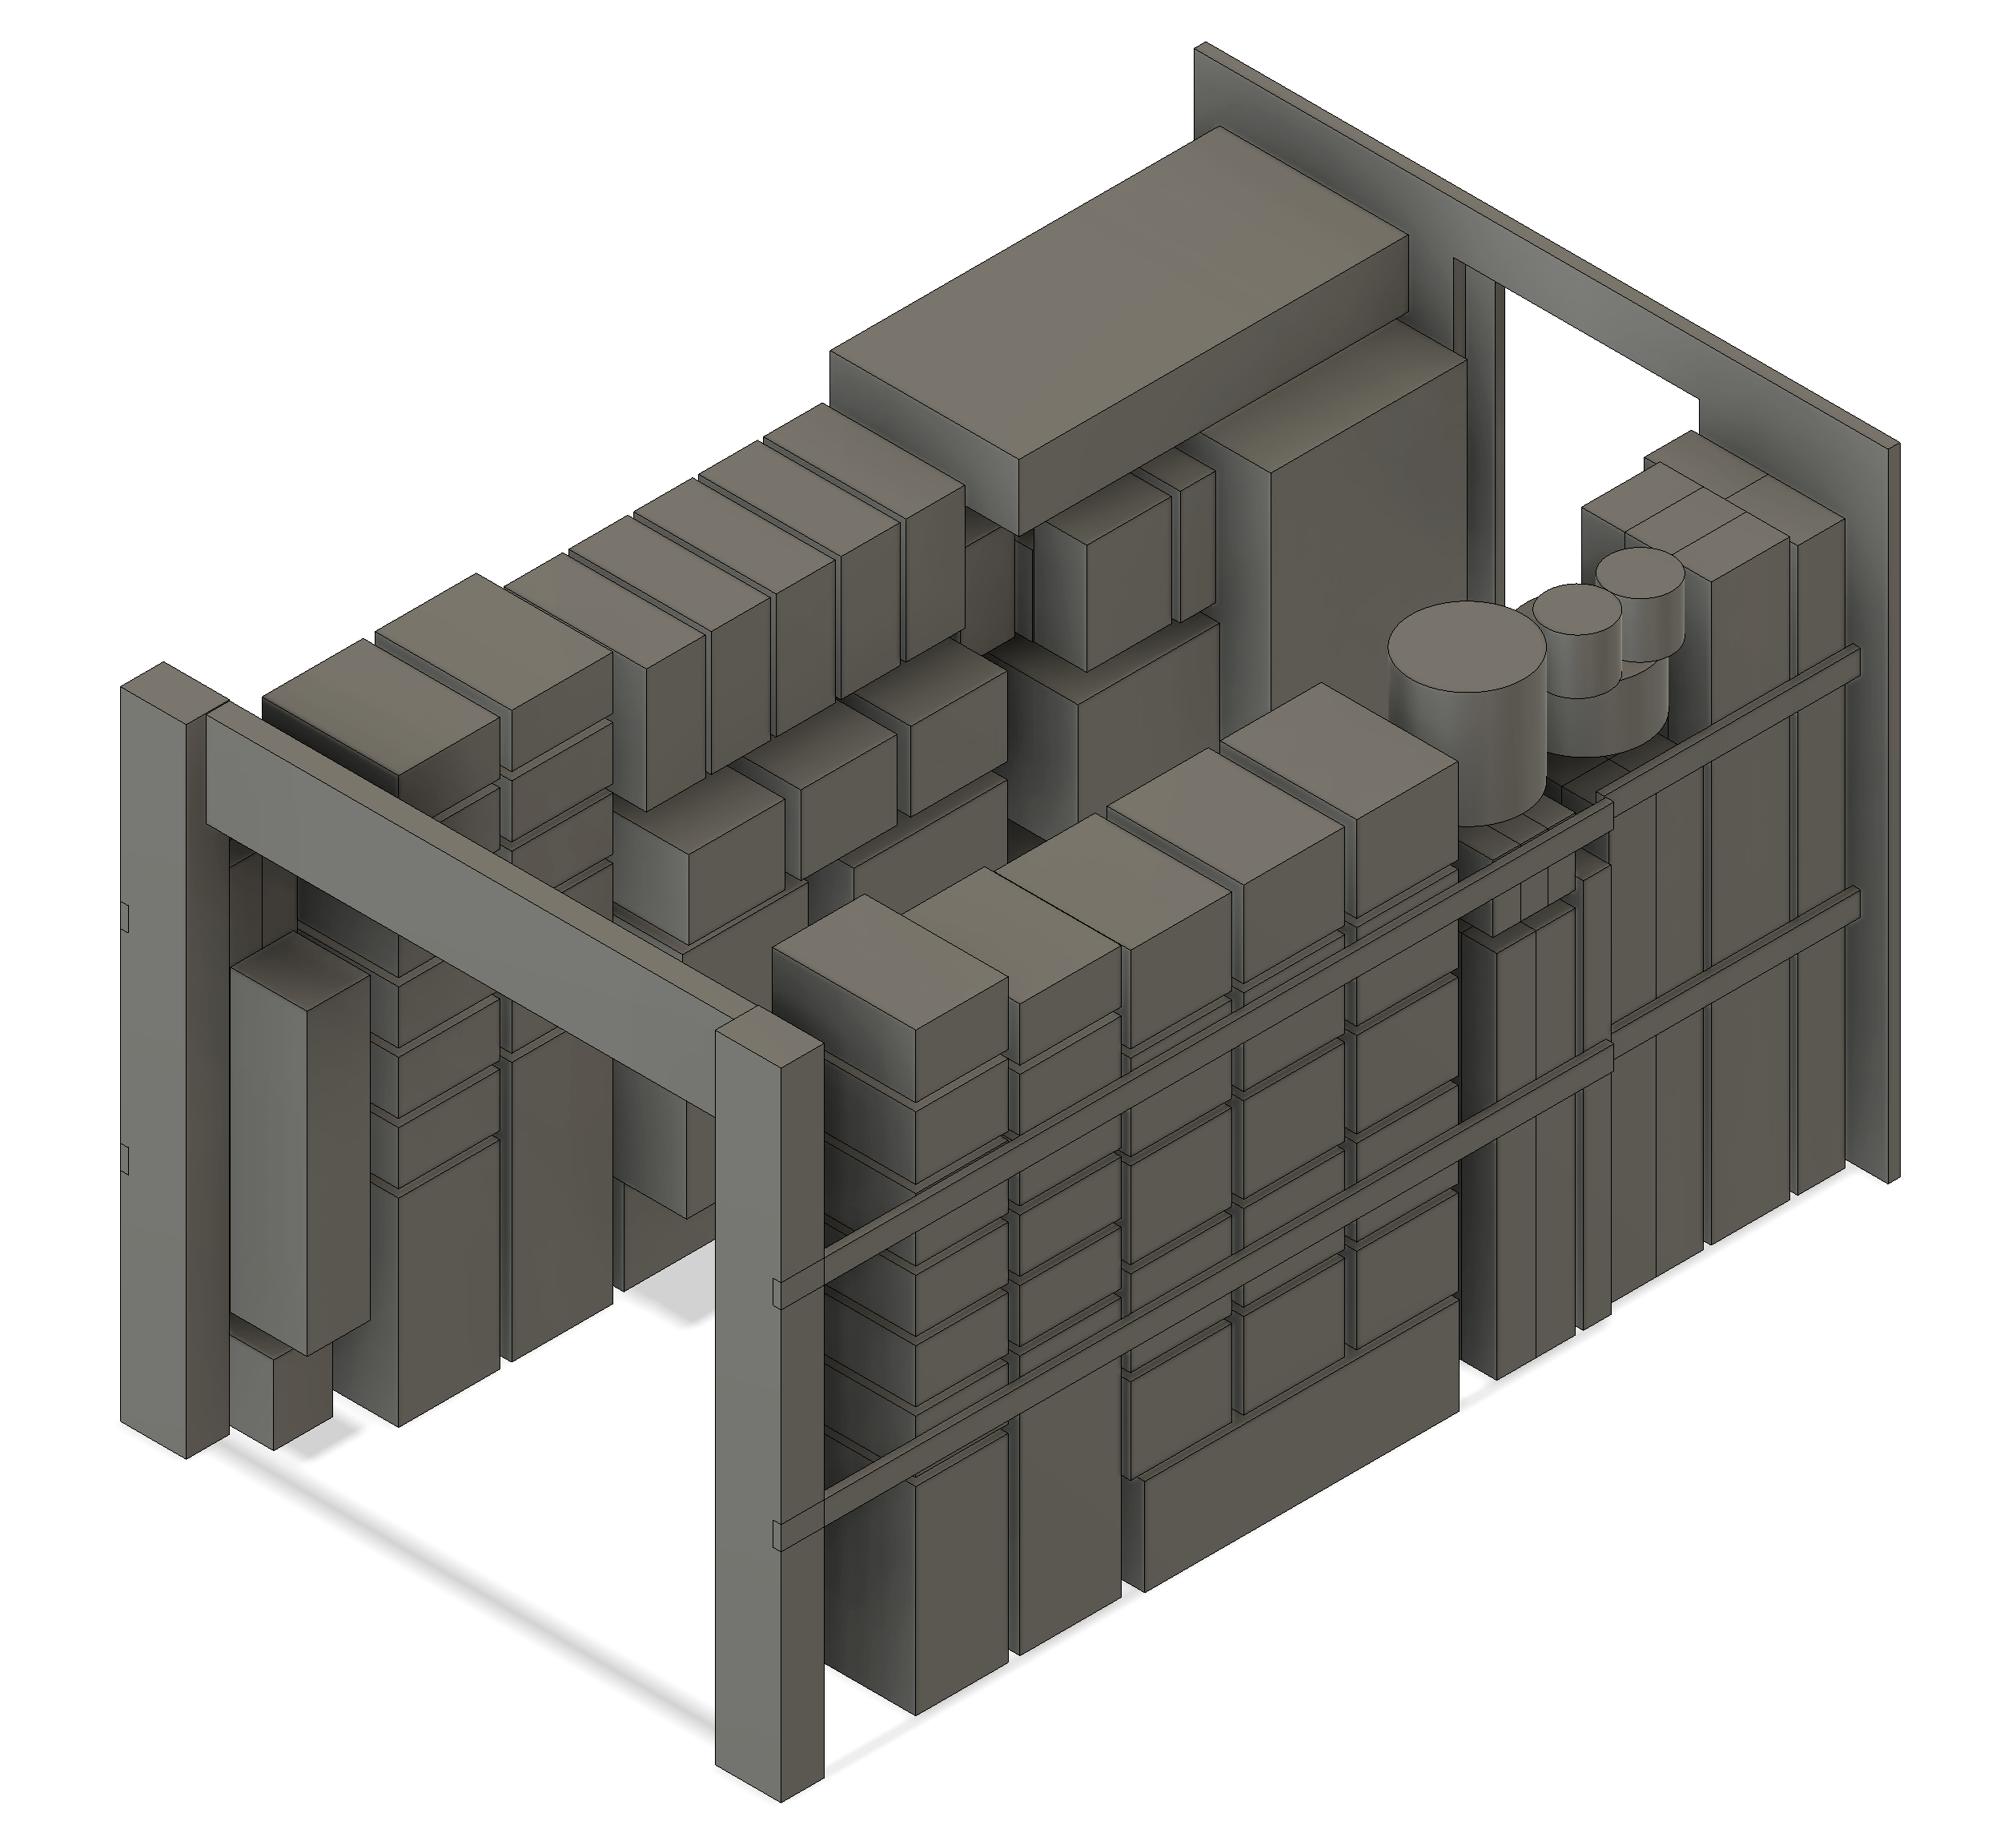
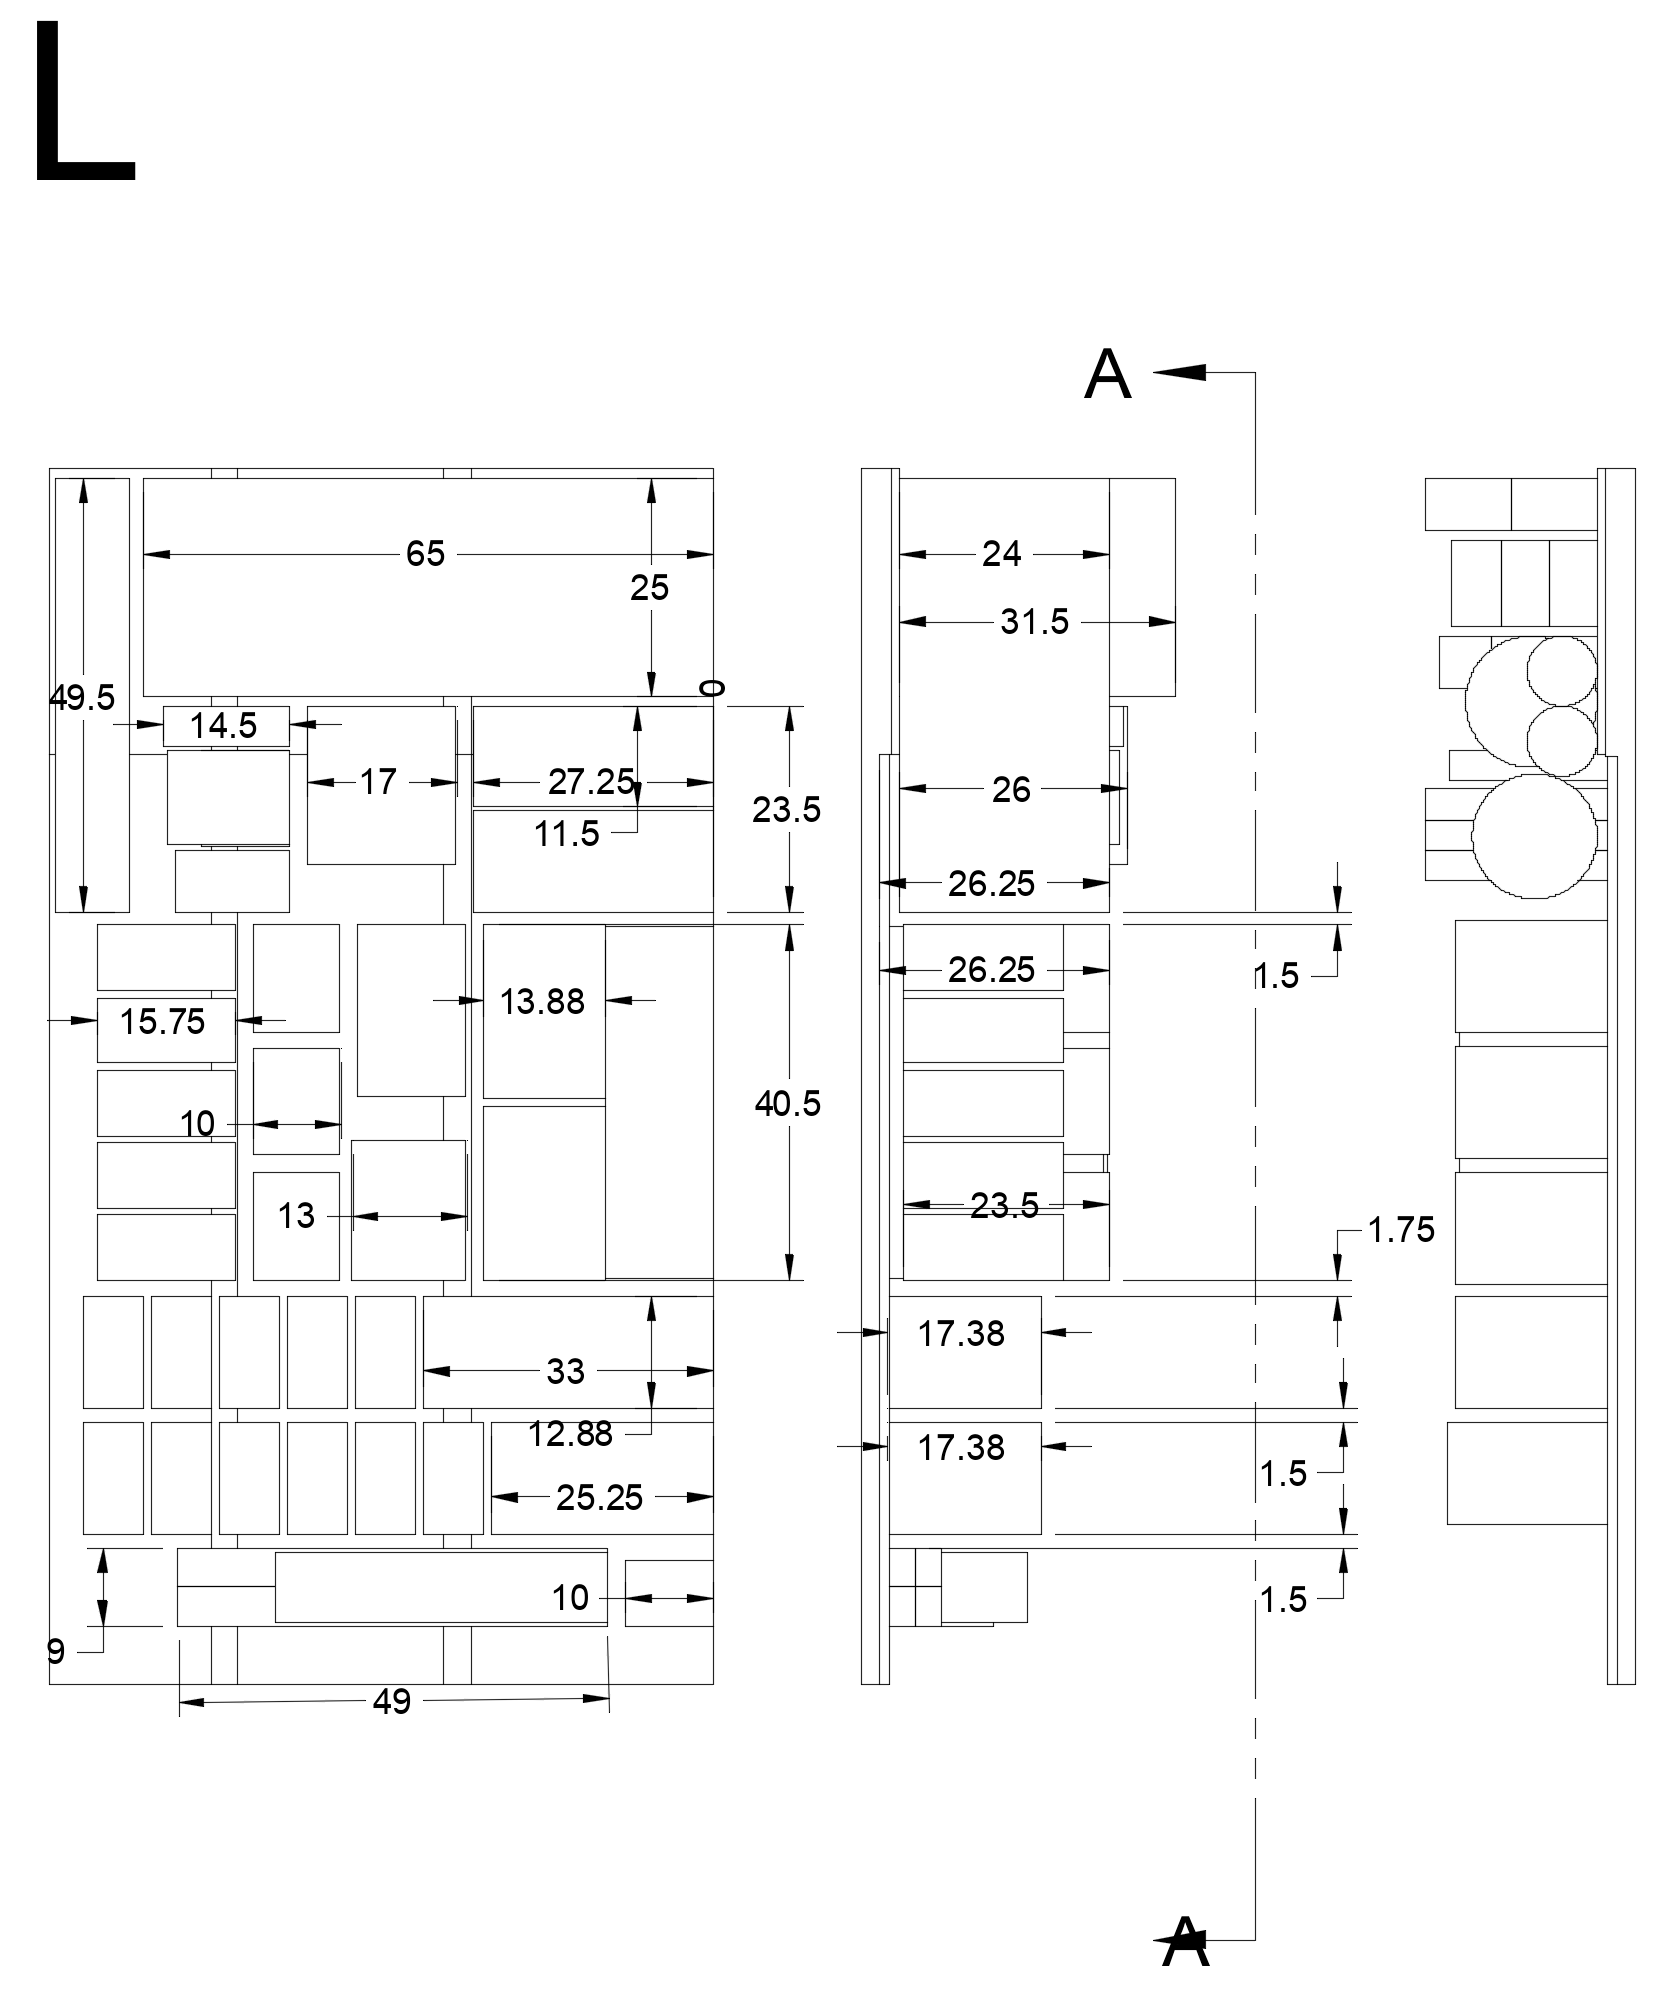
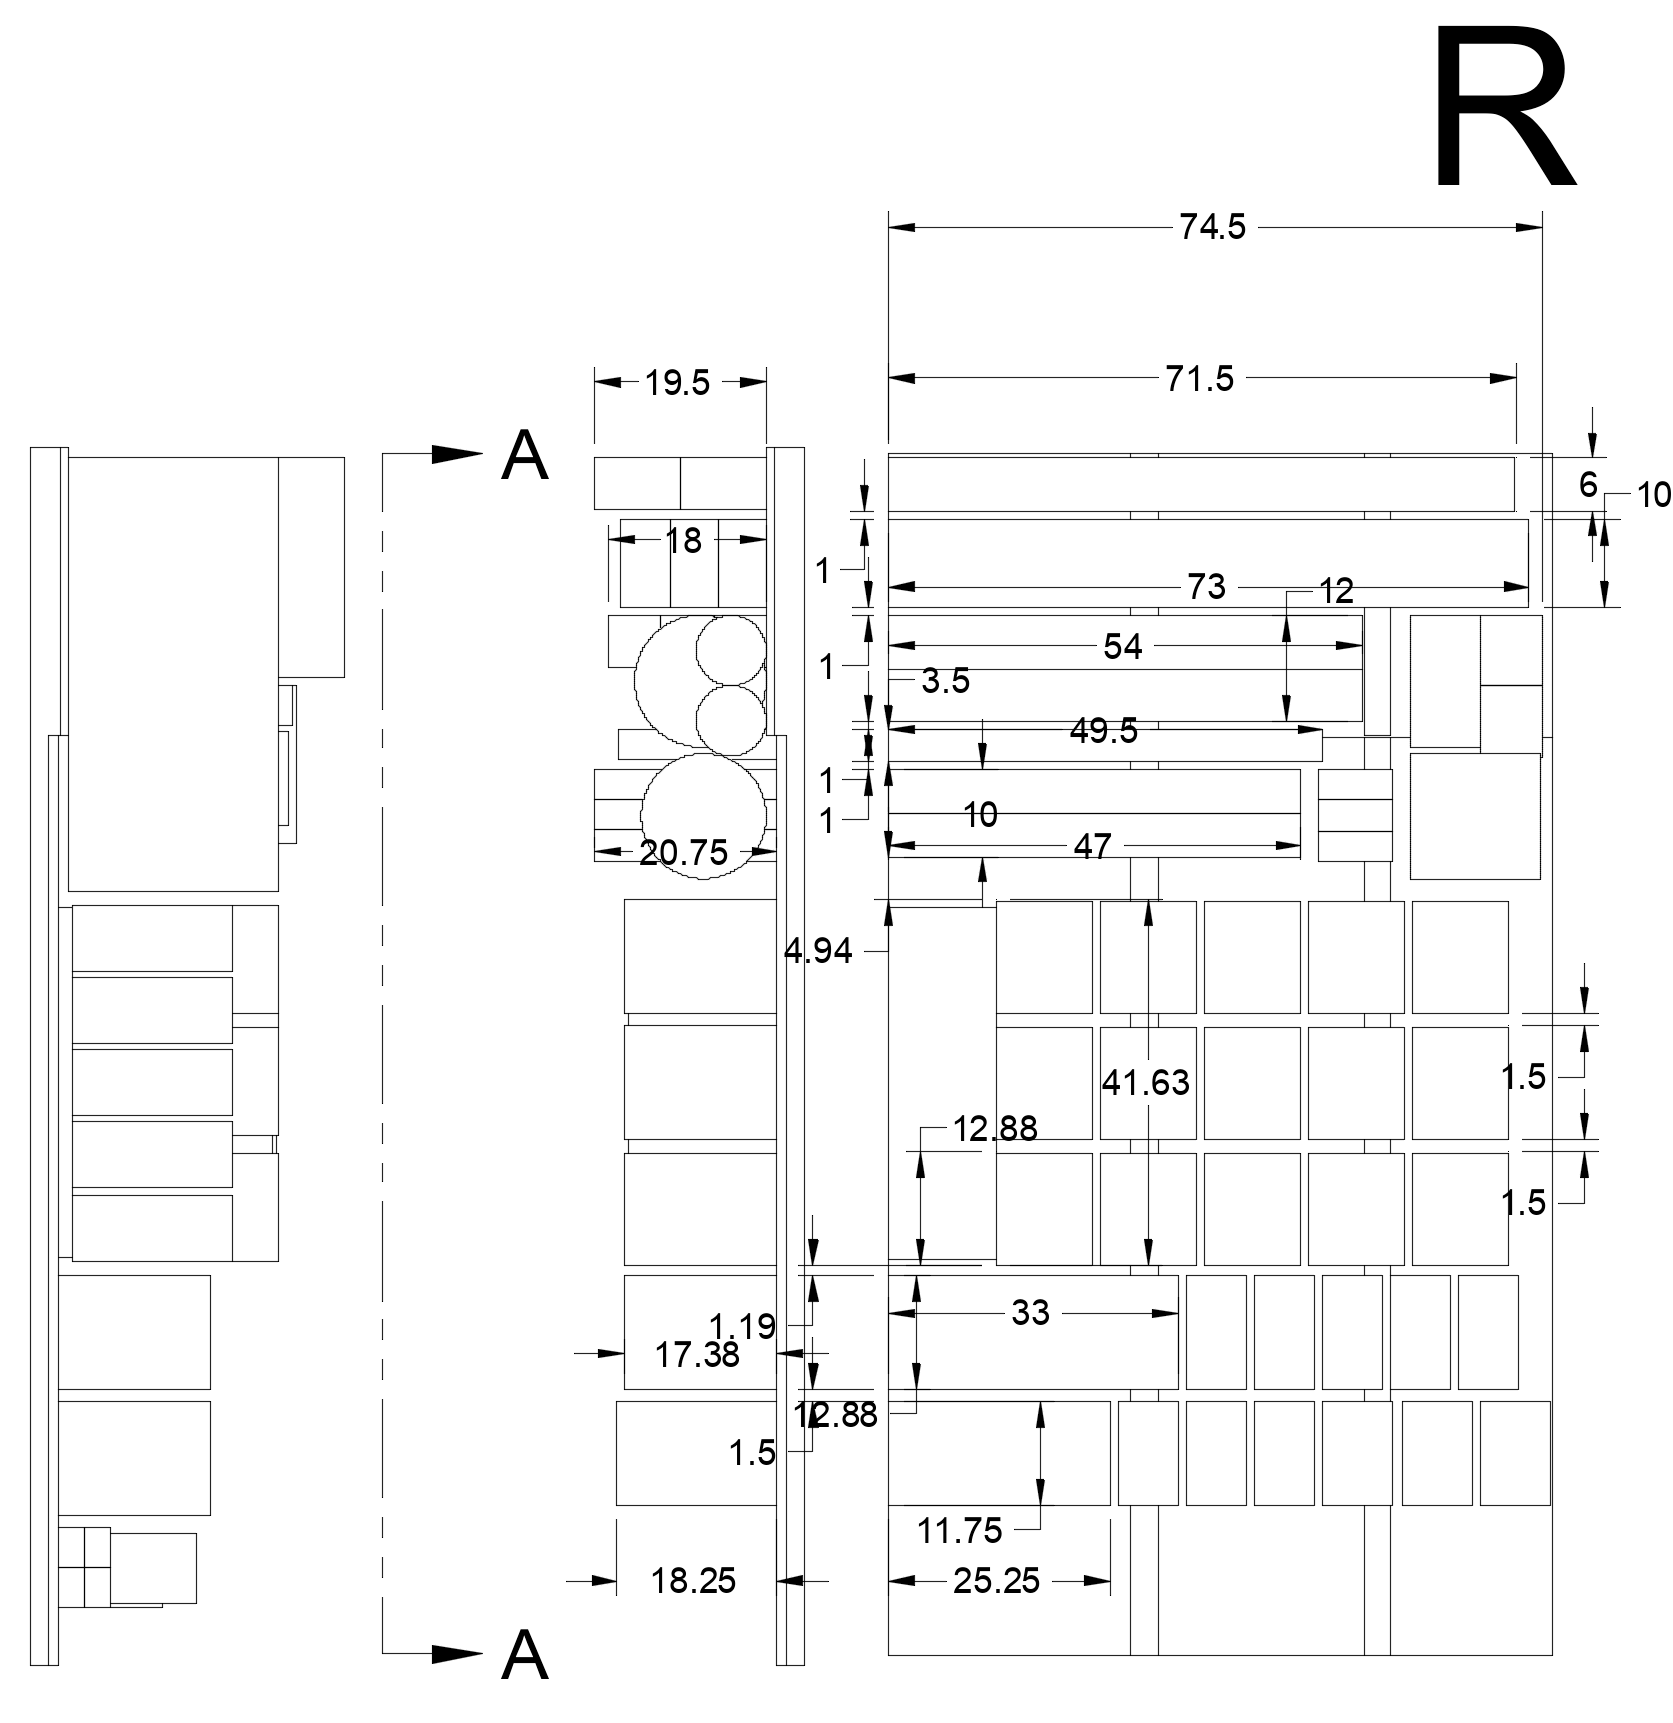
It takes about four months (lolwut) but the results are pretty dope.
I attach LED strip lighting to the roll-up door so I can still find my way around even at night.
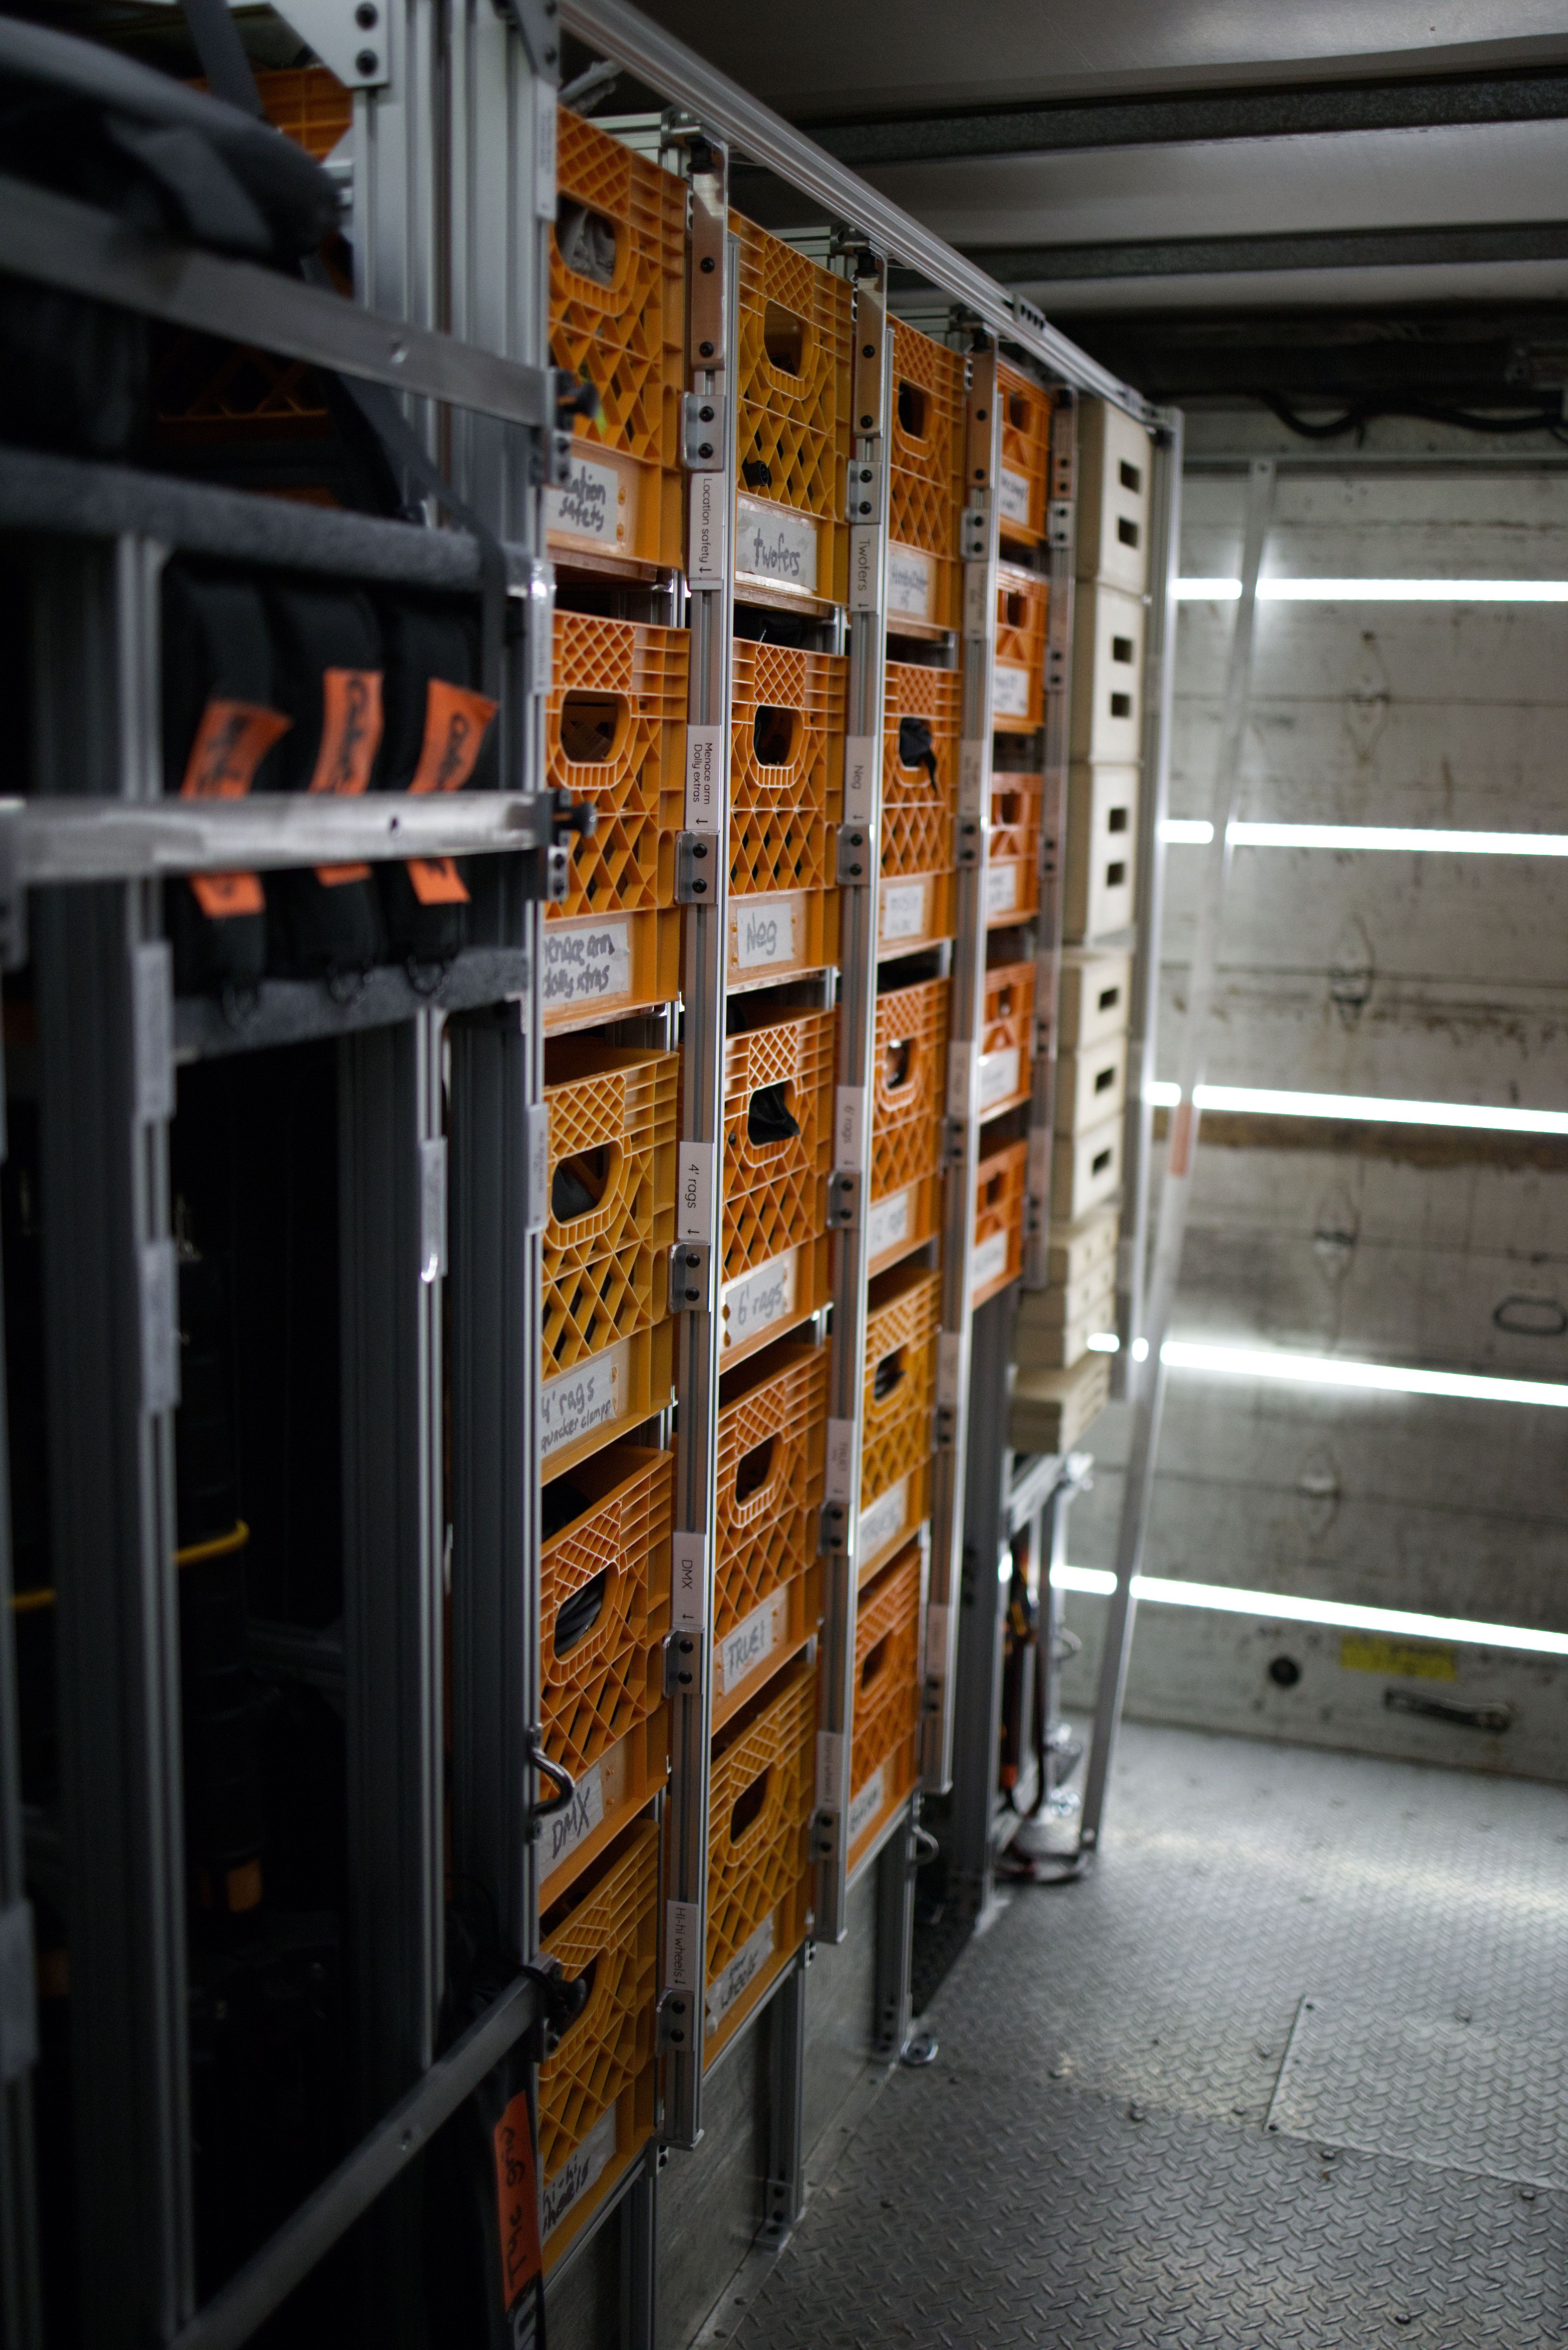
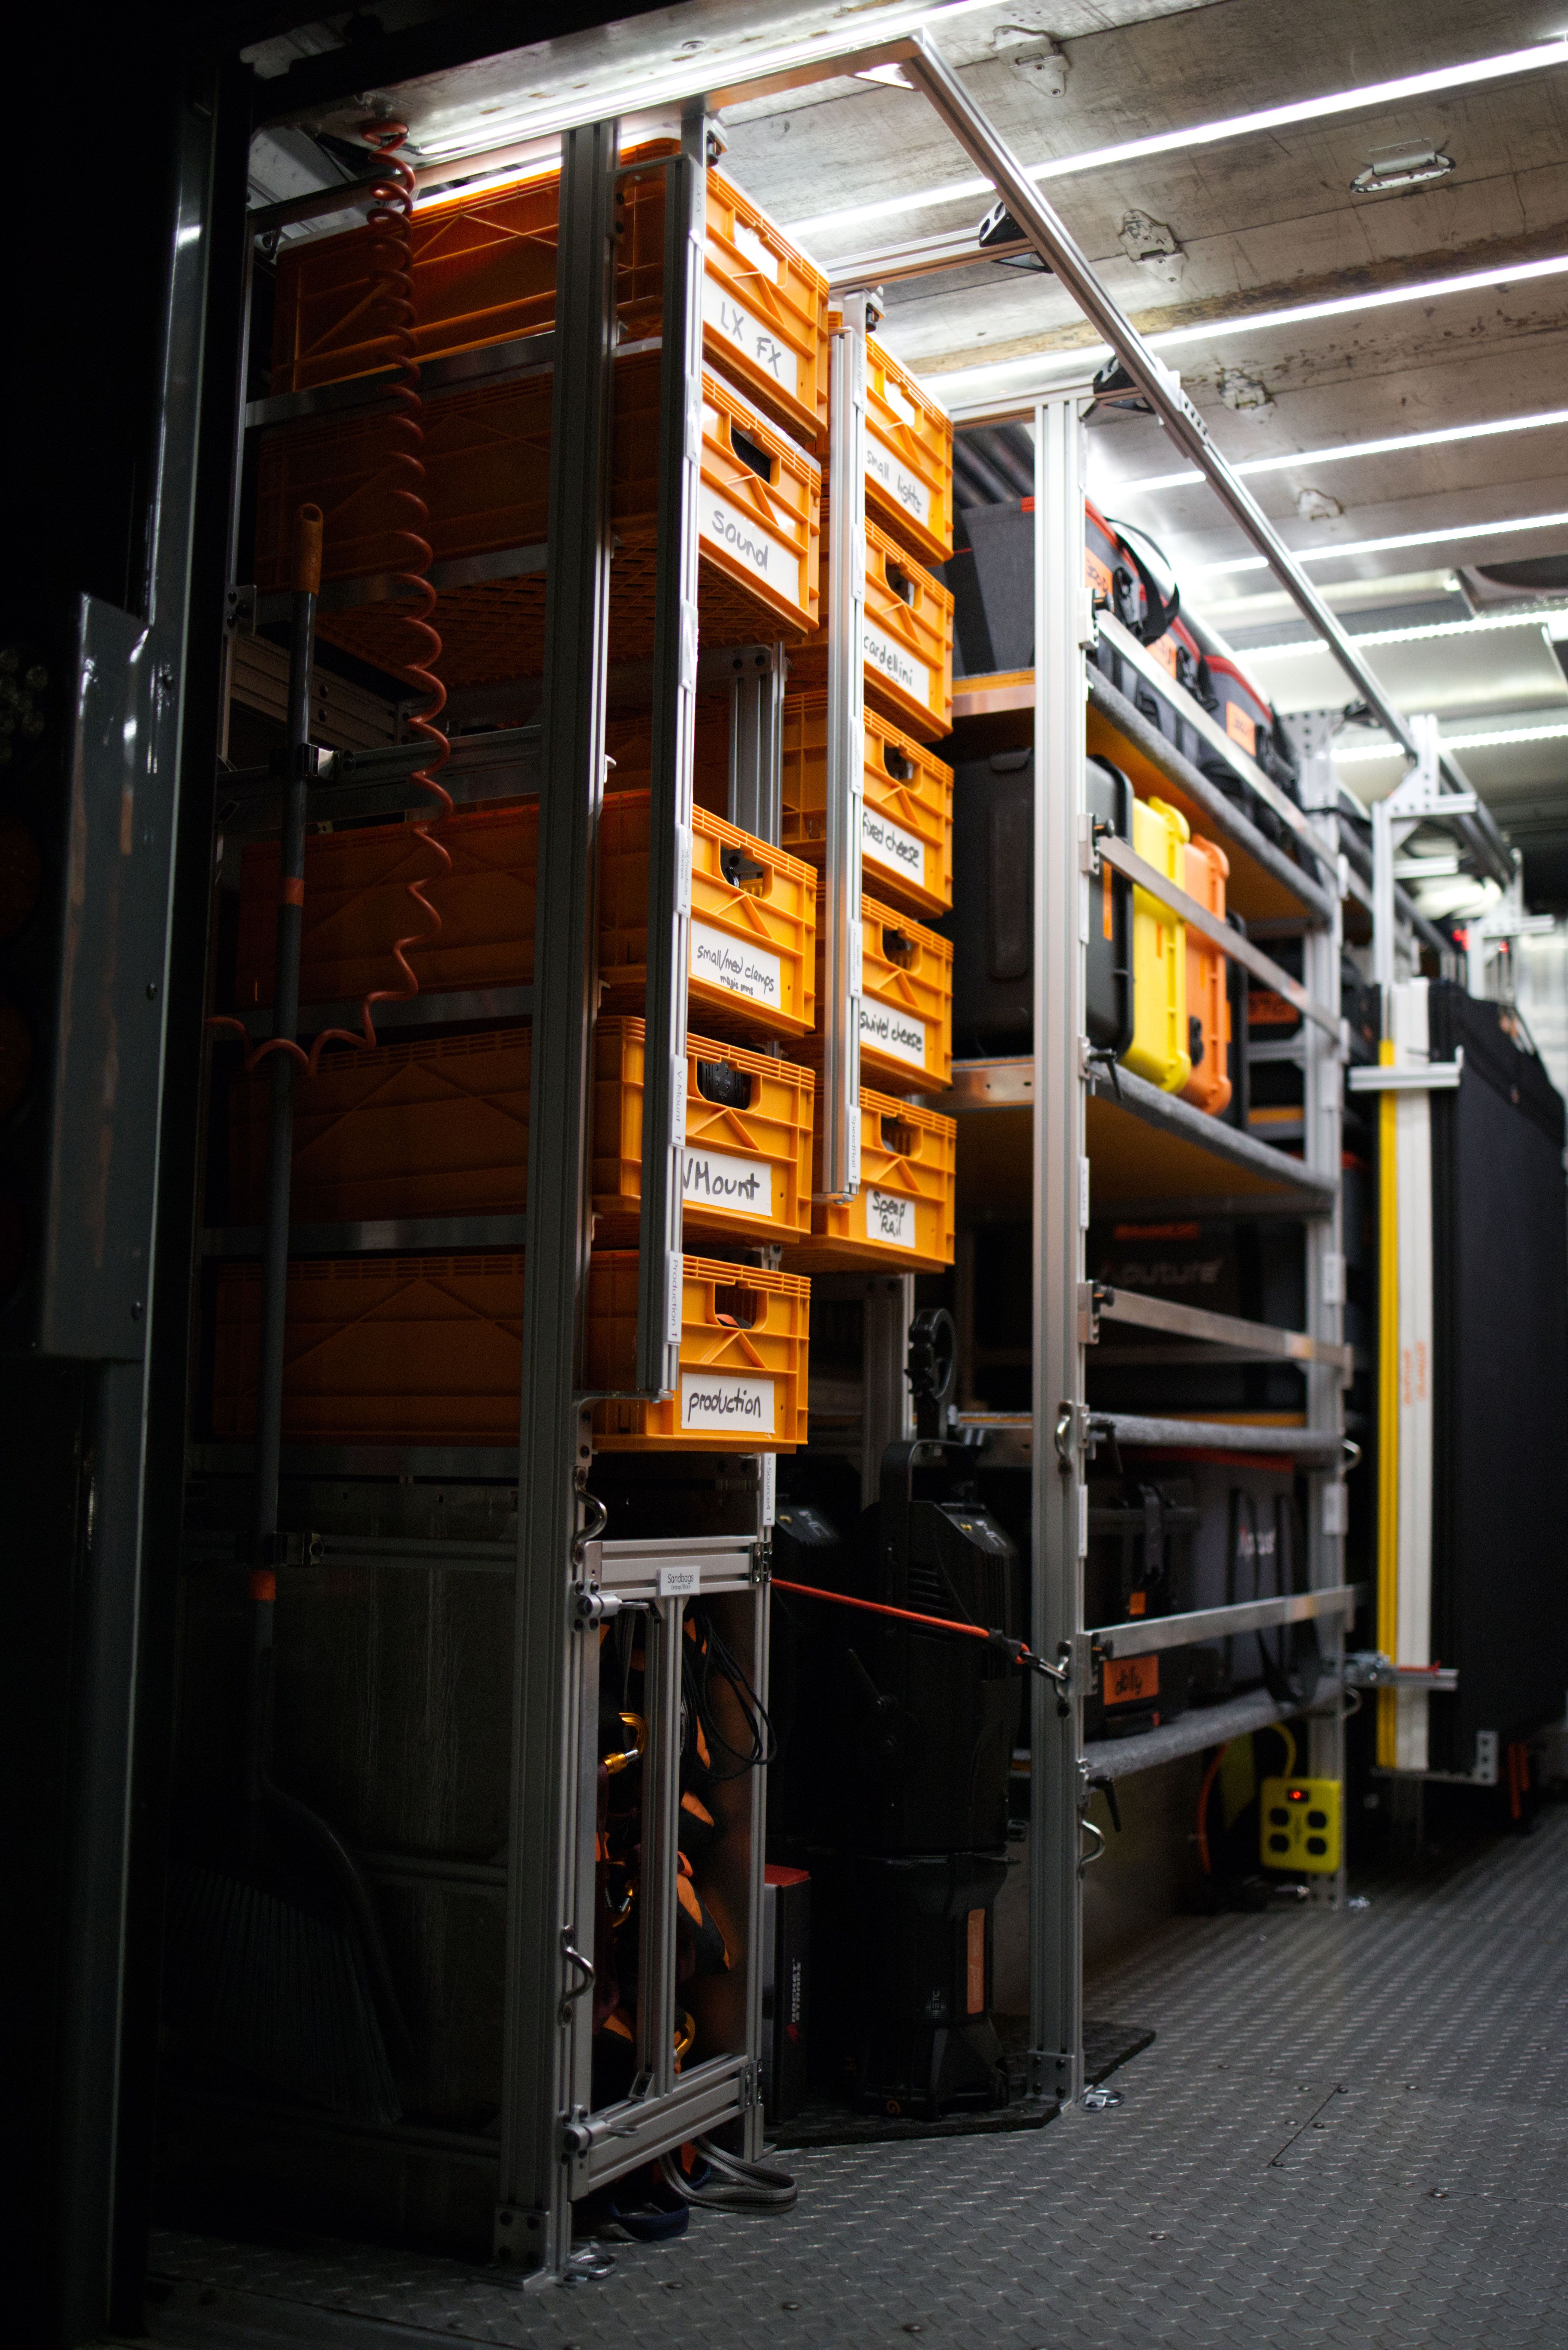
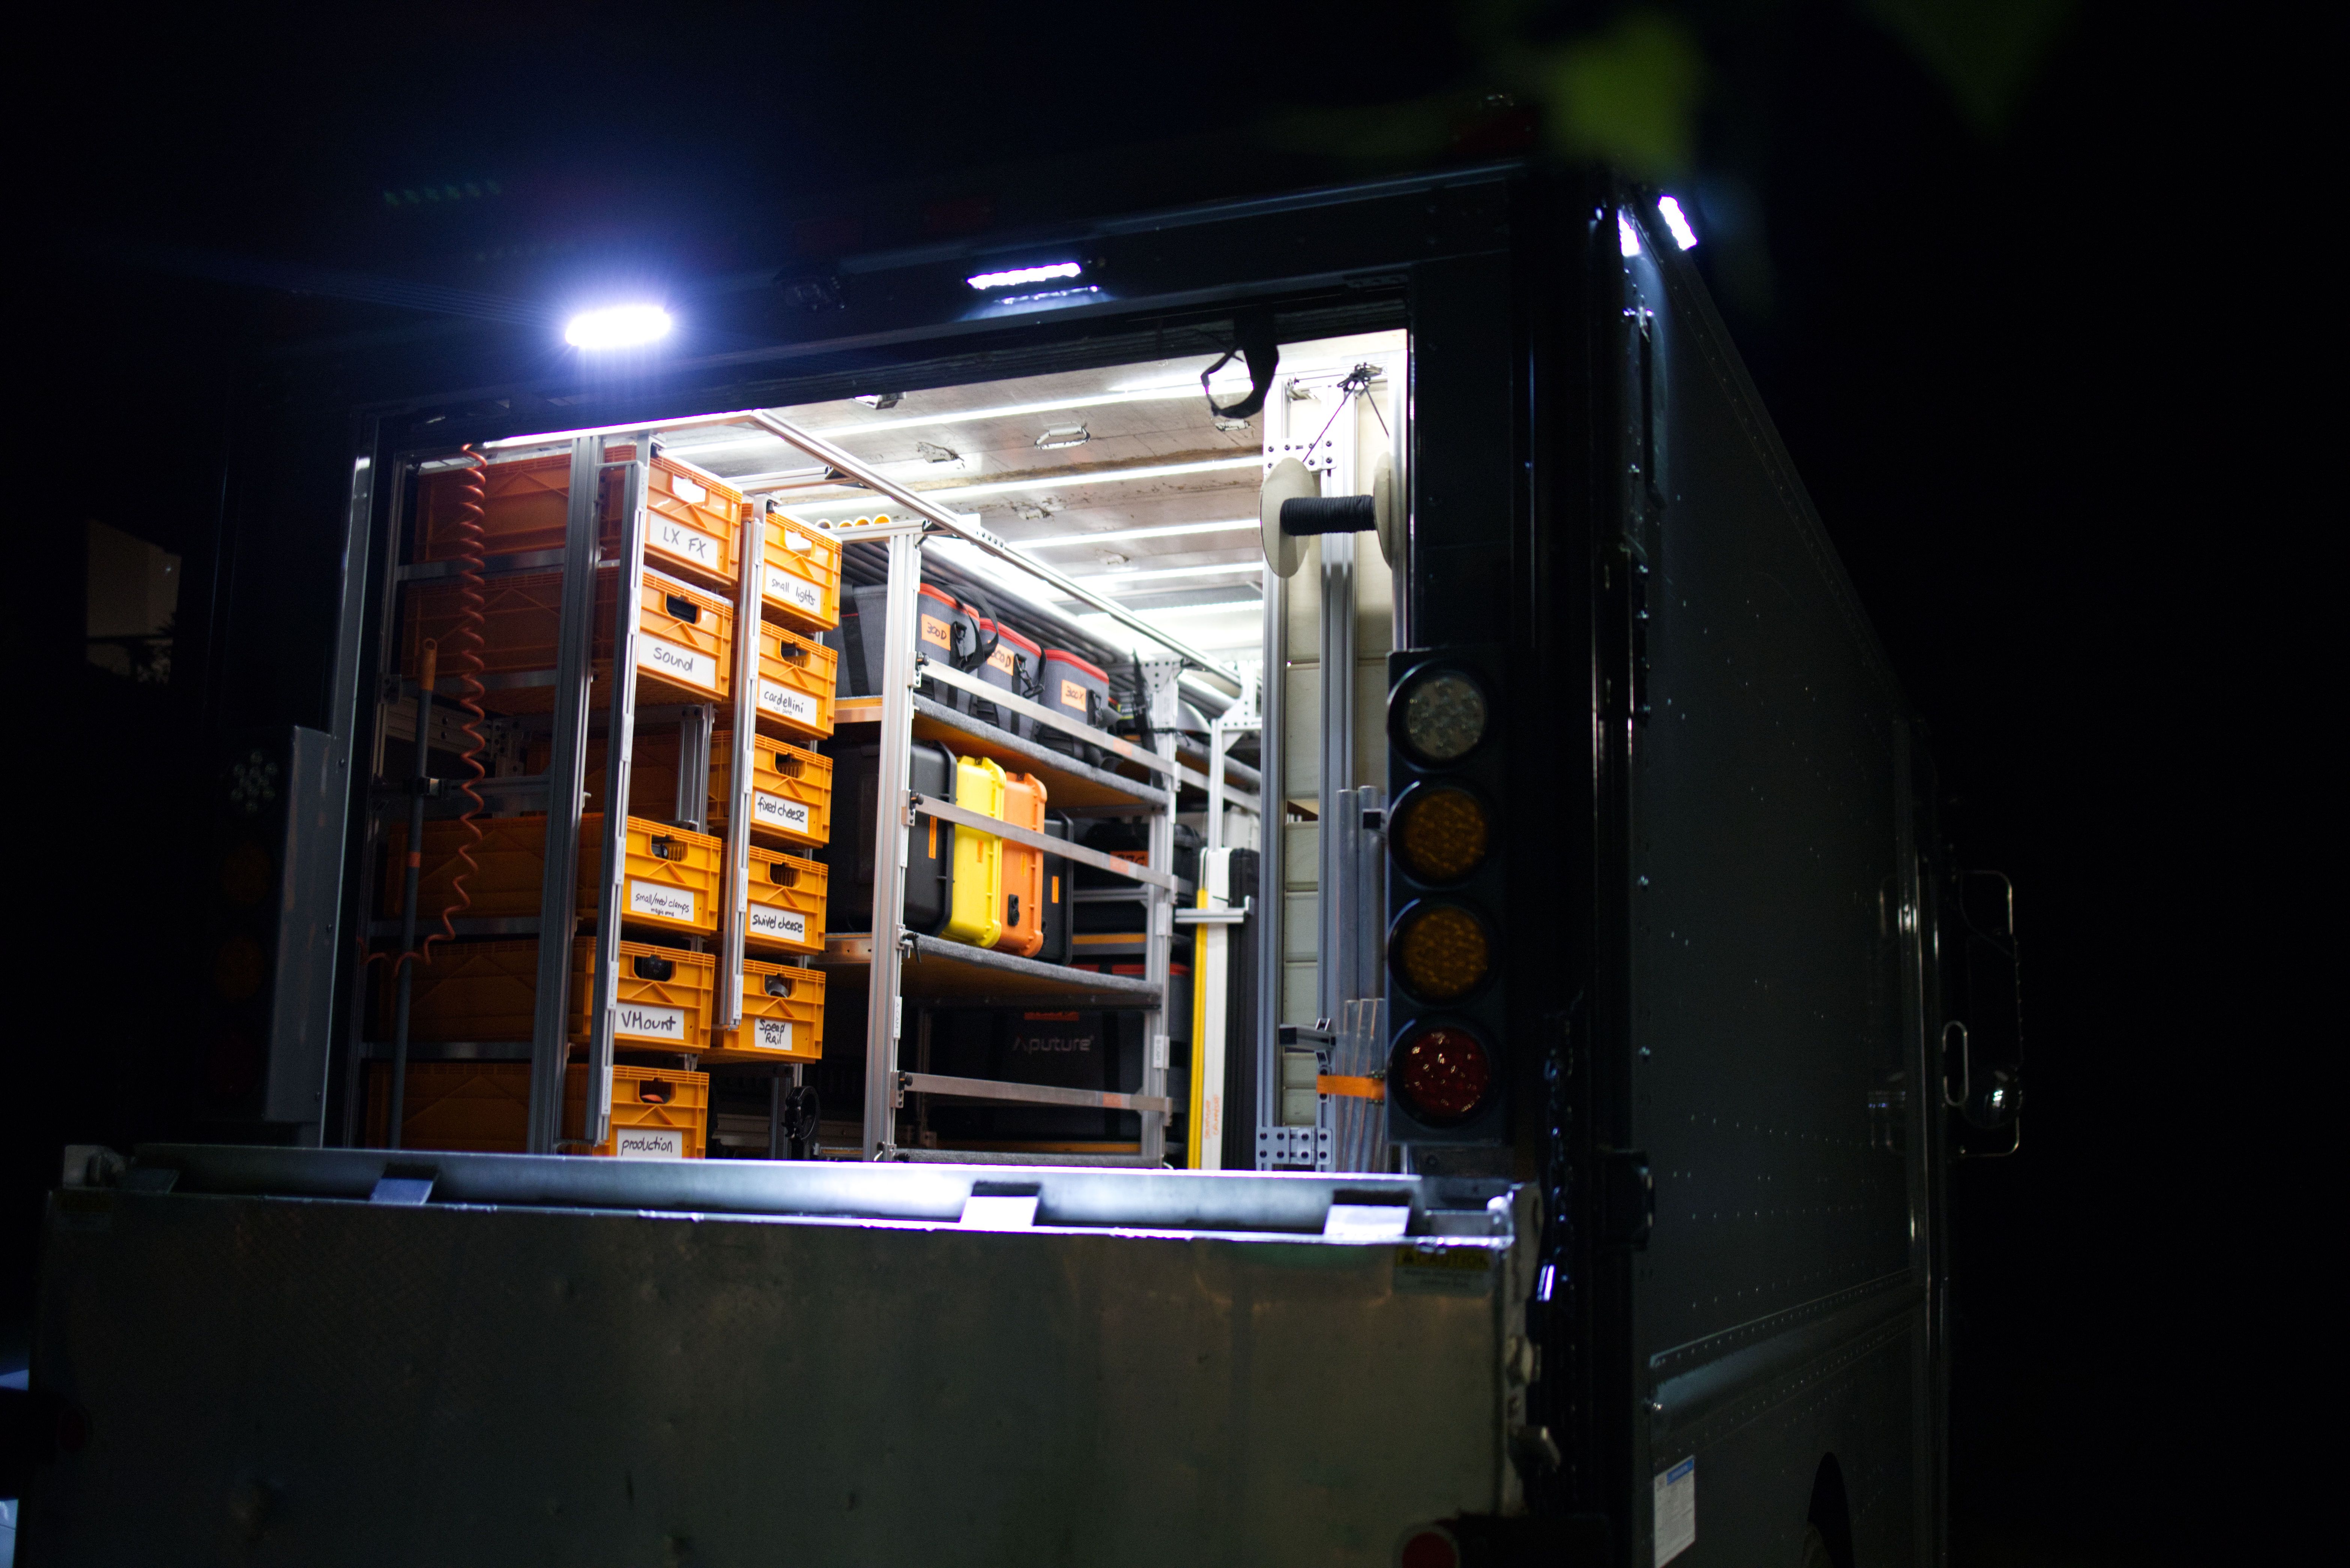
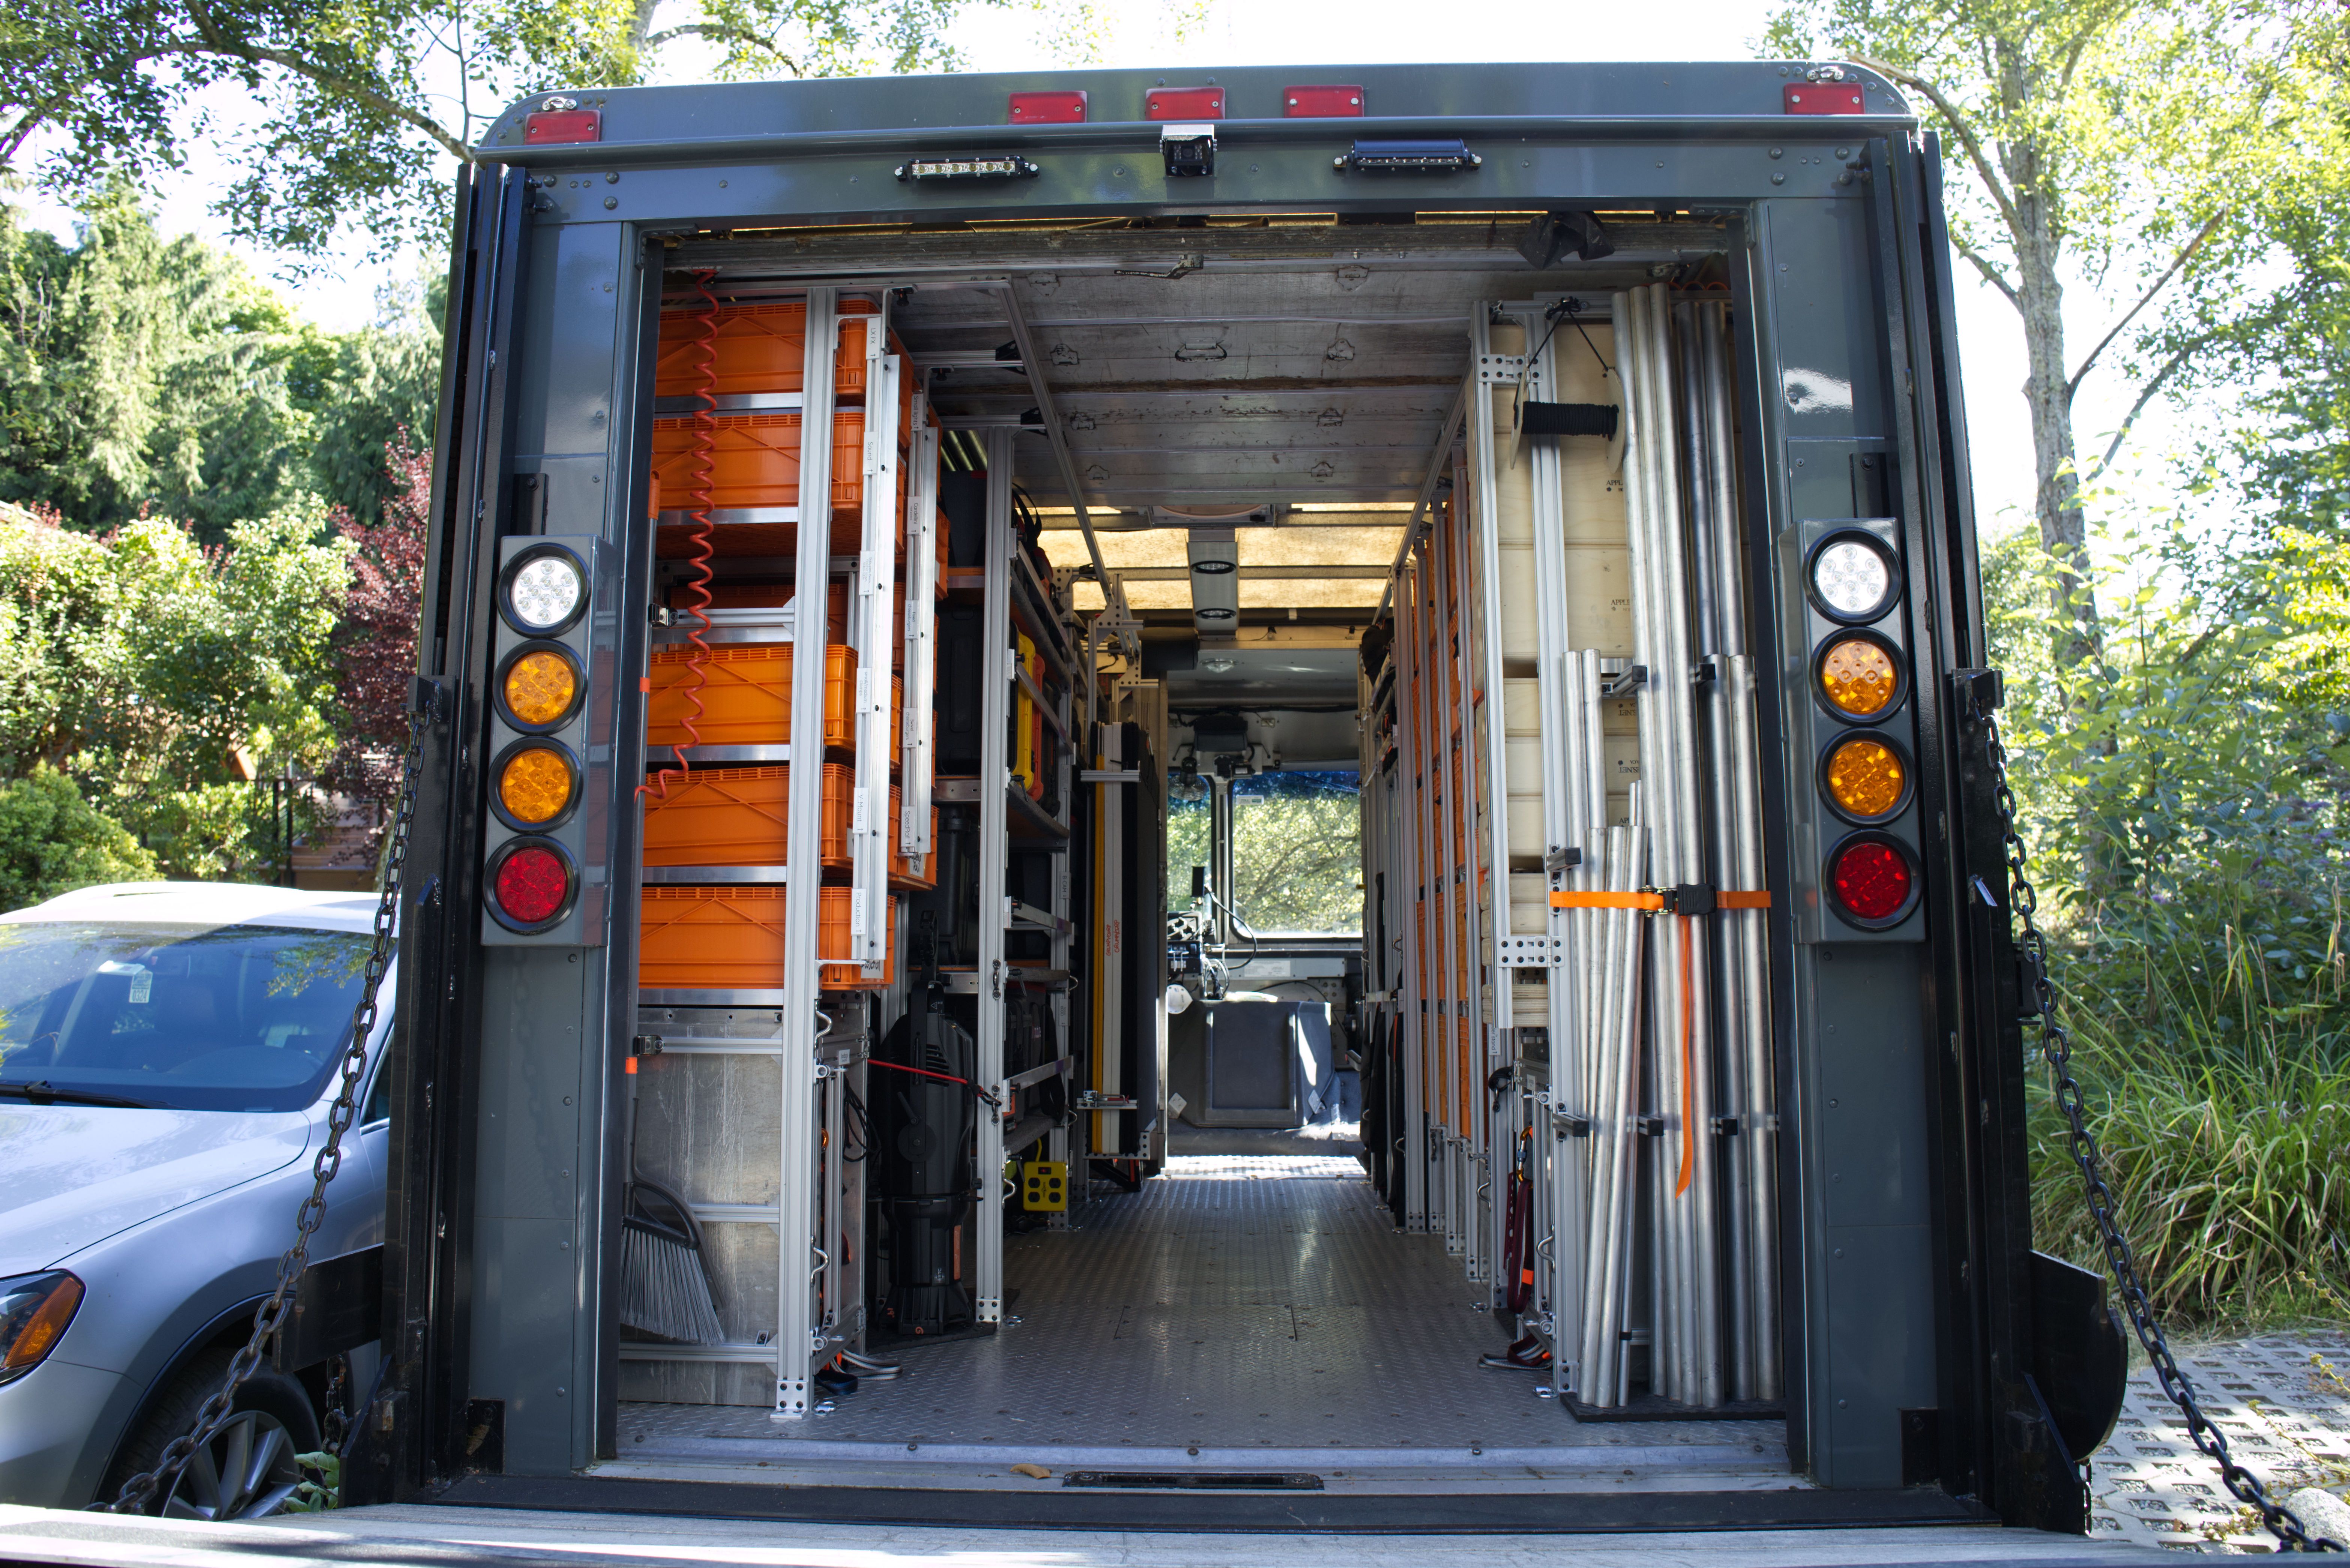
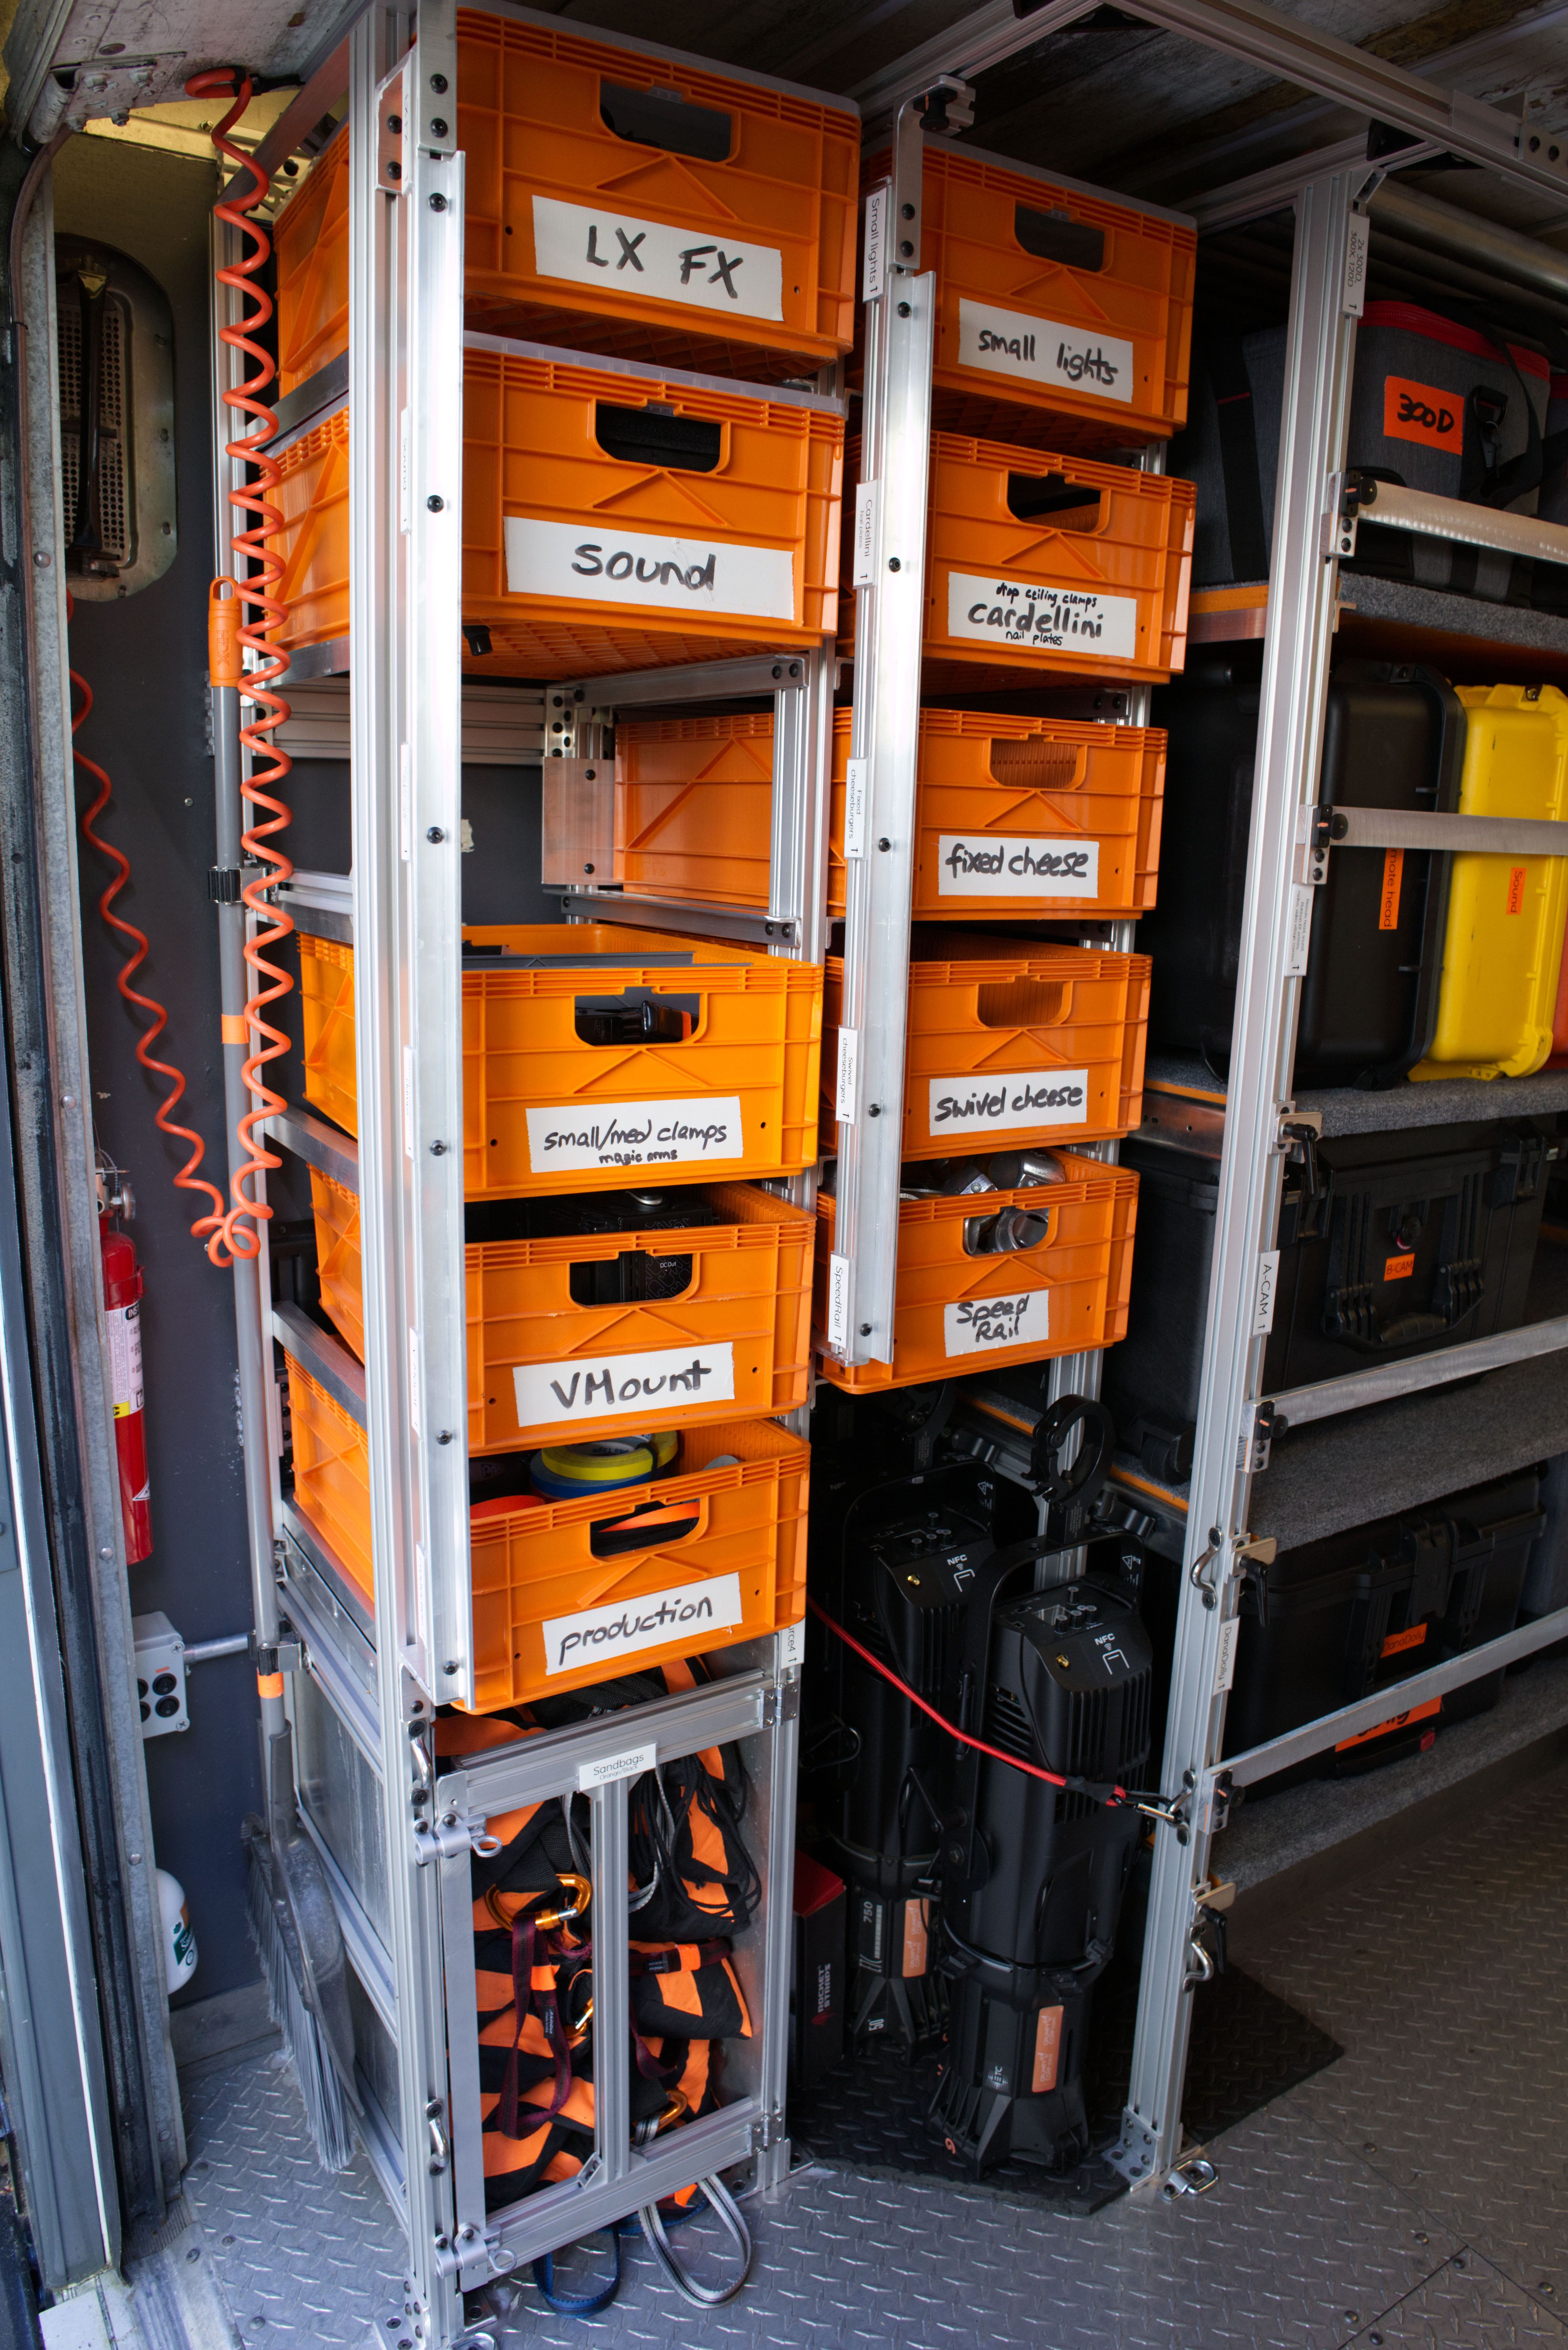
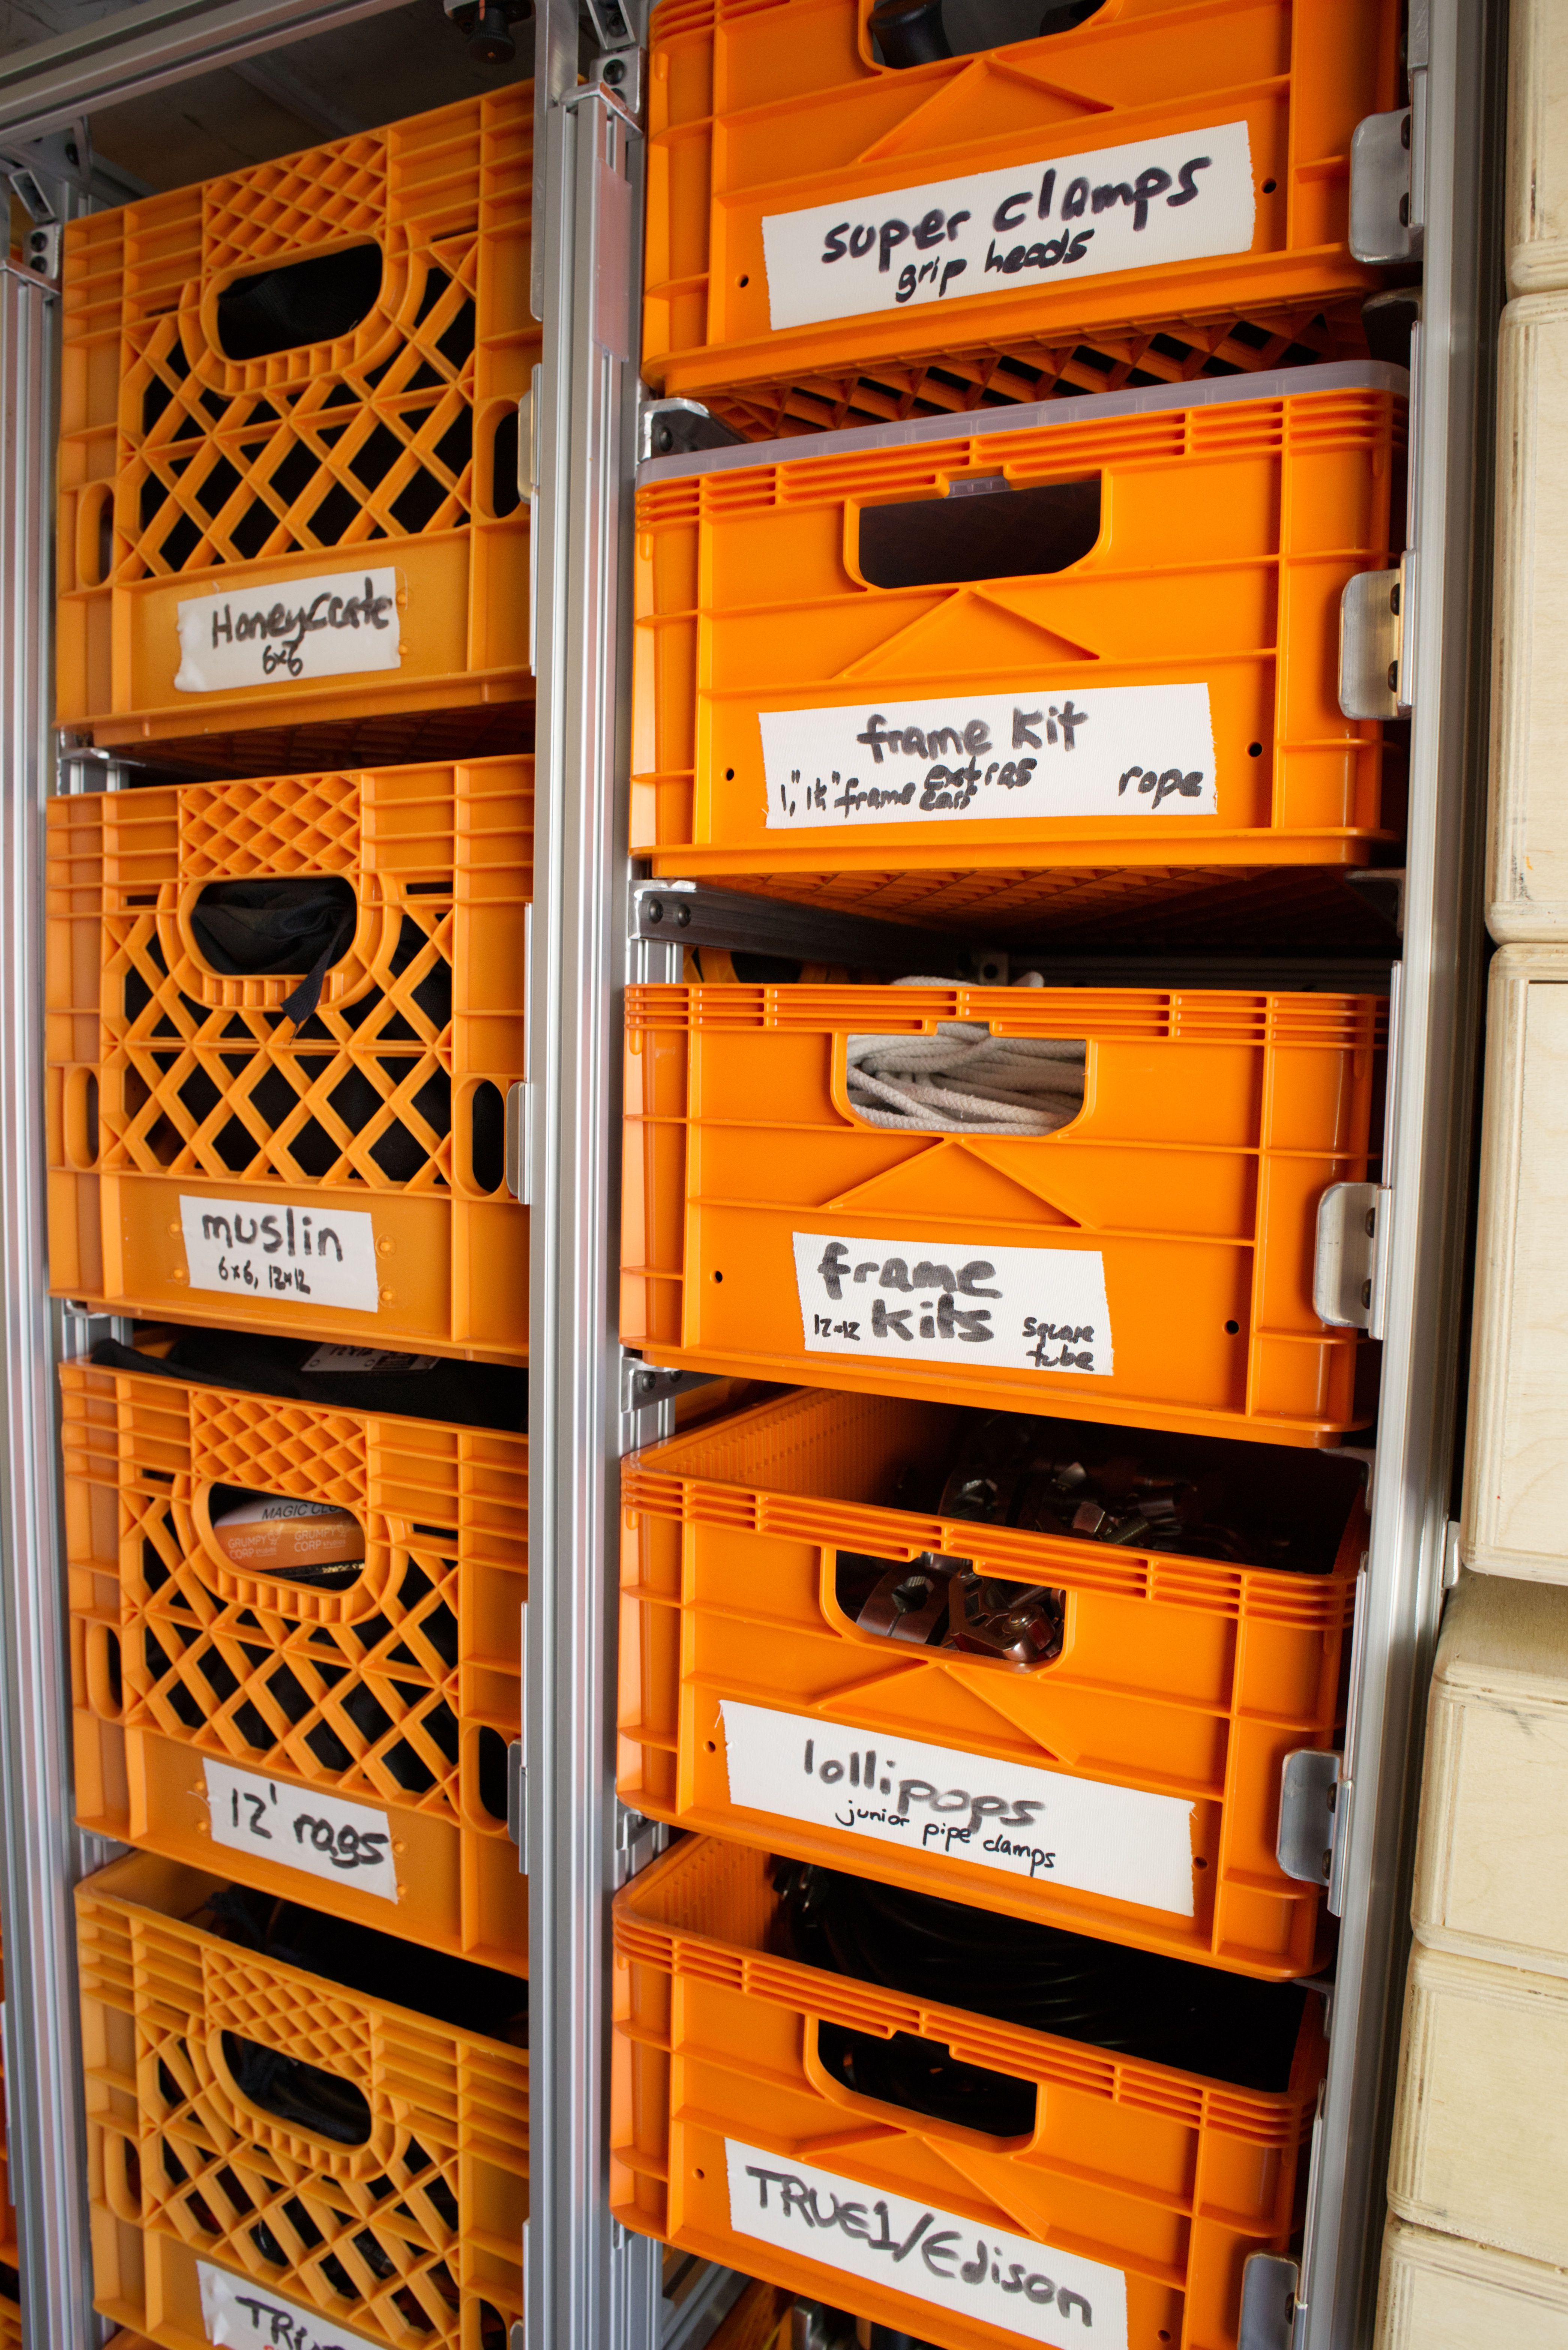
I finally manage to groom my pile of pipe for my frames, DanaDolly, and so on. And because it's important to me that I can send any ol' PA to the truck and have them quickly grab what I need, everything is neatly labeled:
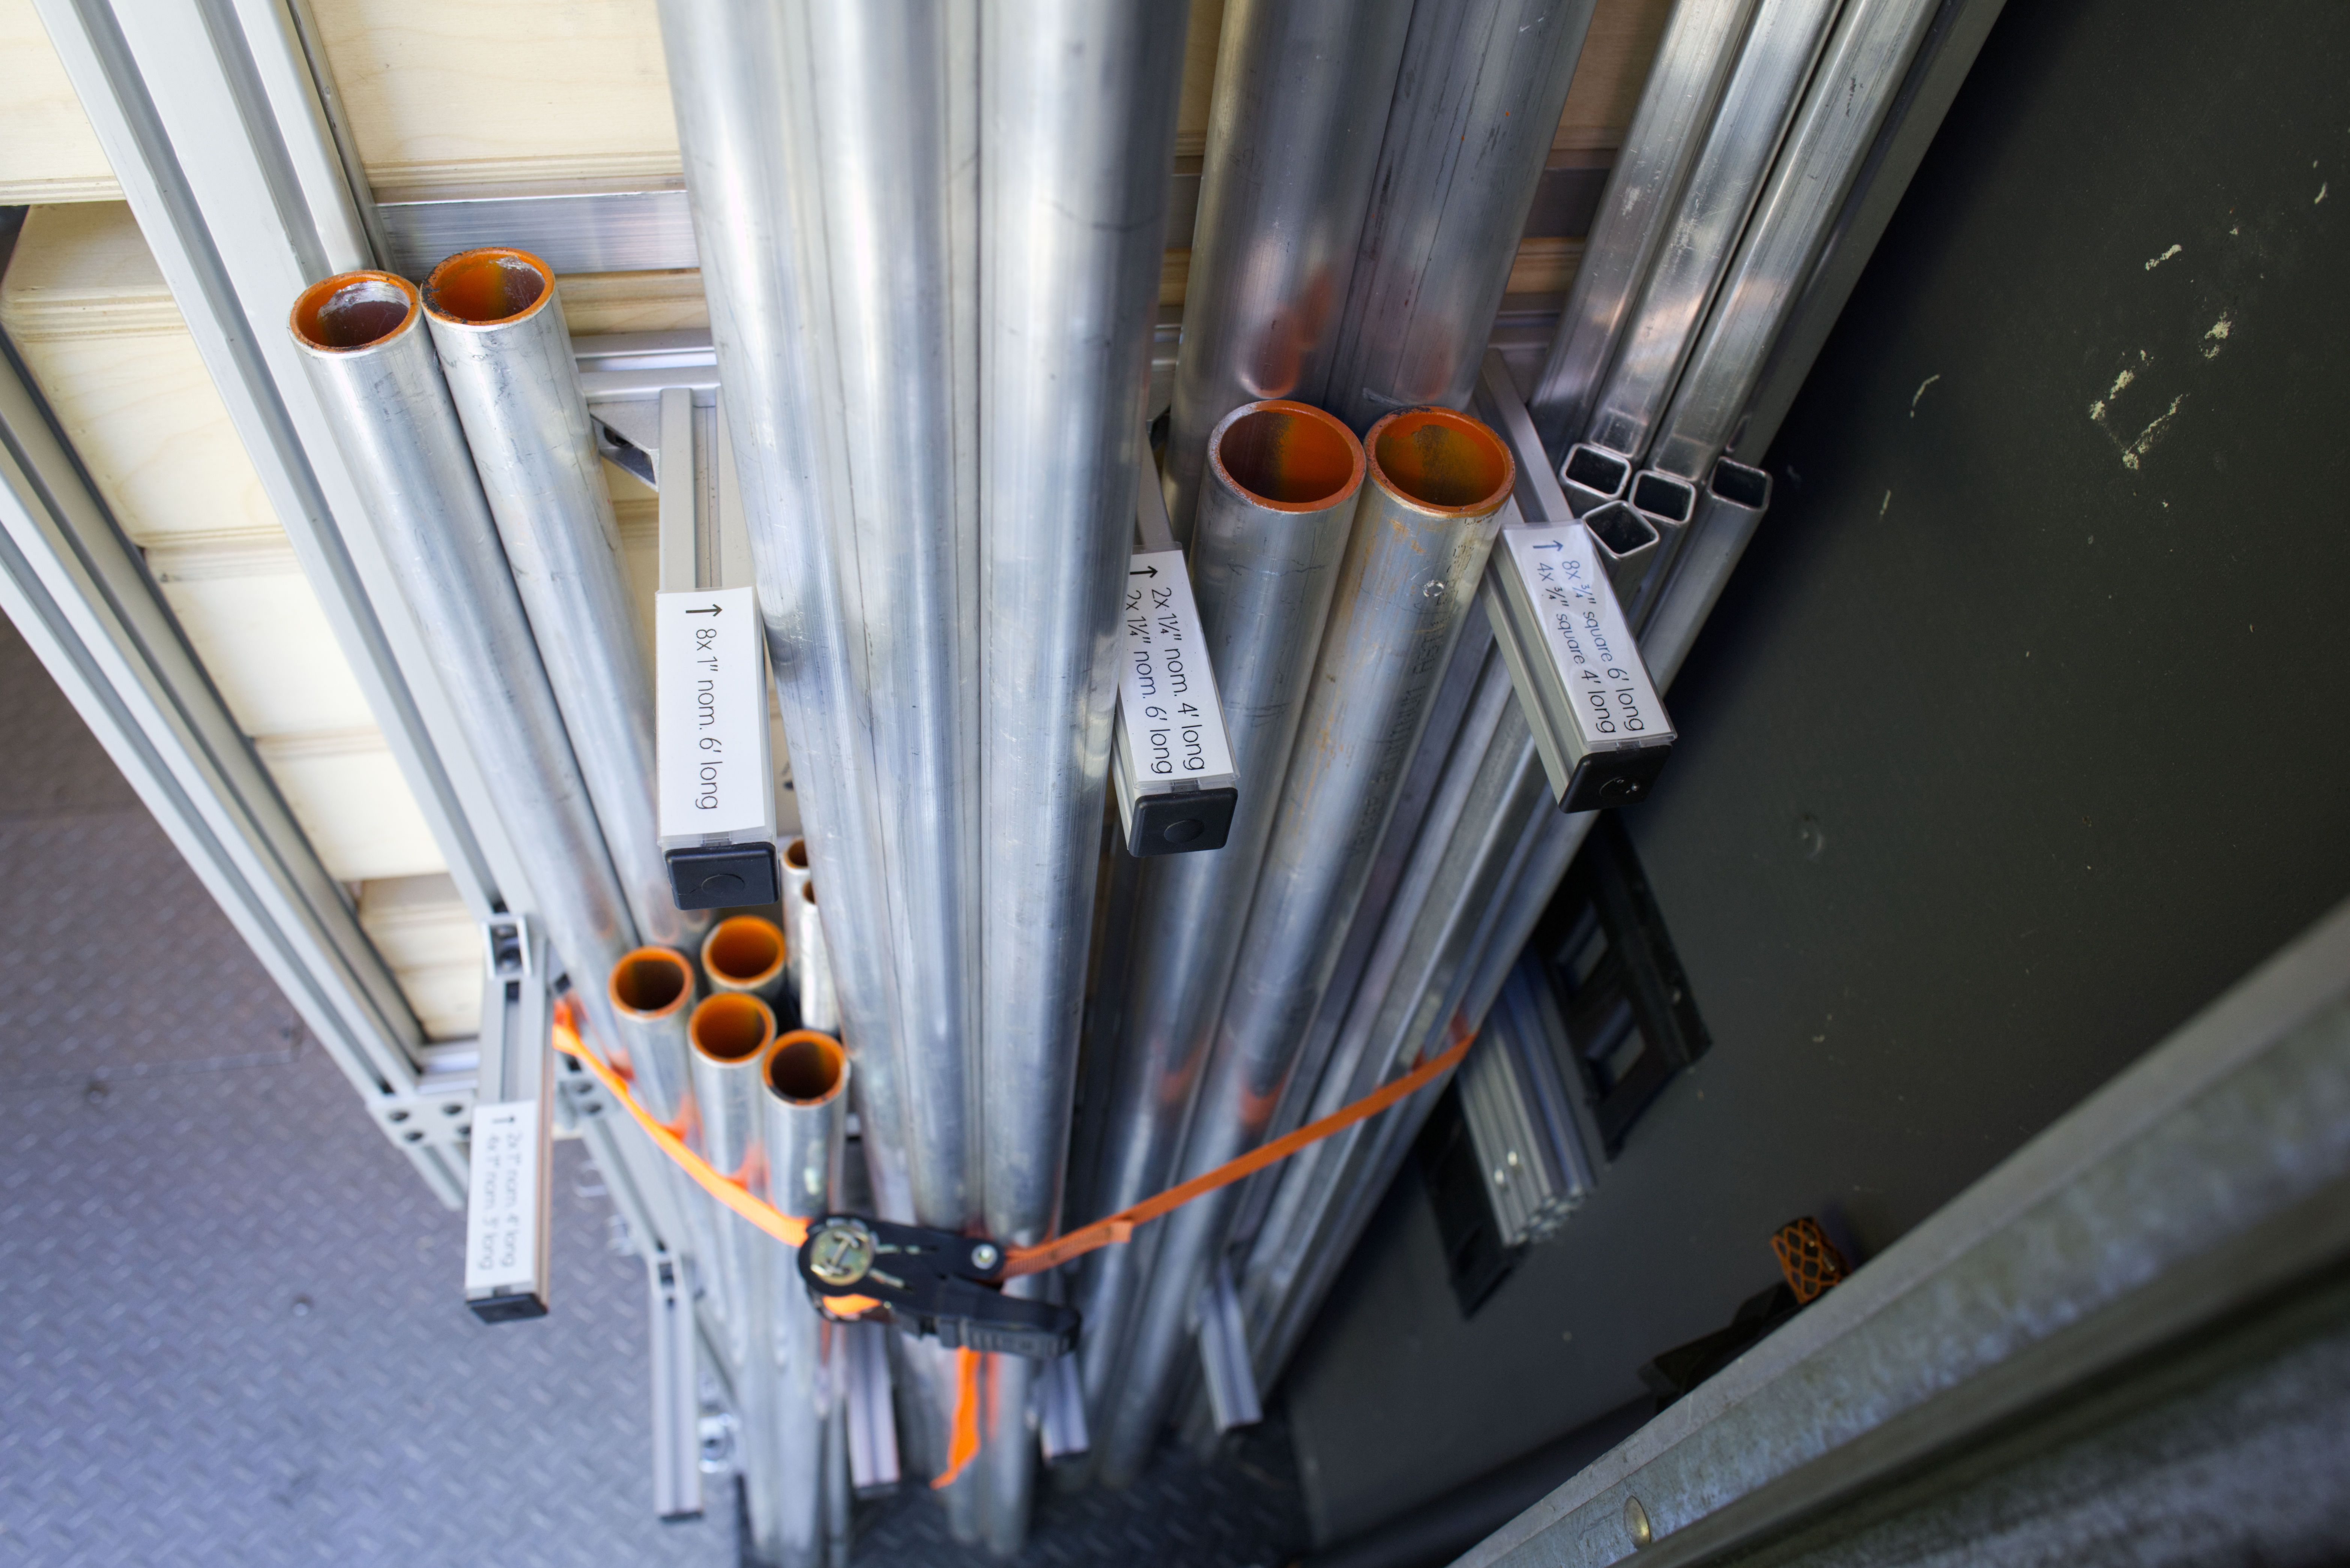
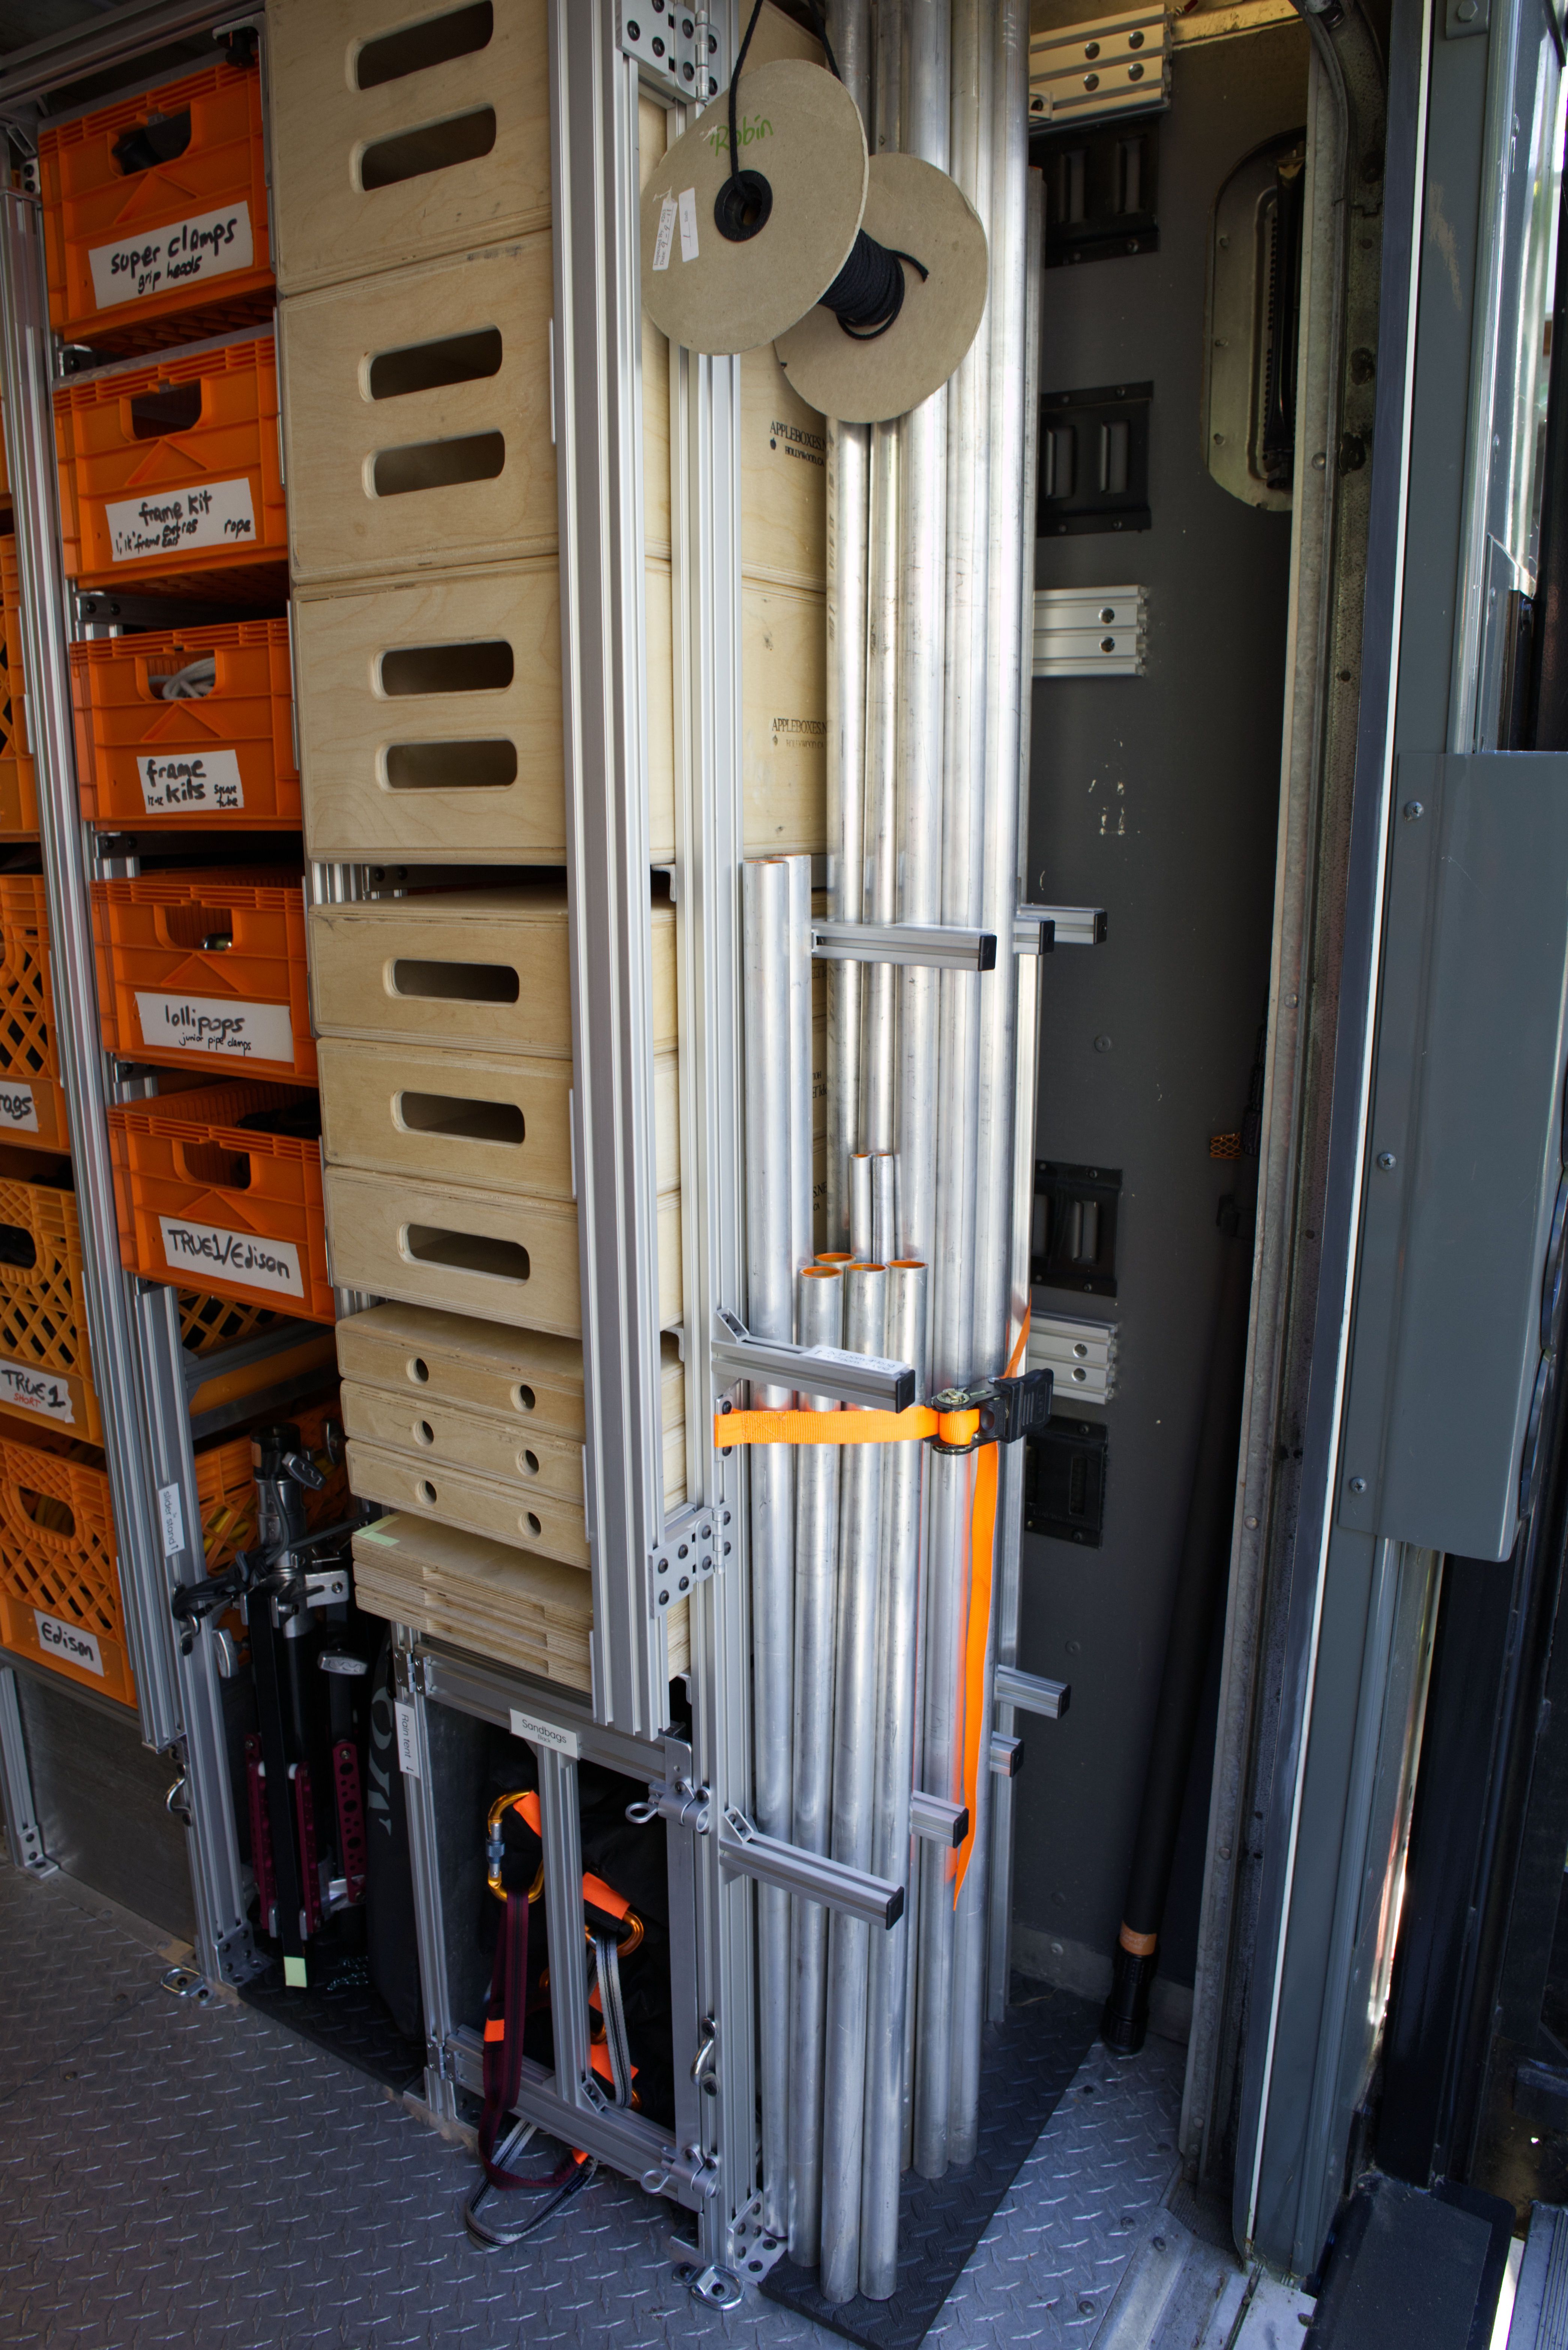
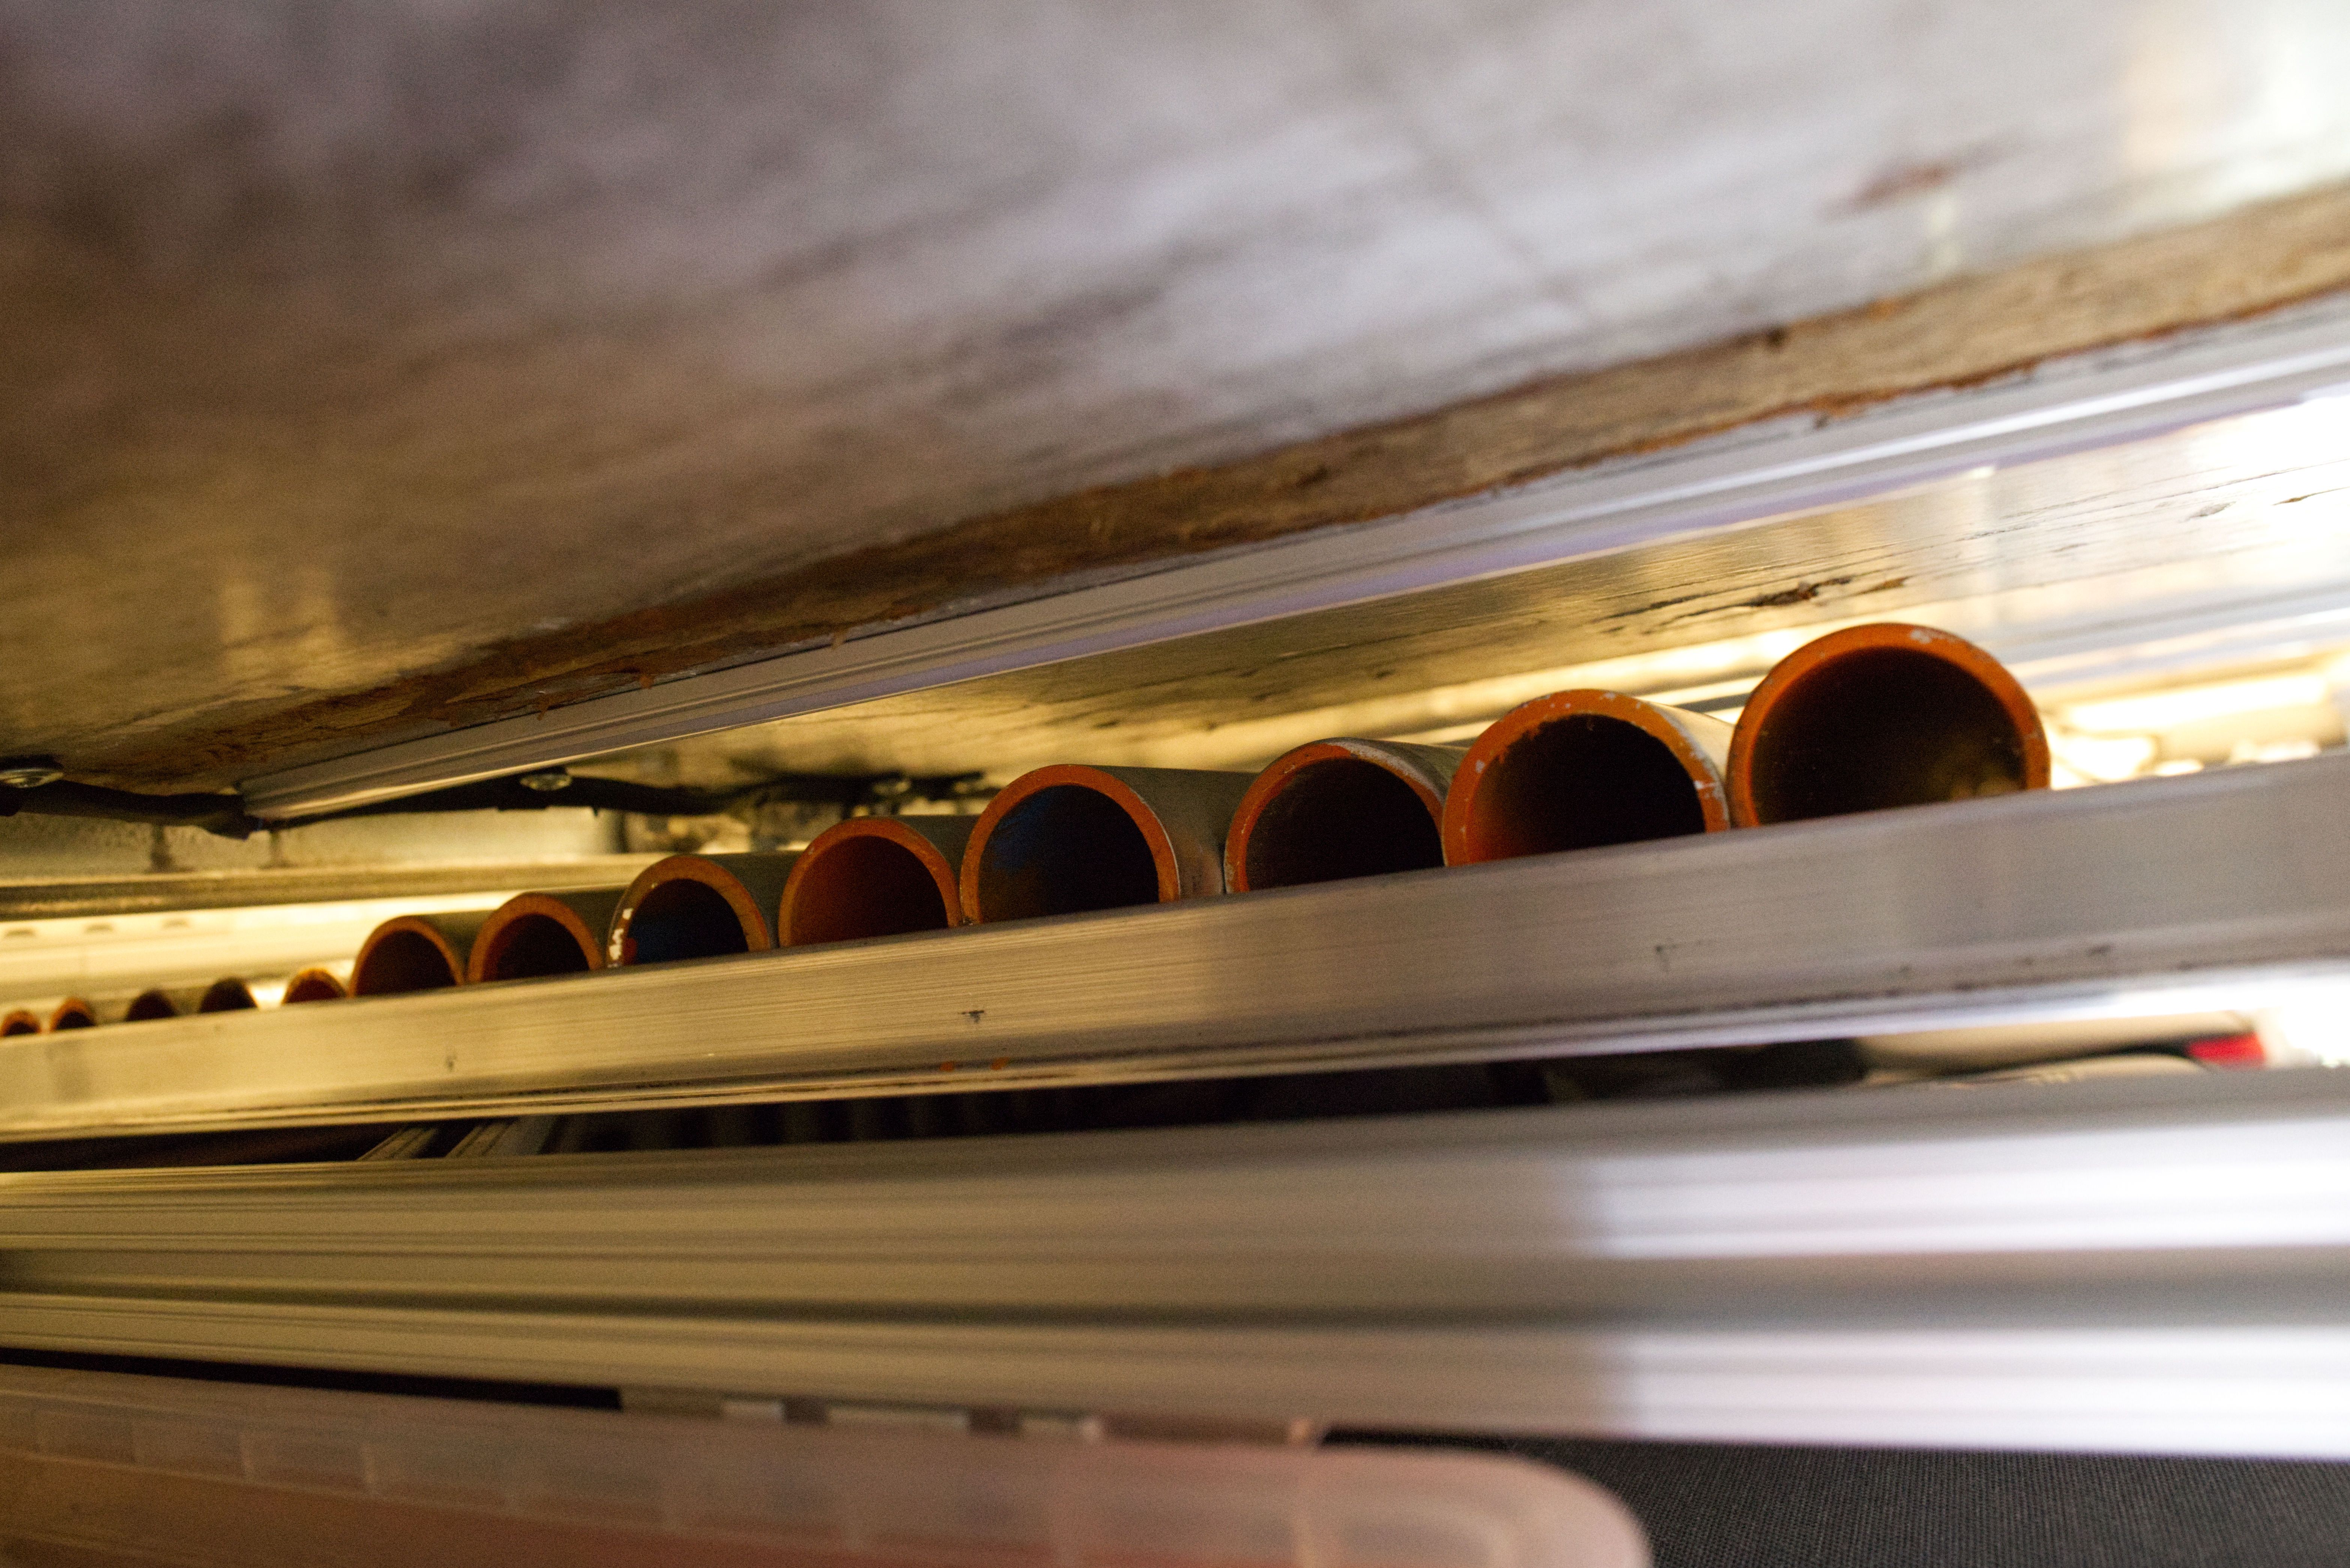
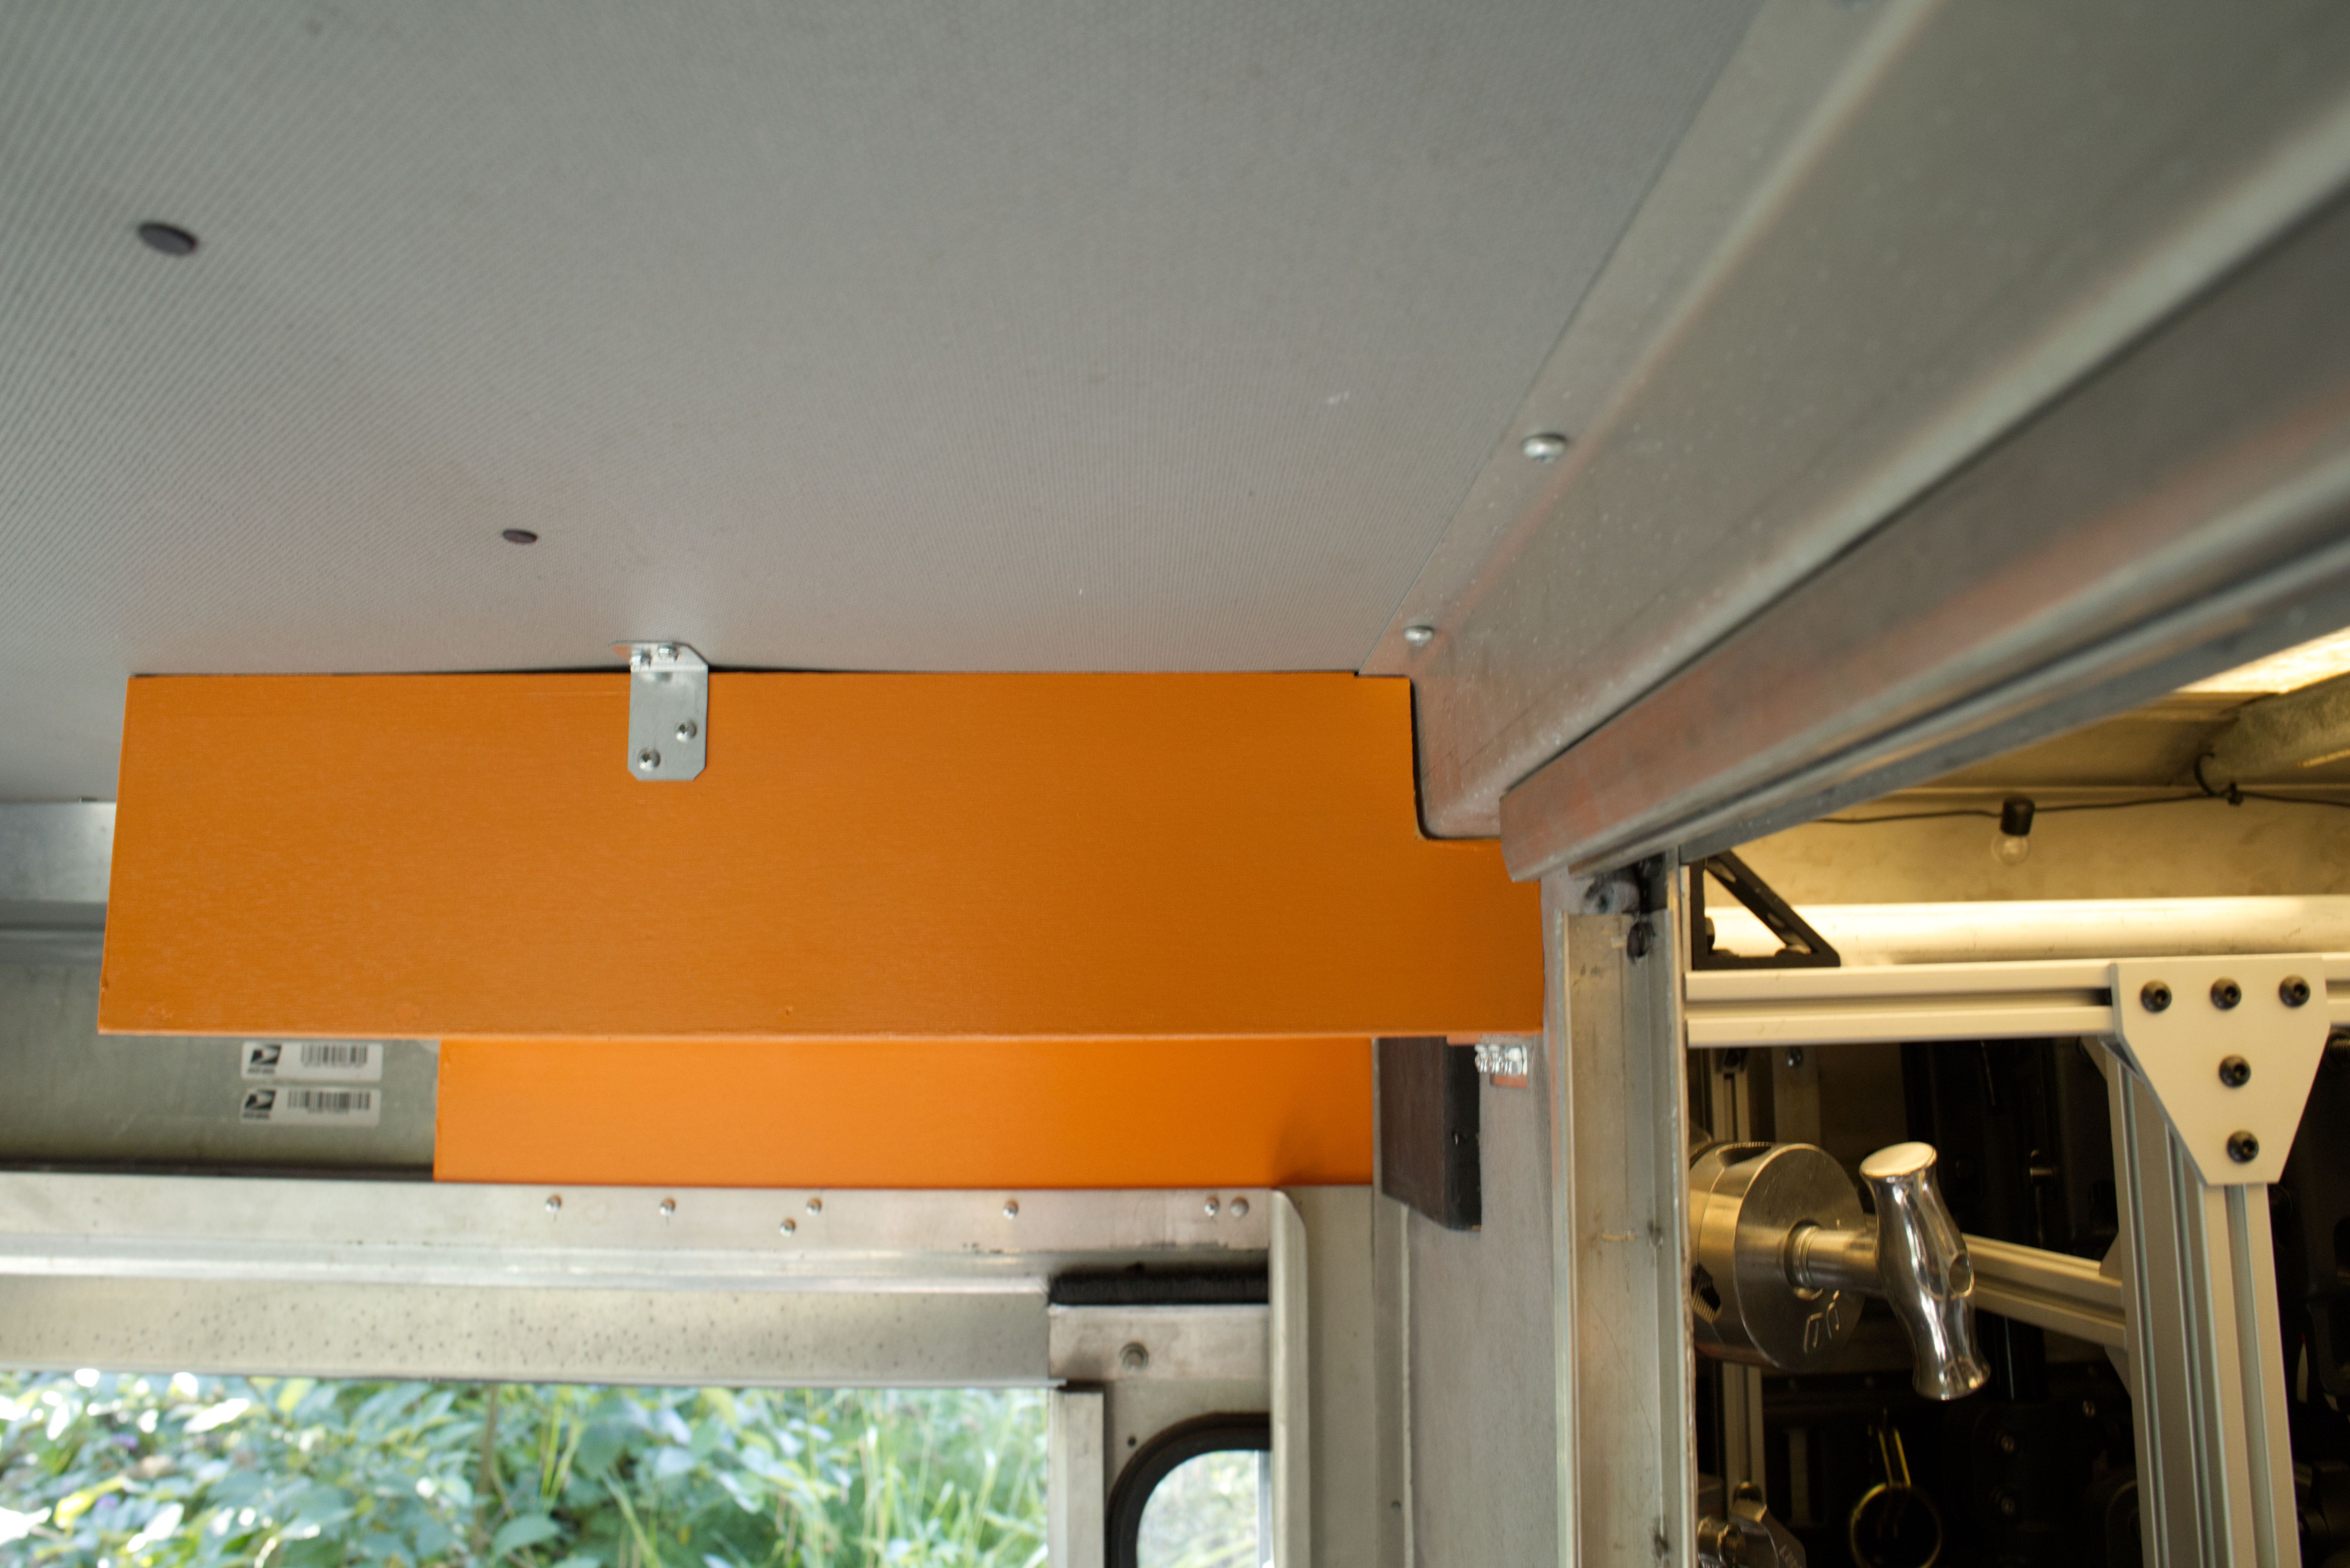
I also make some minor modifications to the roll-up door's framing and extend the storage a little about the passenger seat to make sure I can get 12' pipes in and out properly.
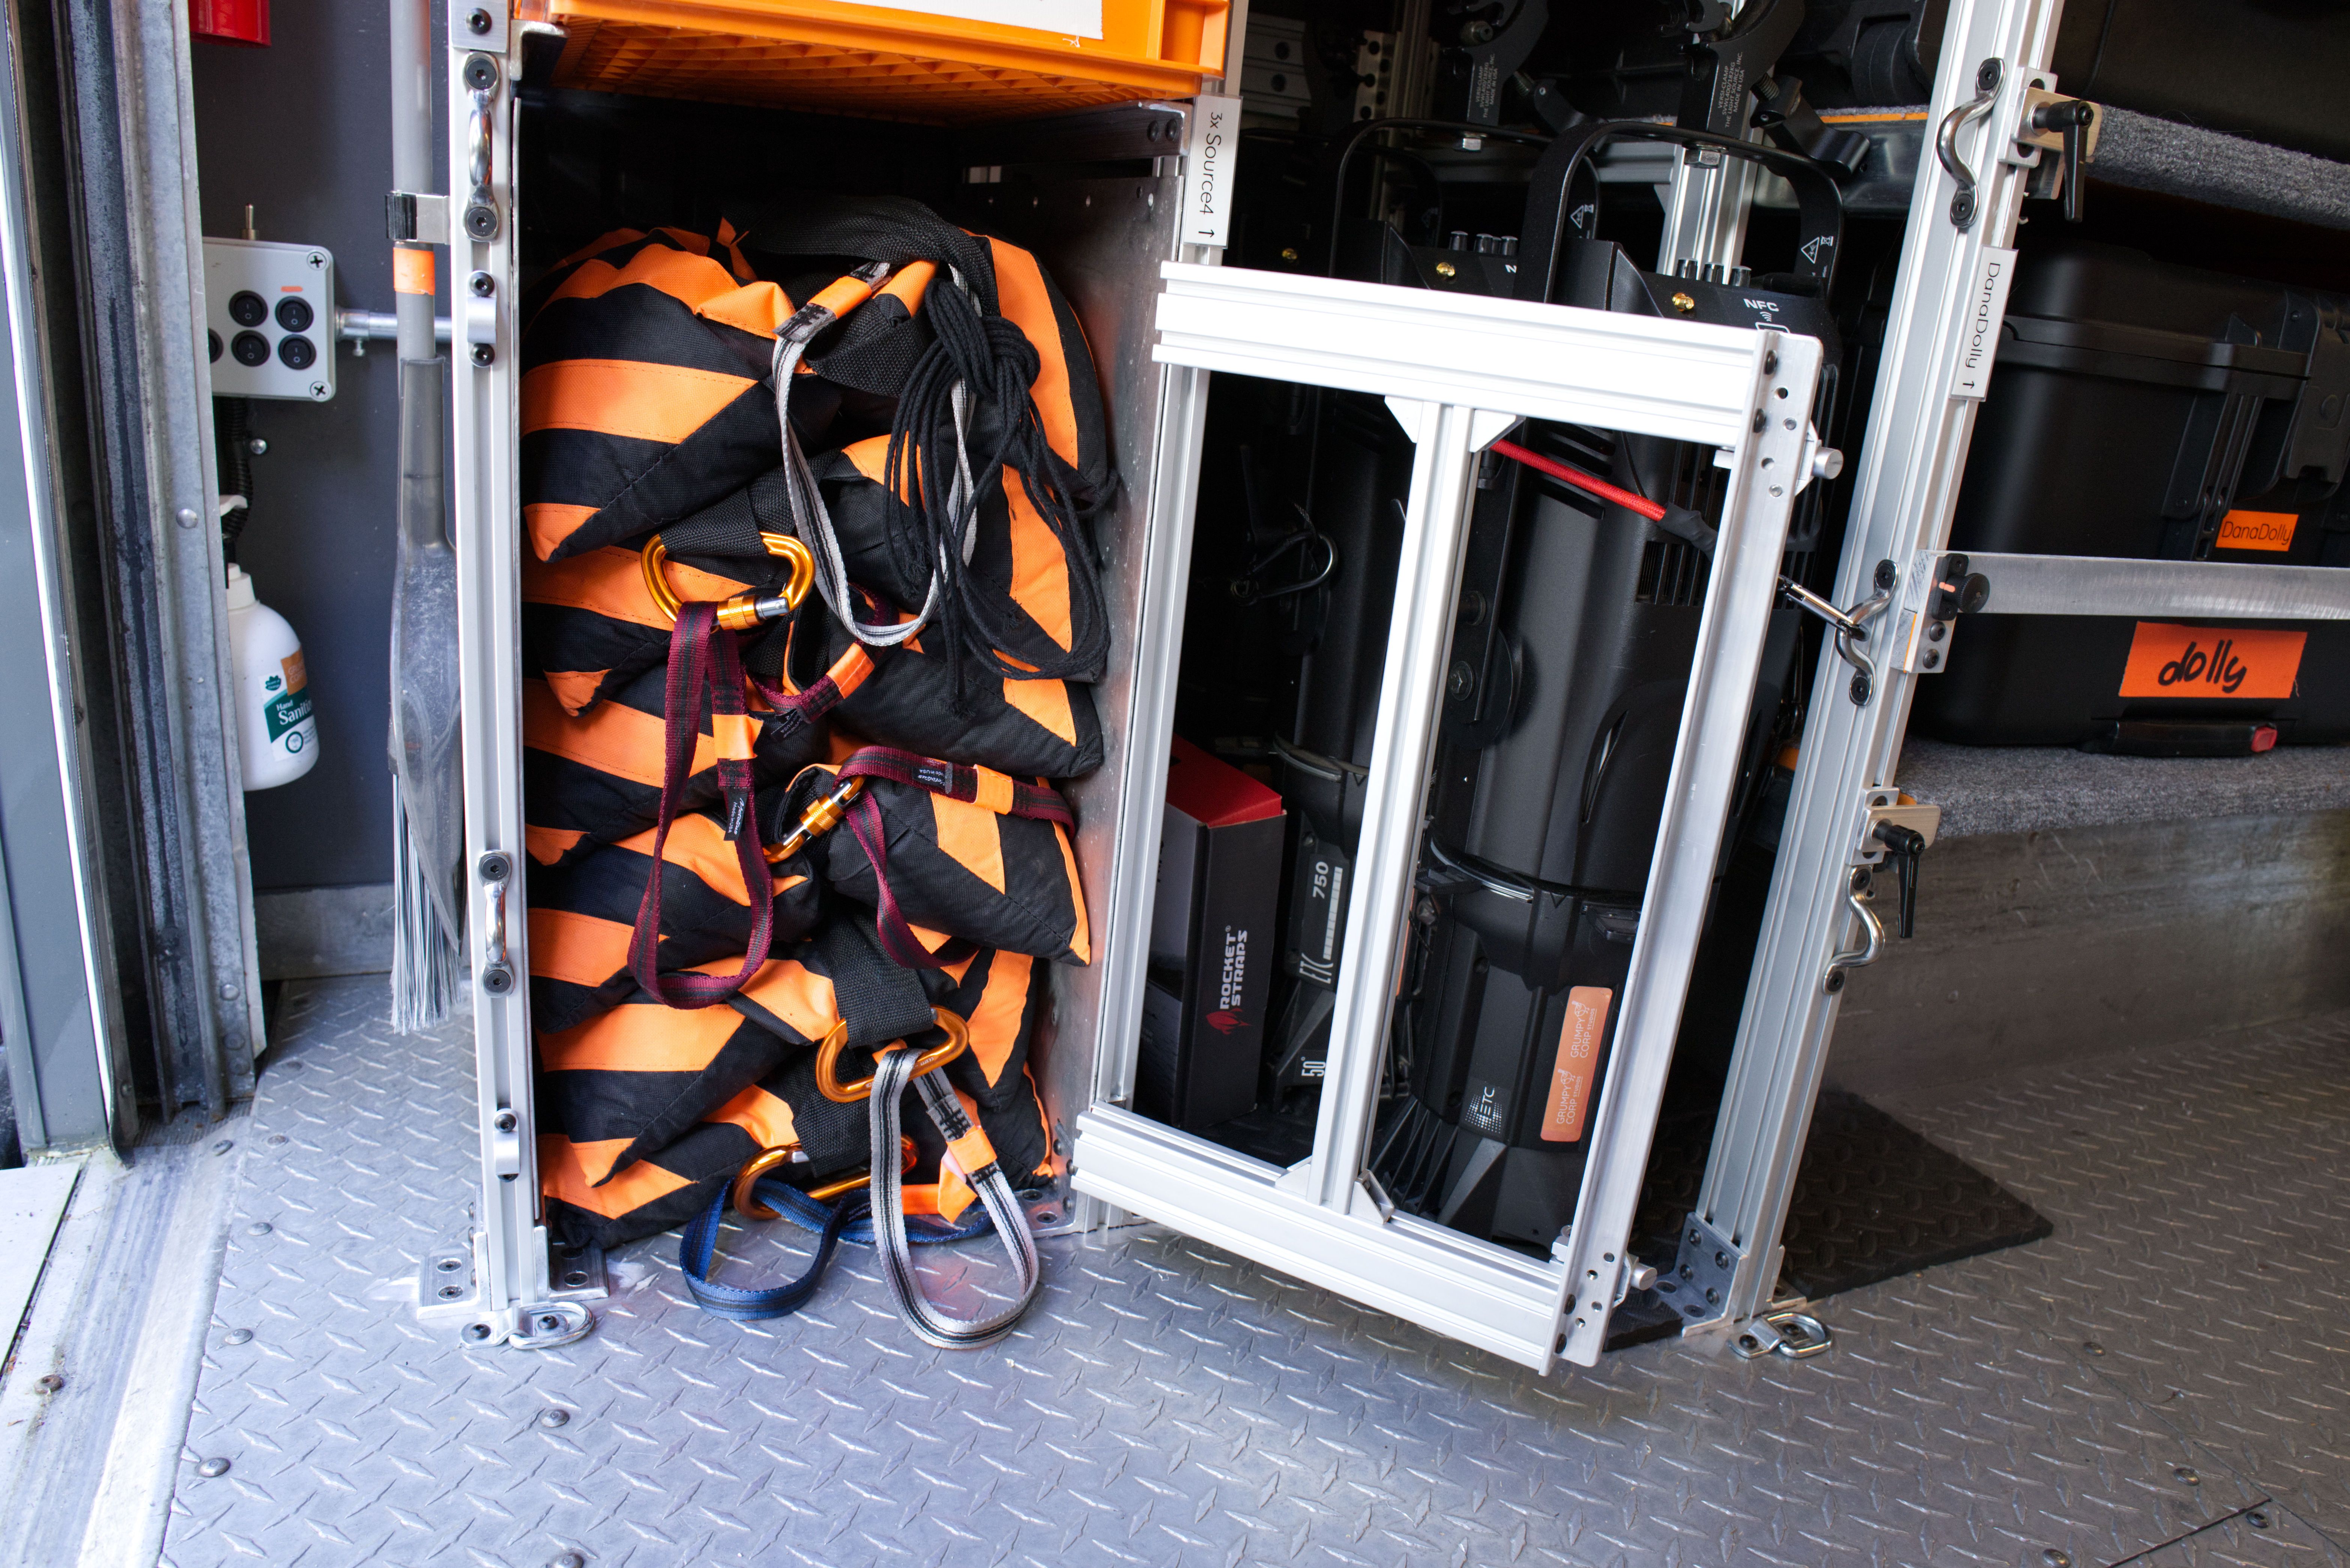
Each side gets a collection of sandbags stored behind an open-frame door with slam latches (one side has black sandbags, the other orange-black for safety):
Milk crates abound:
The shelves on the left side of the truck are all on full extension slides so I can easily grab stuff out of a case without having to find a place to put said case.
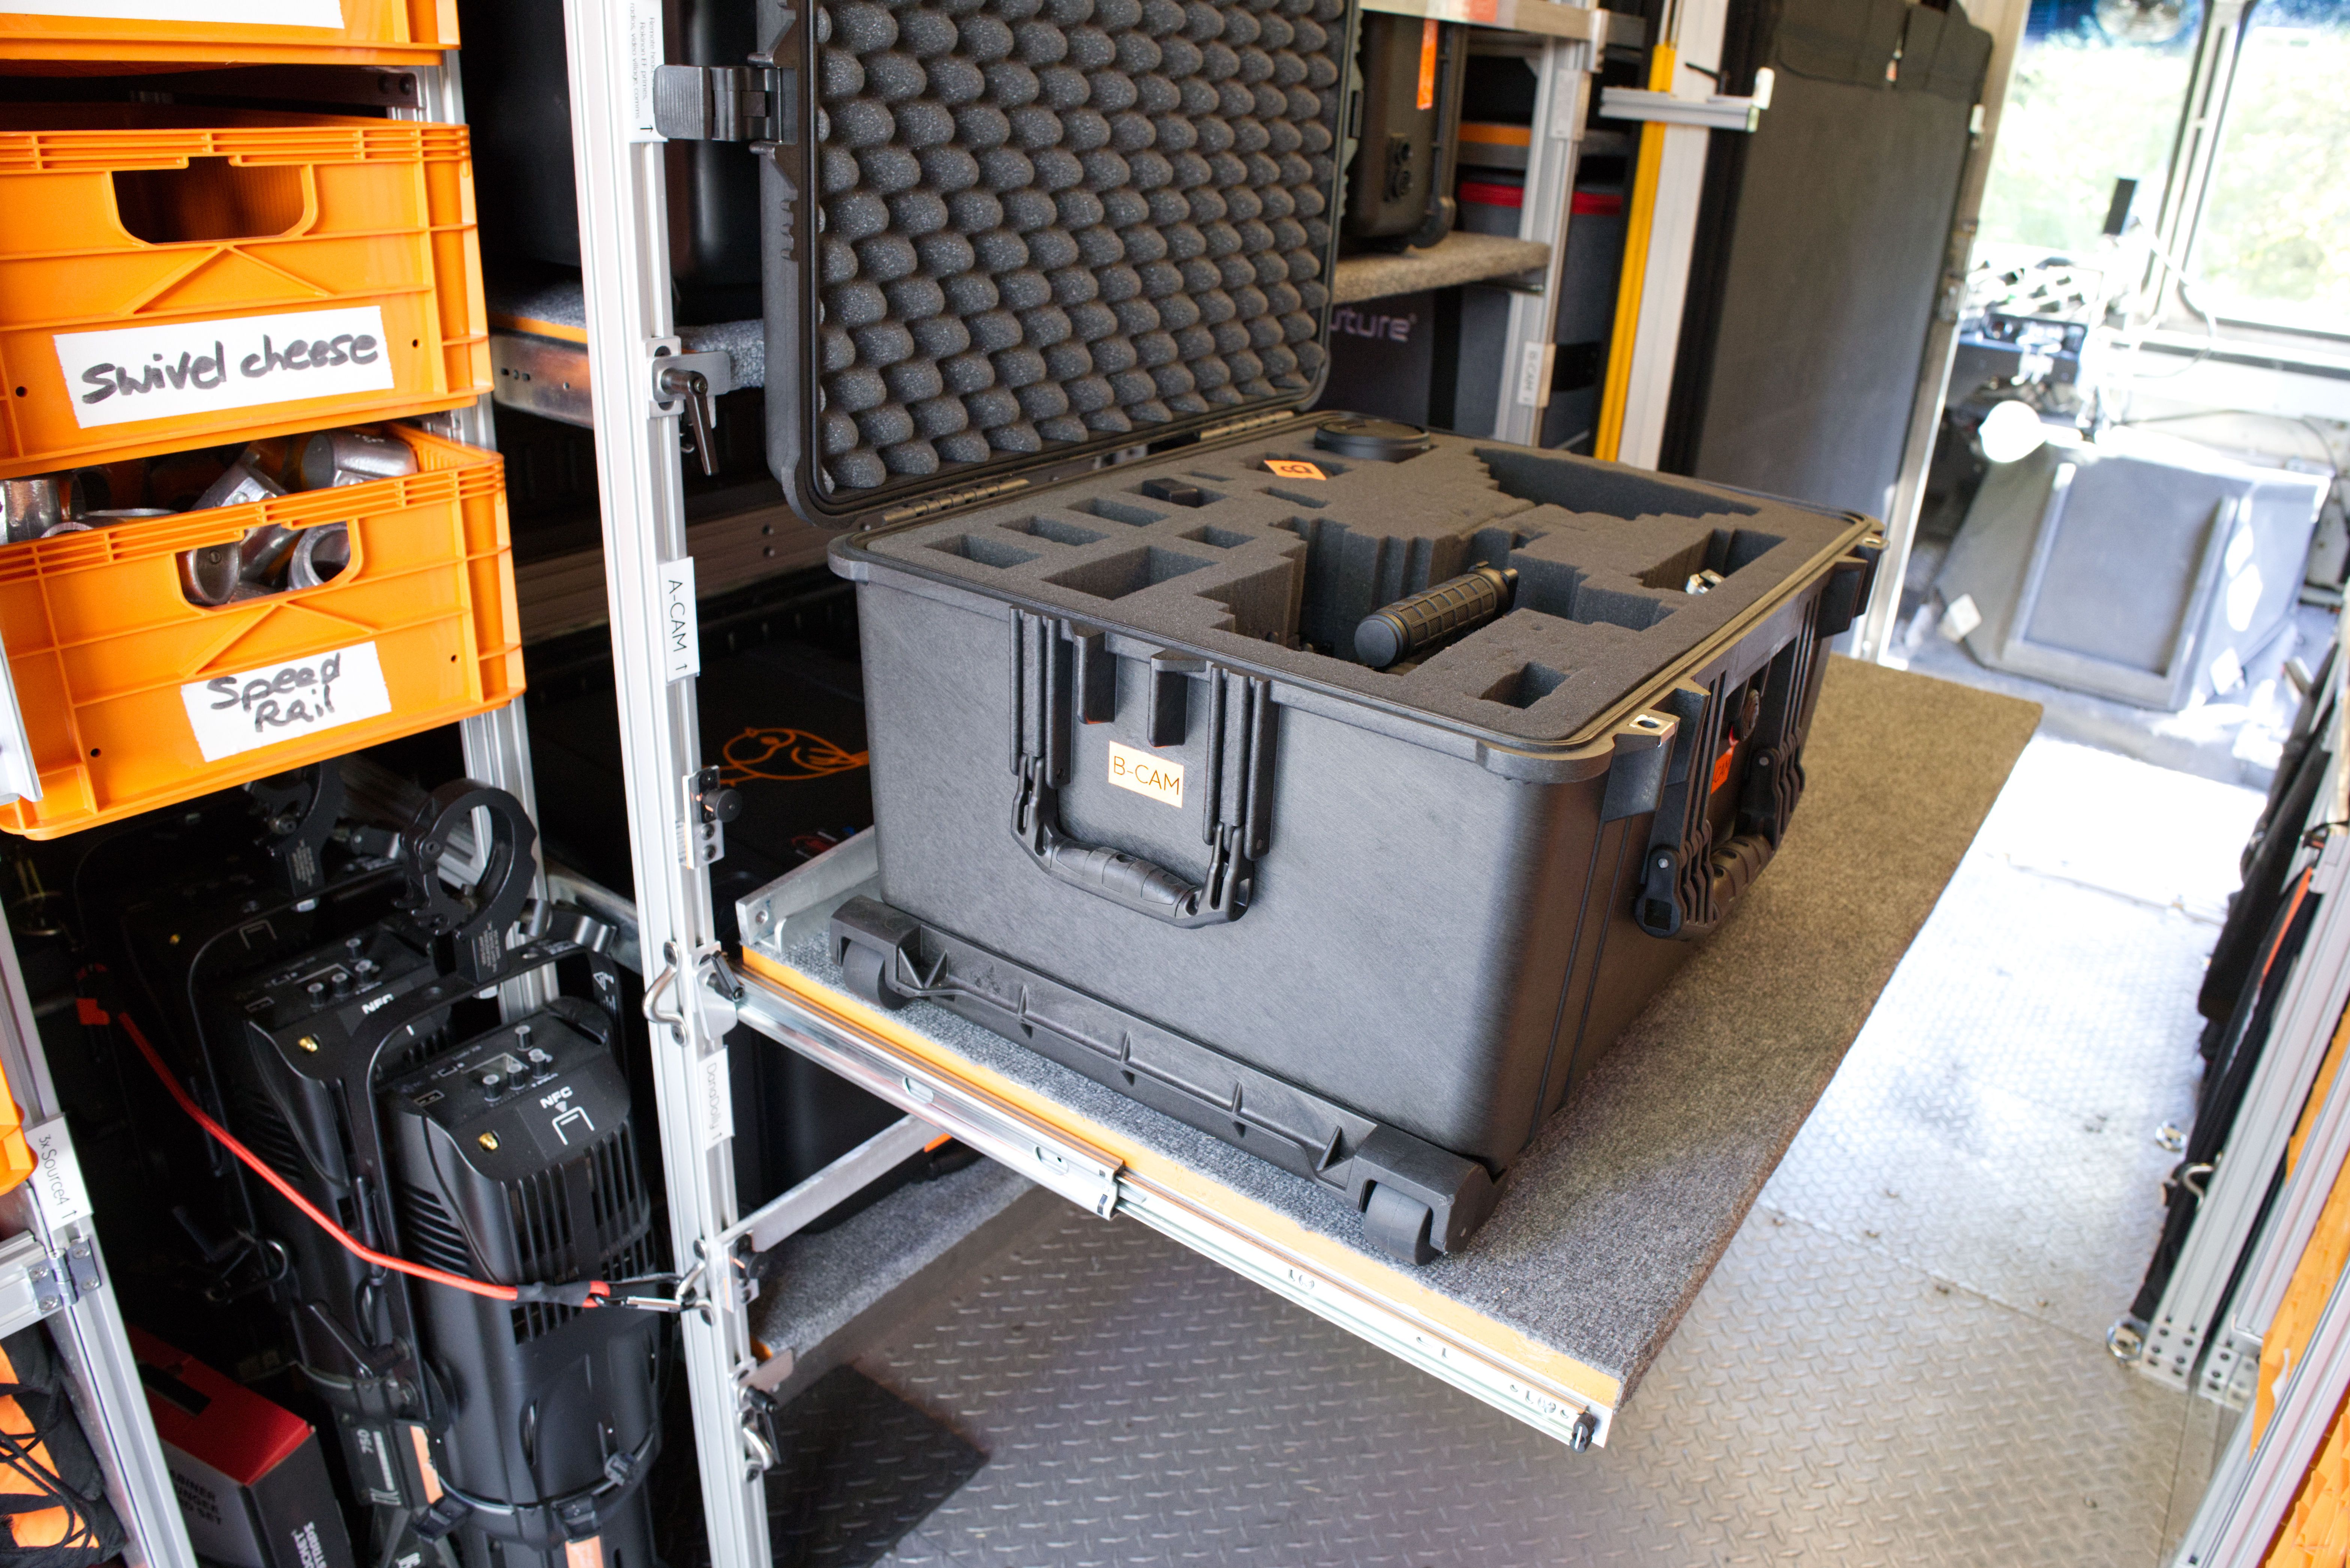
Aluminum bars keep anything from falling off the shelves ever again:
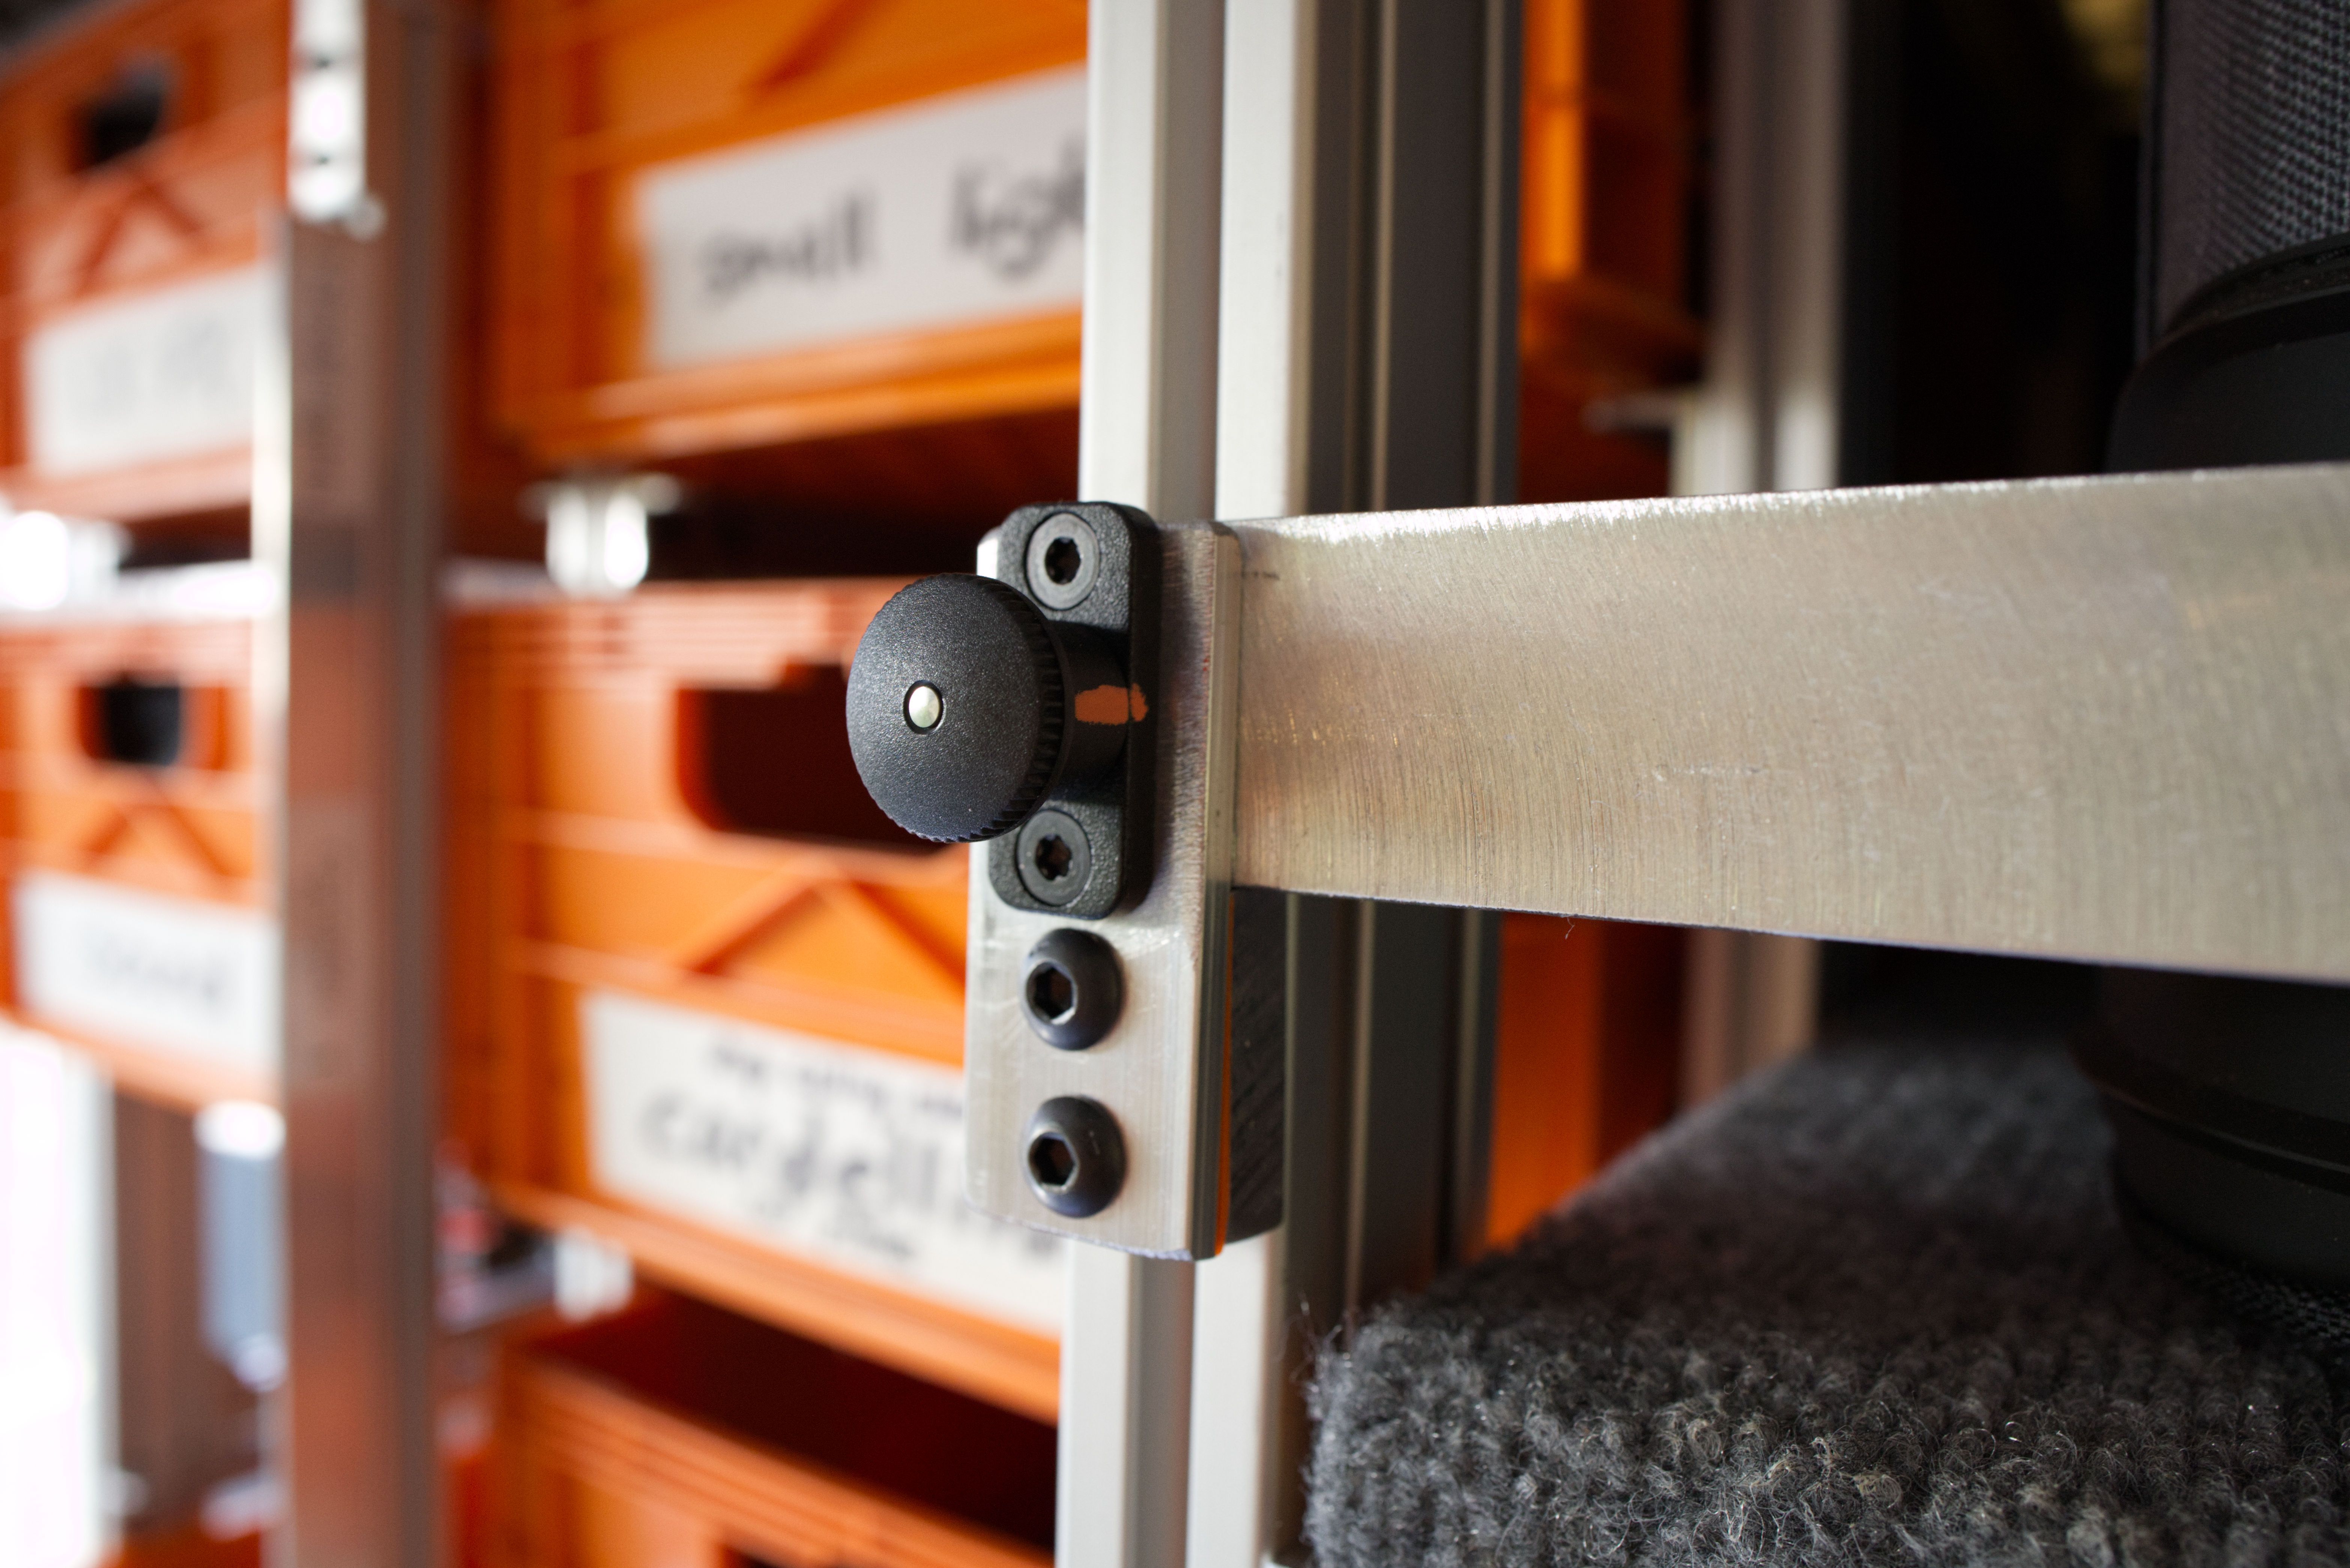
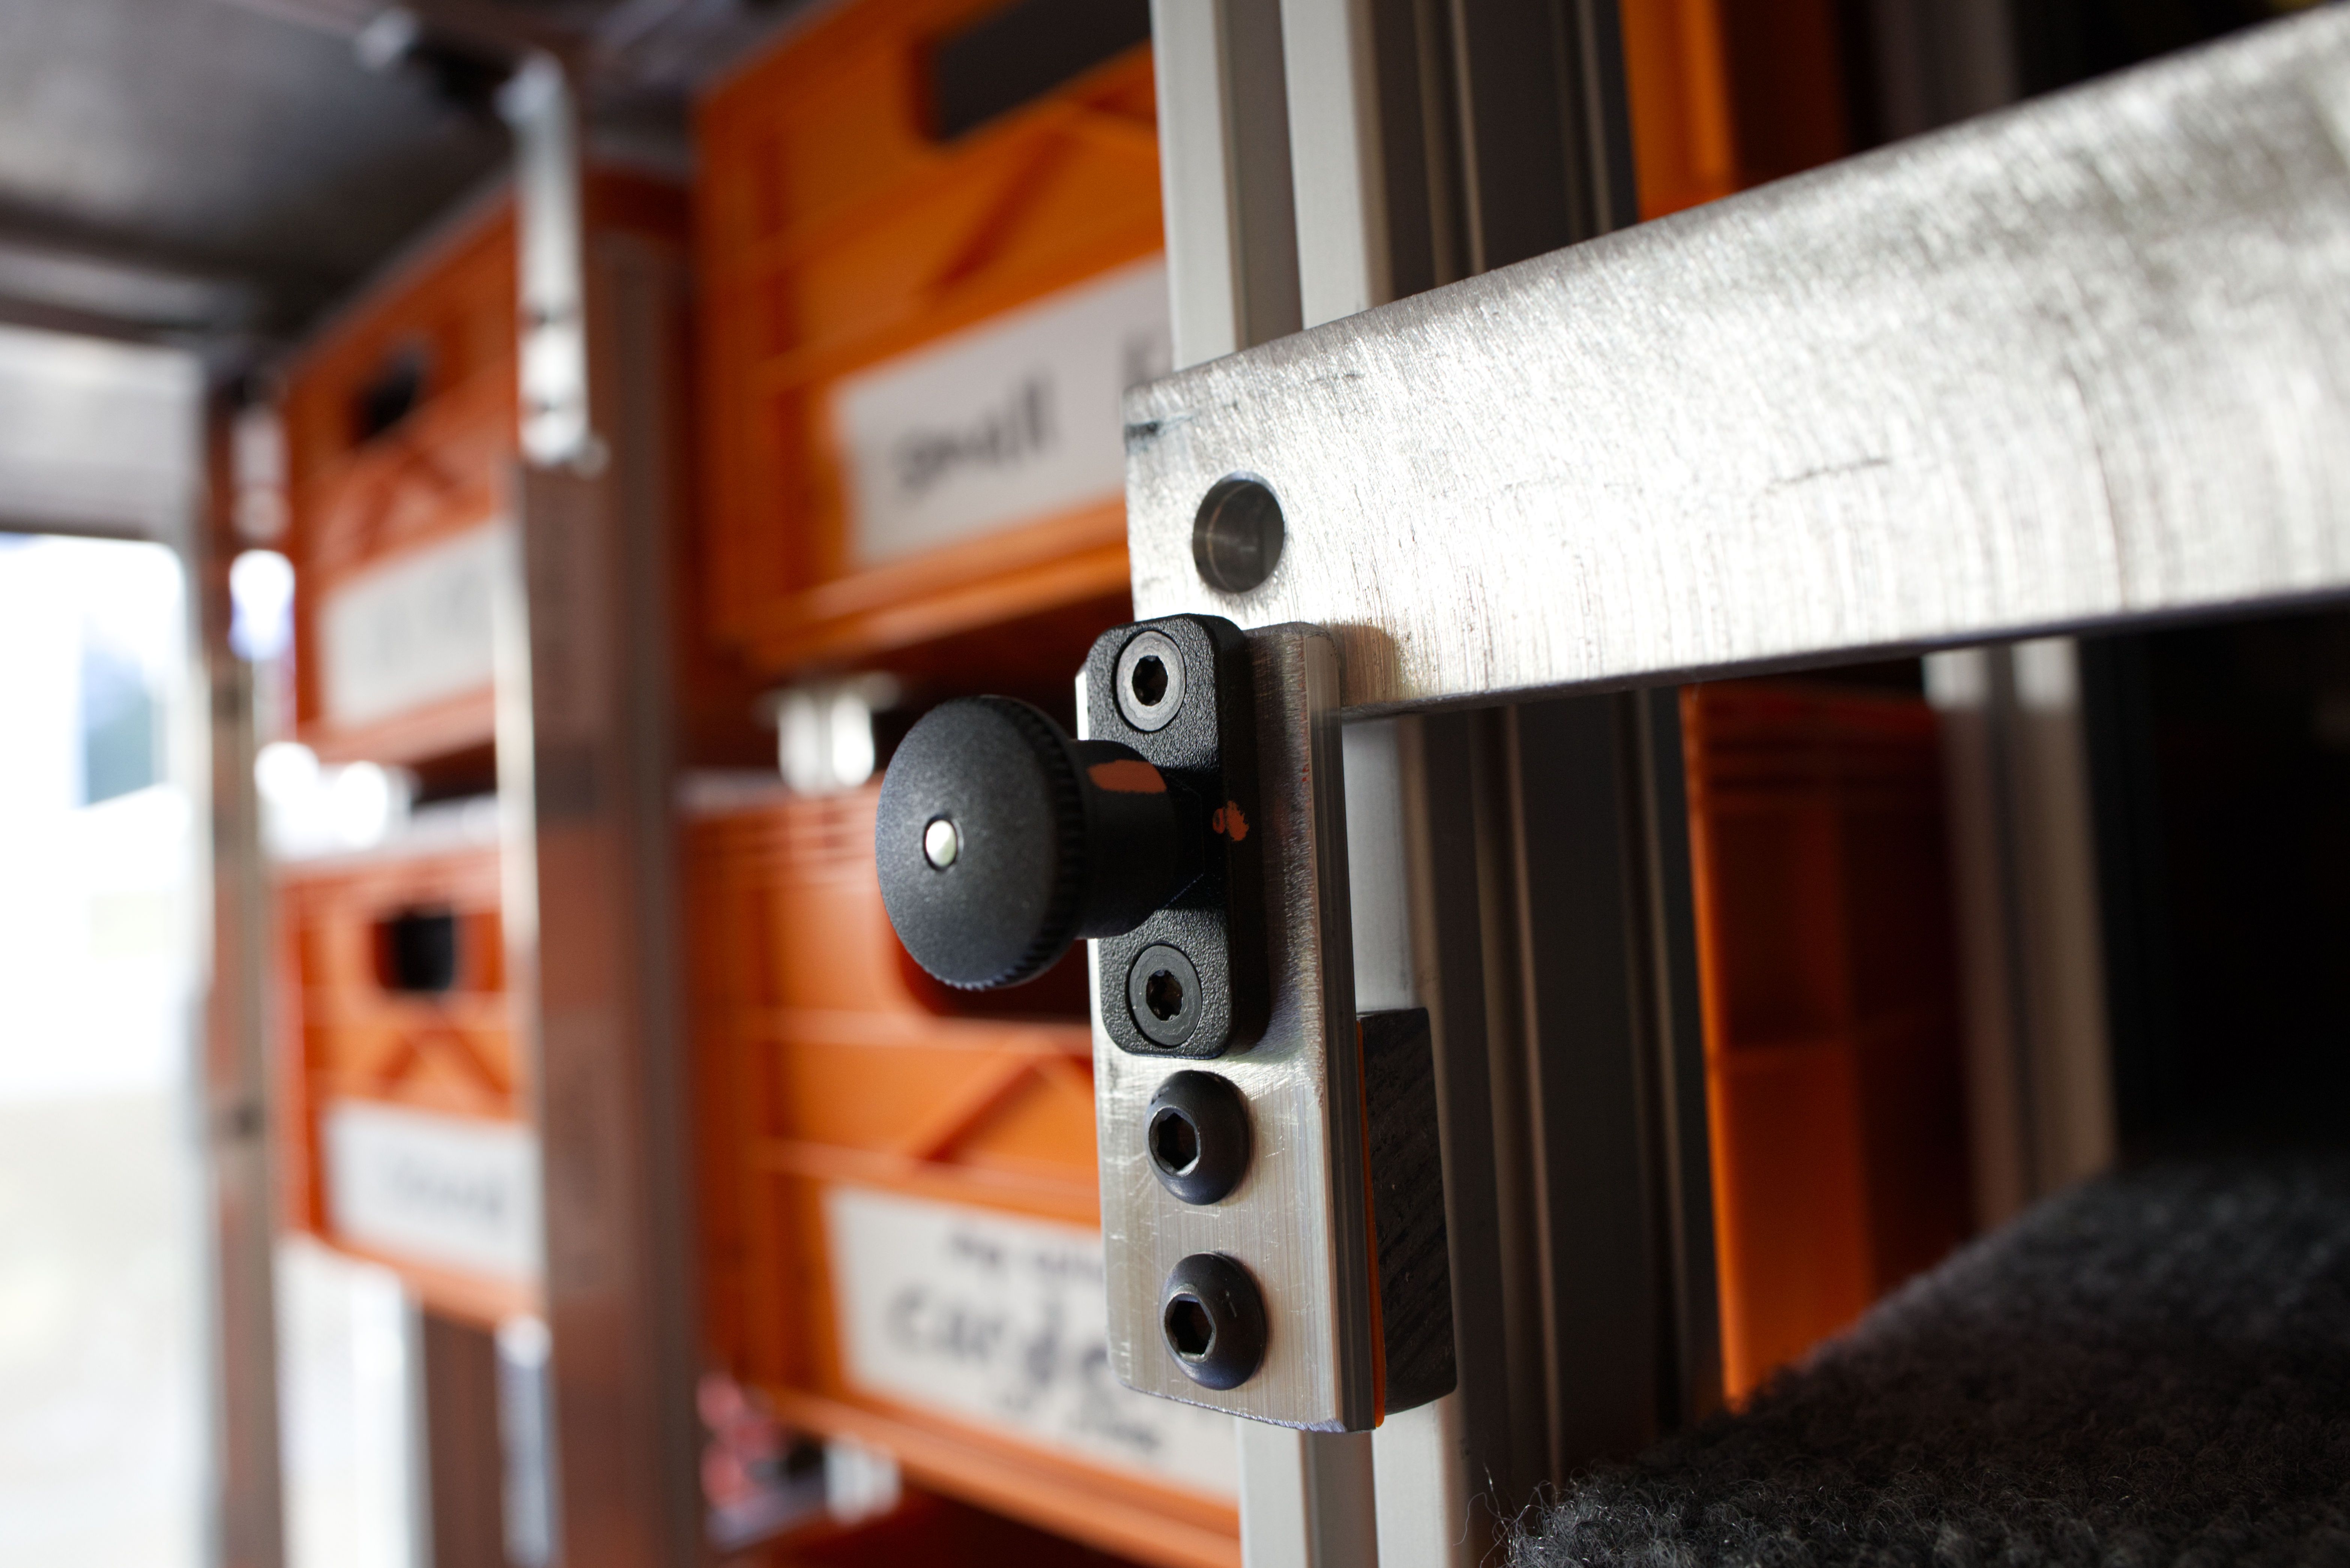
Little baby latches make sure that the sliding shelves don't get any ideas while driving:
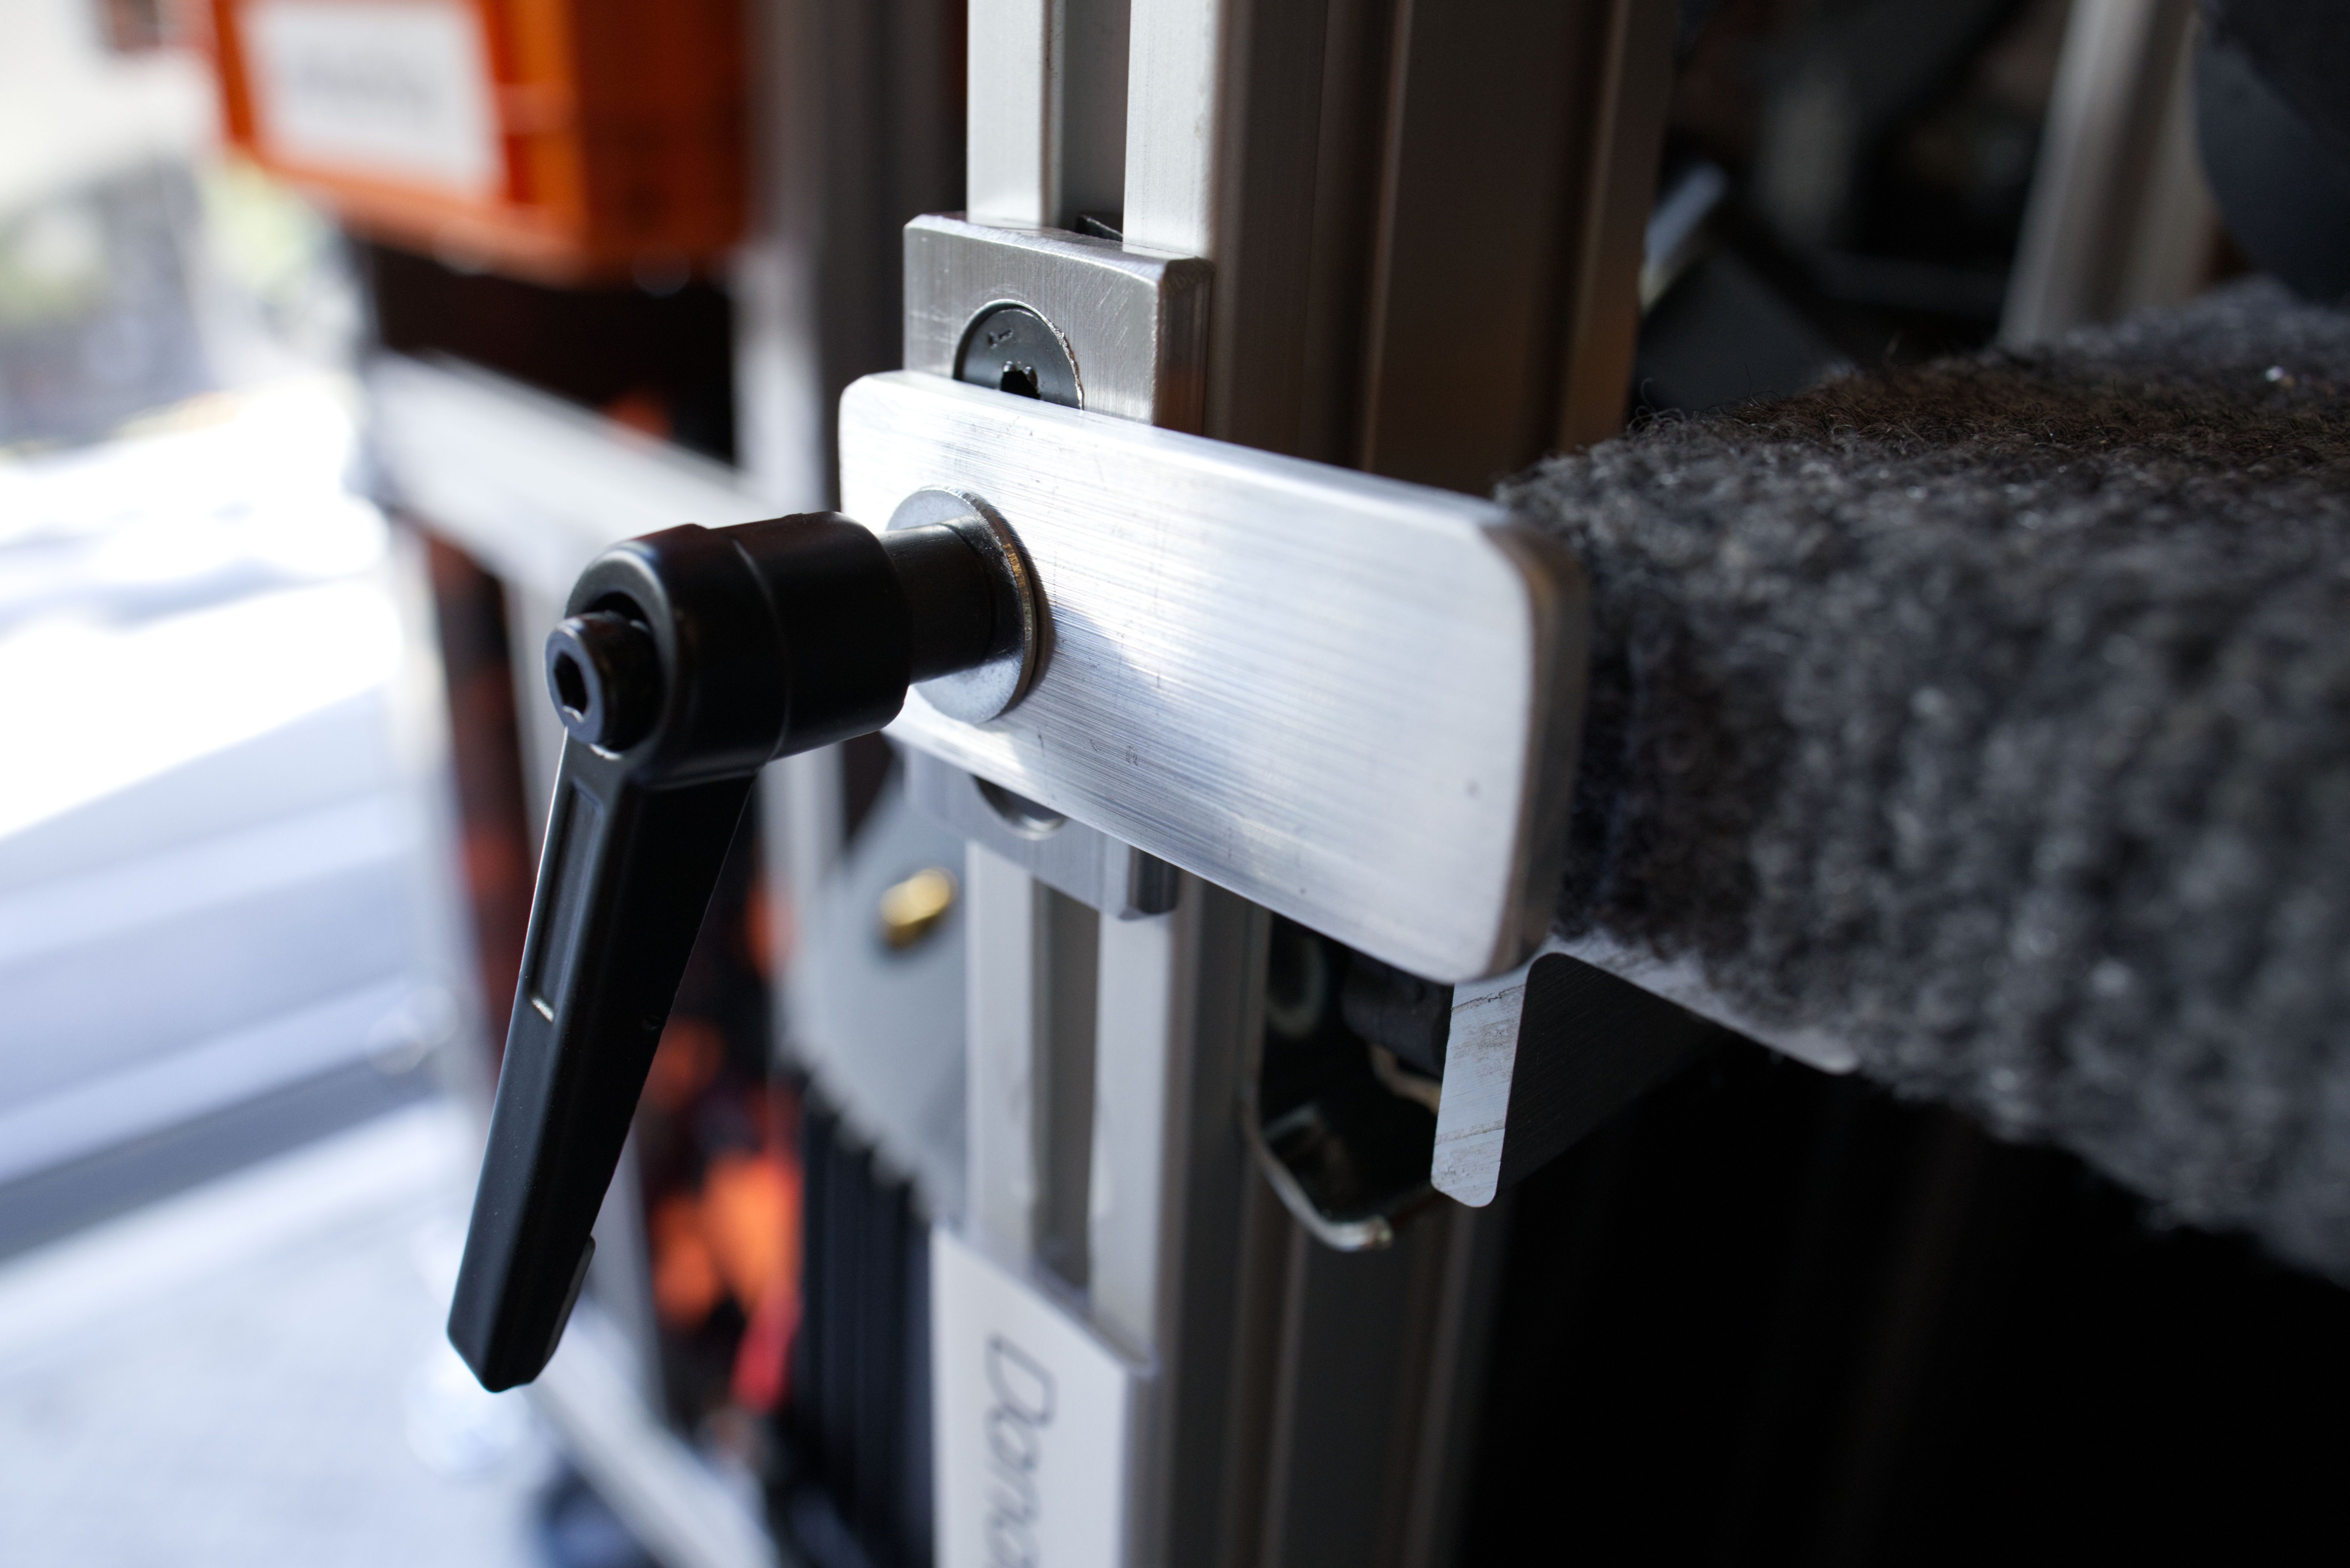
I build a tracked cart for 4x4 diffusion frames, floppies, and so on:
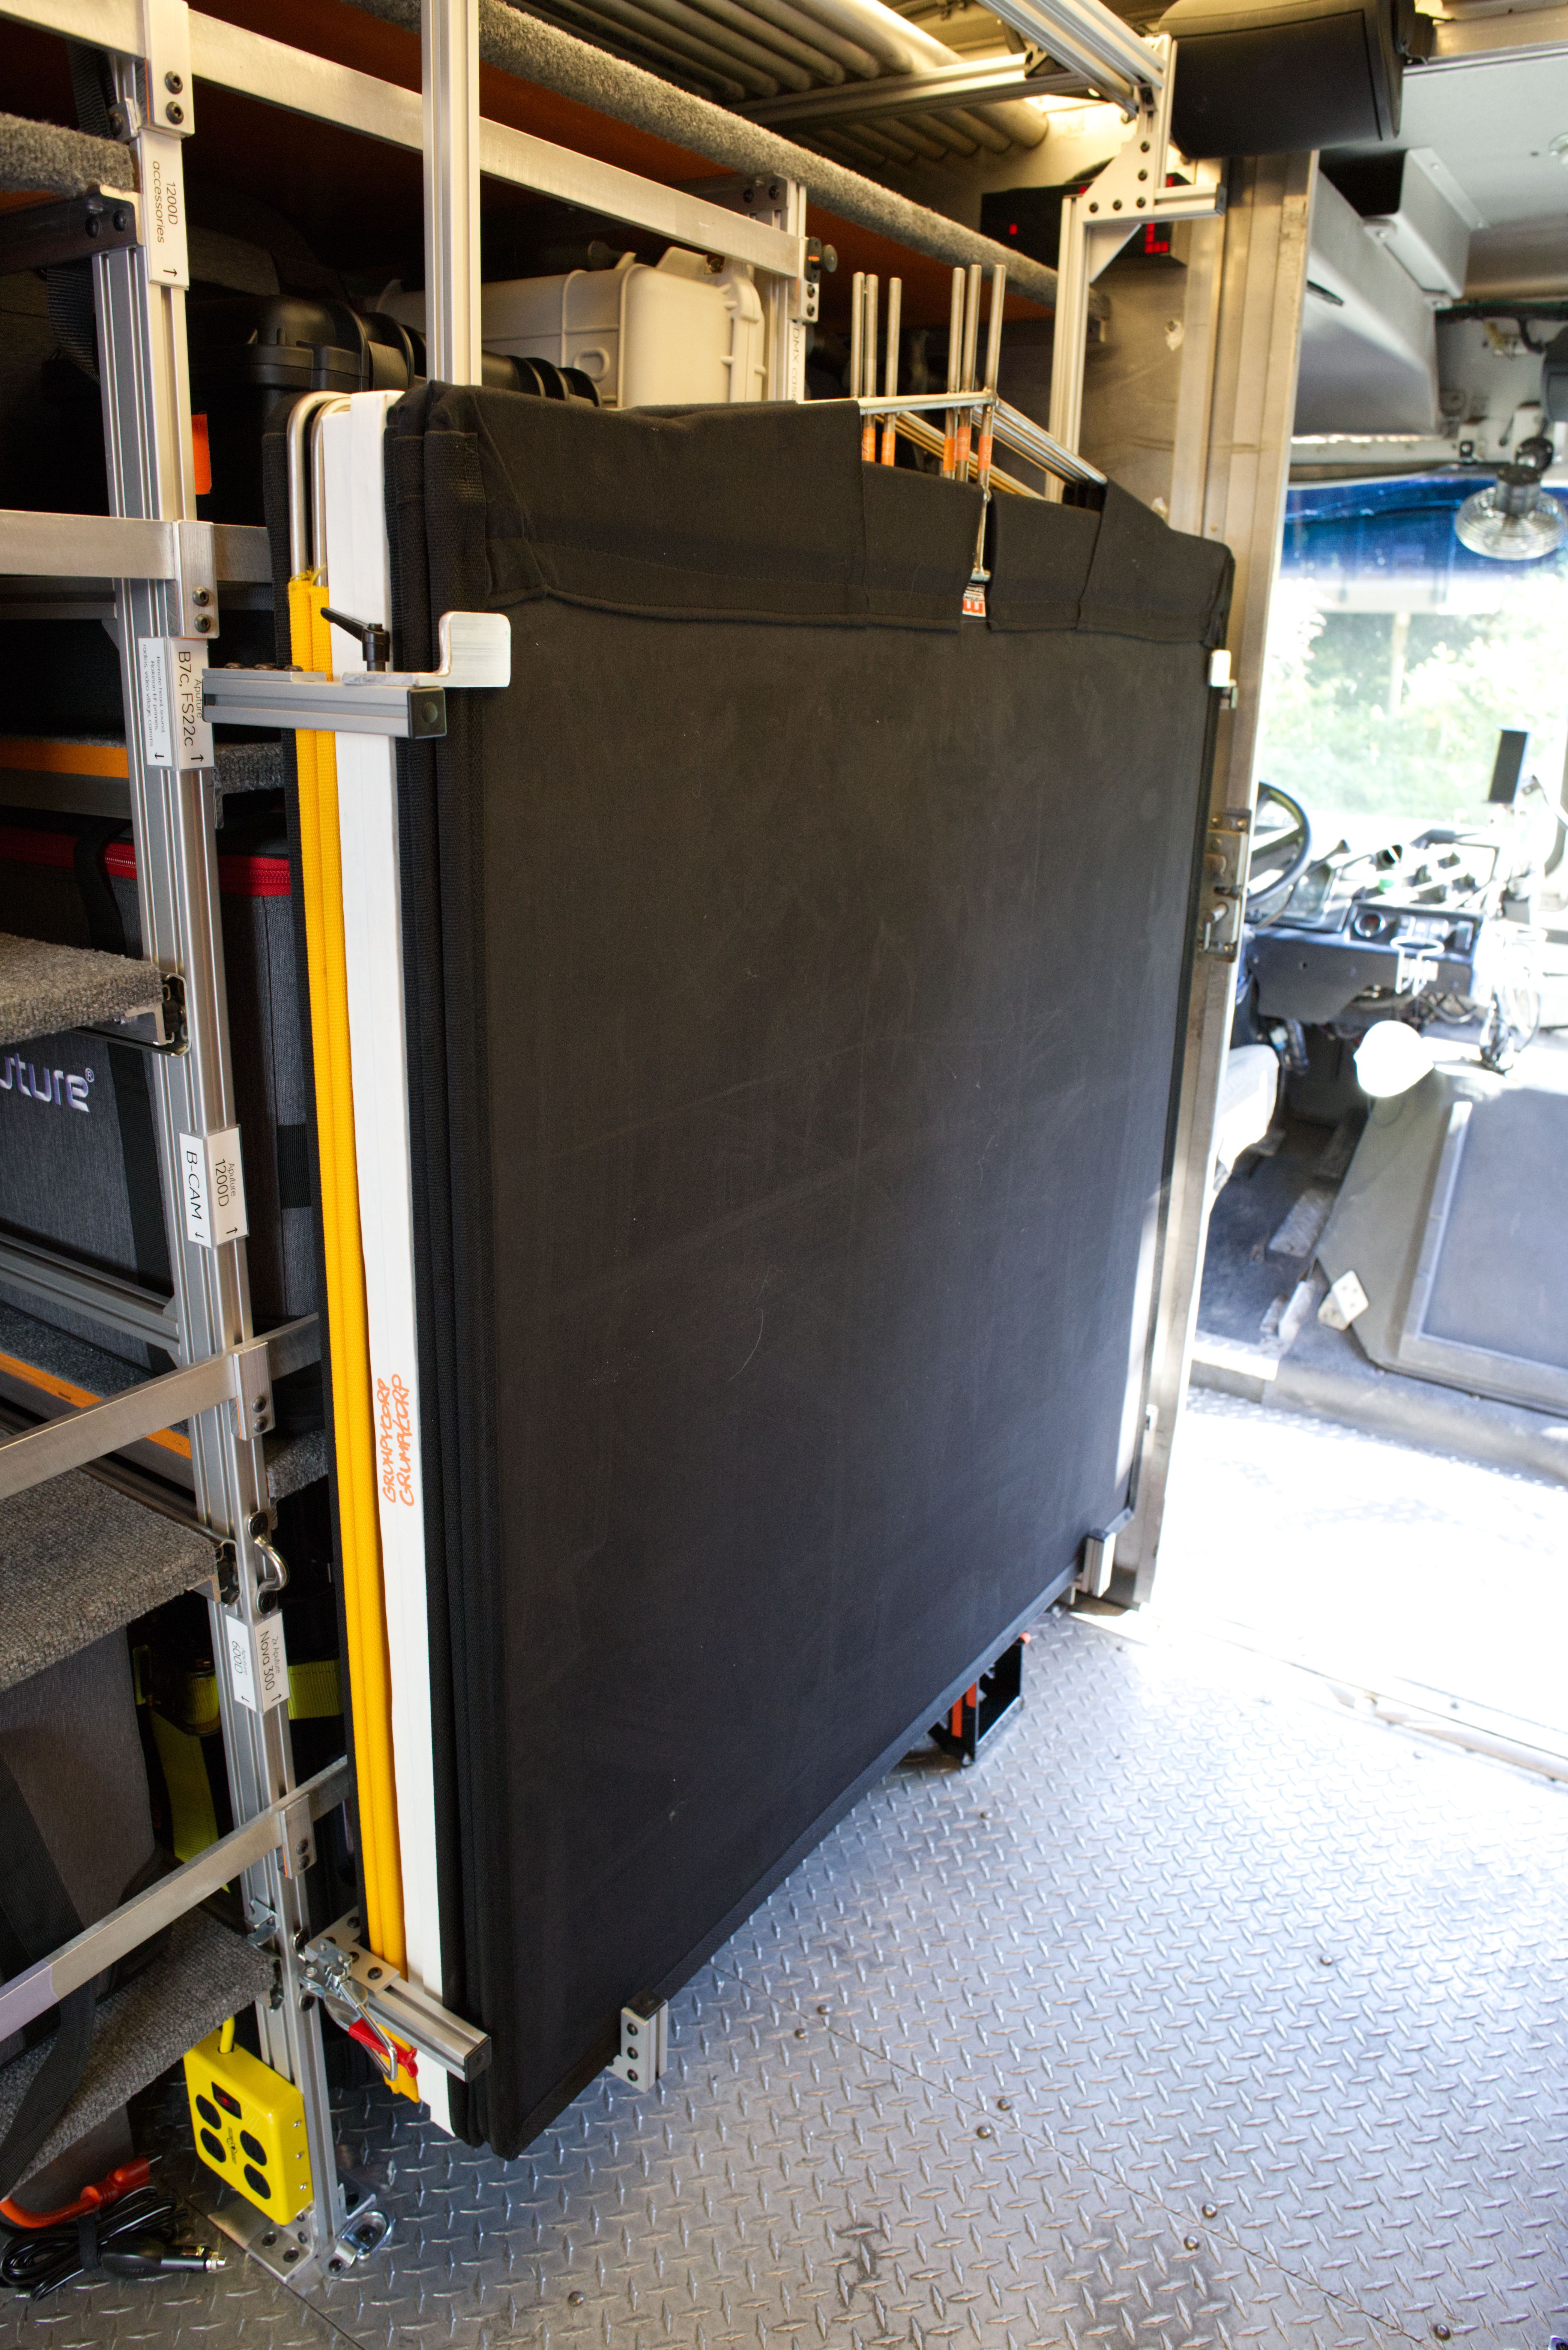
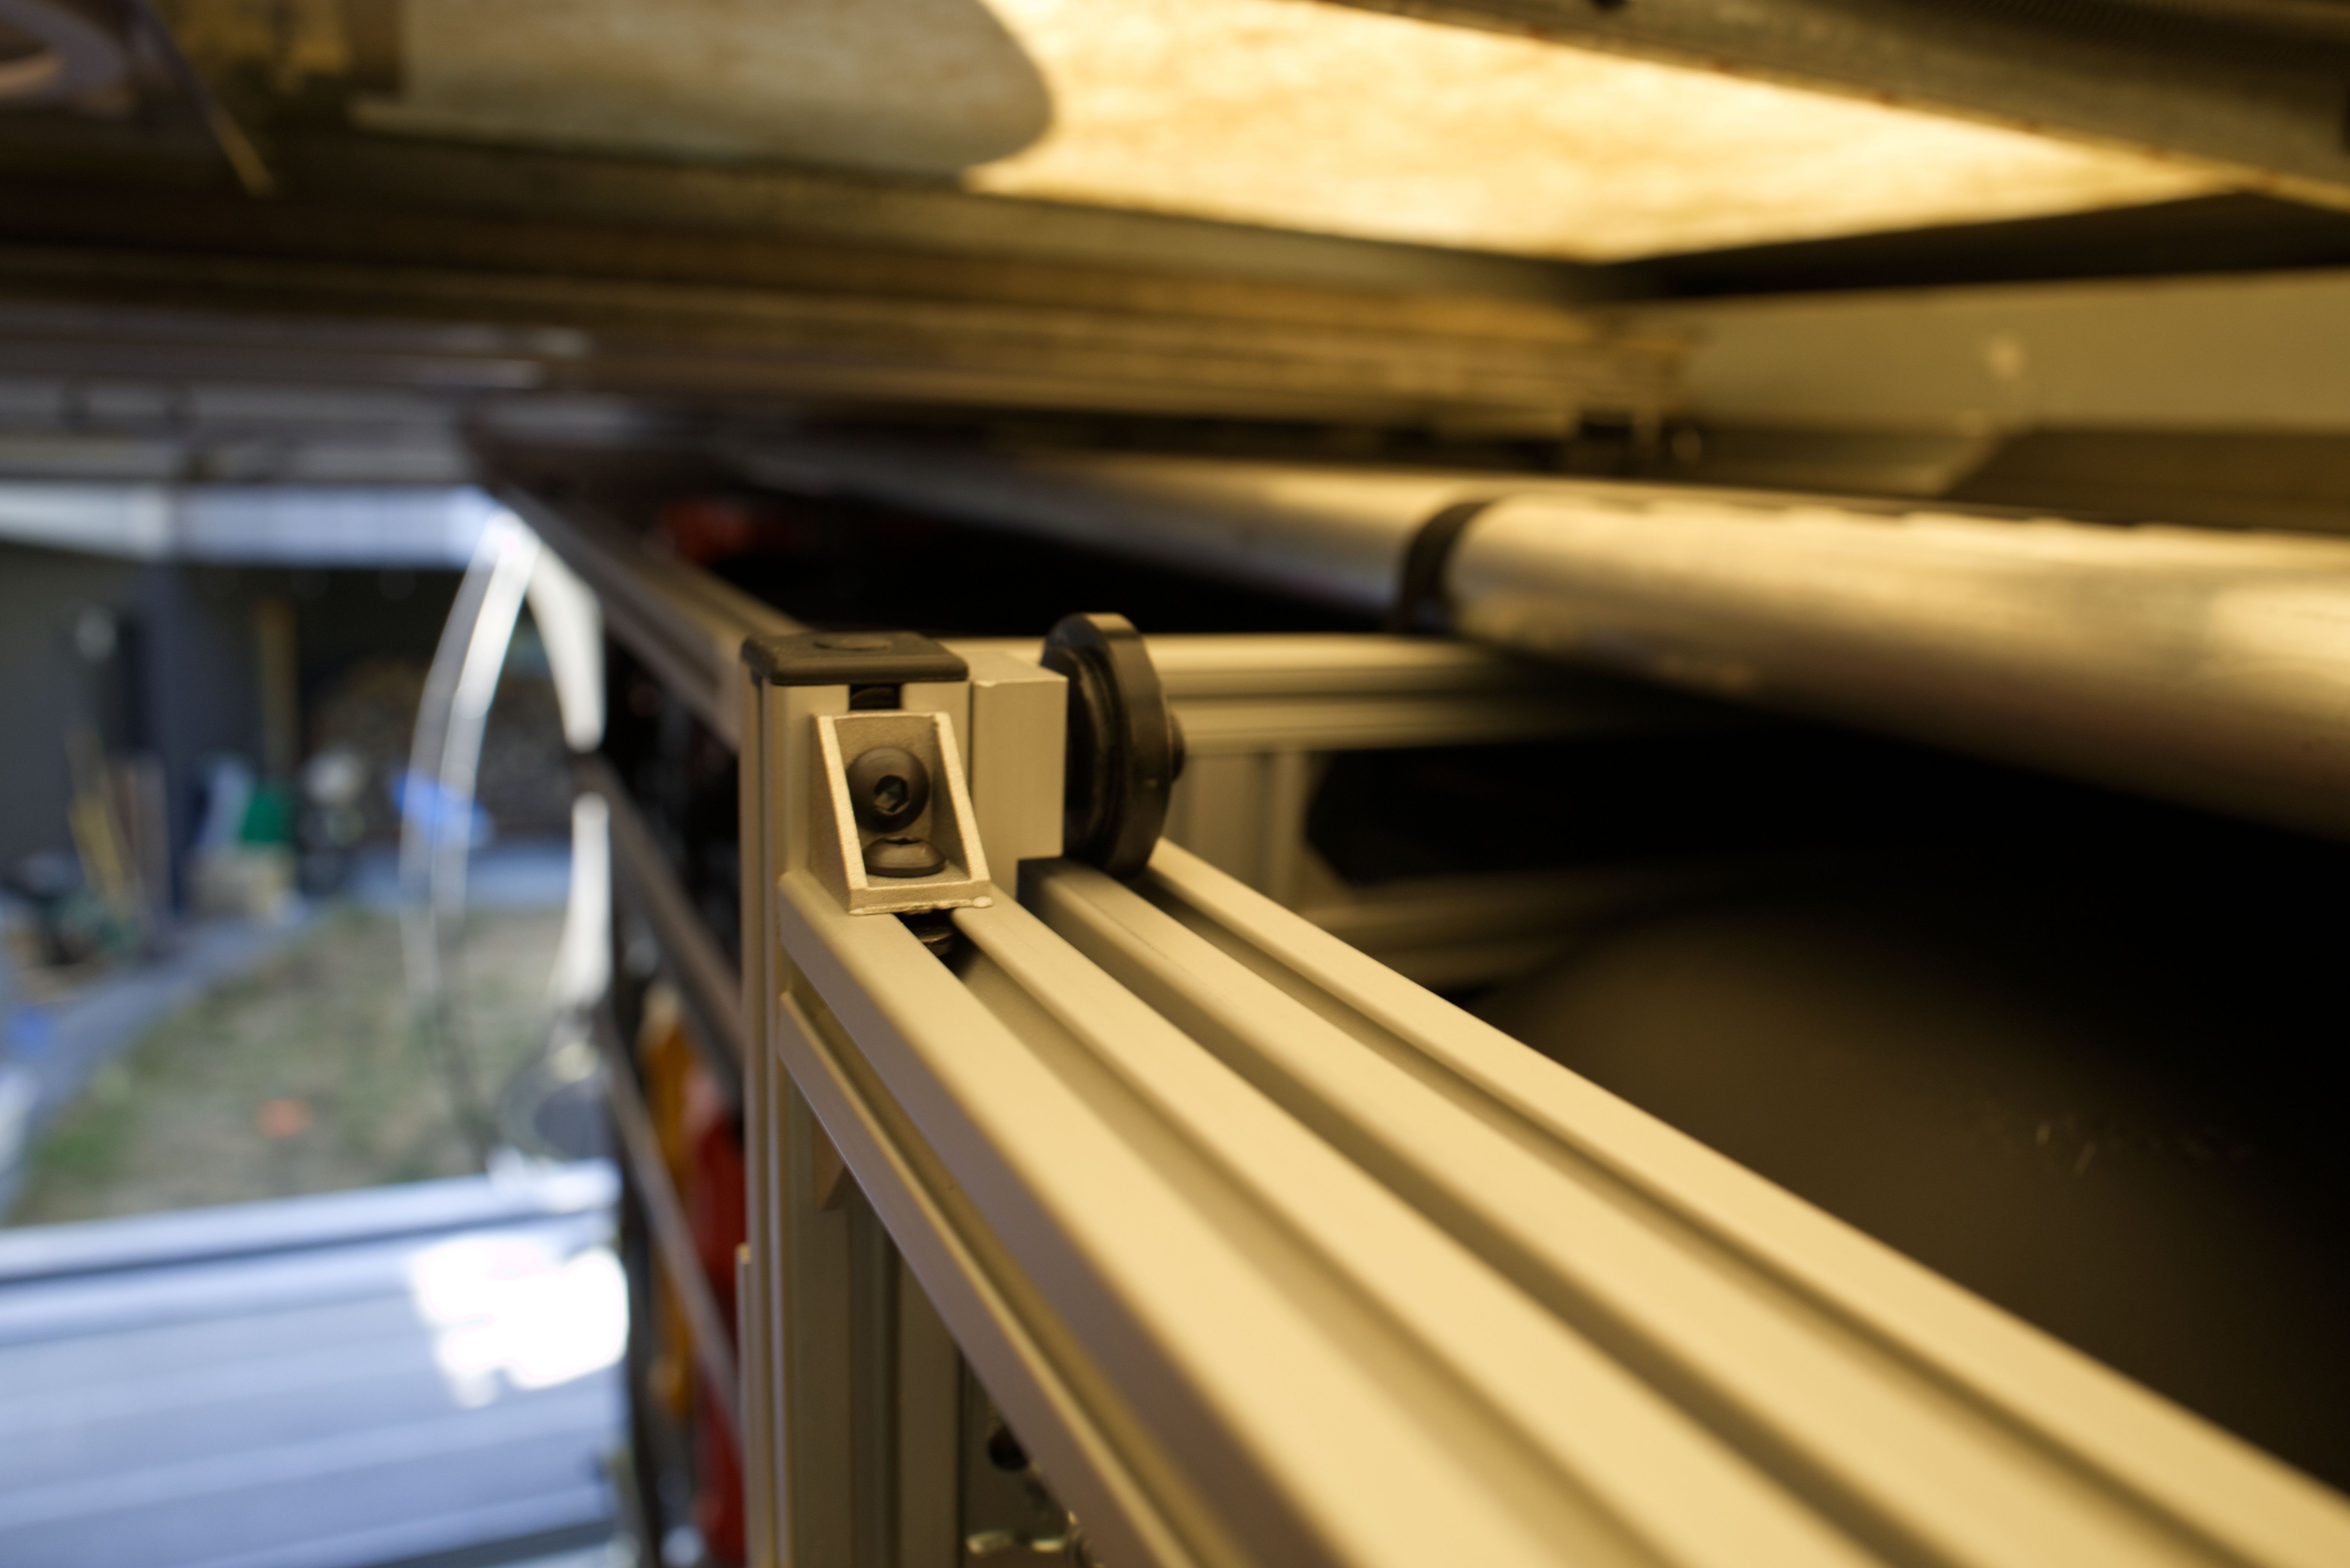
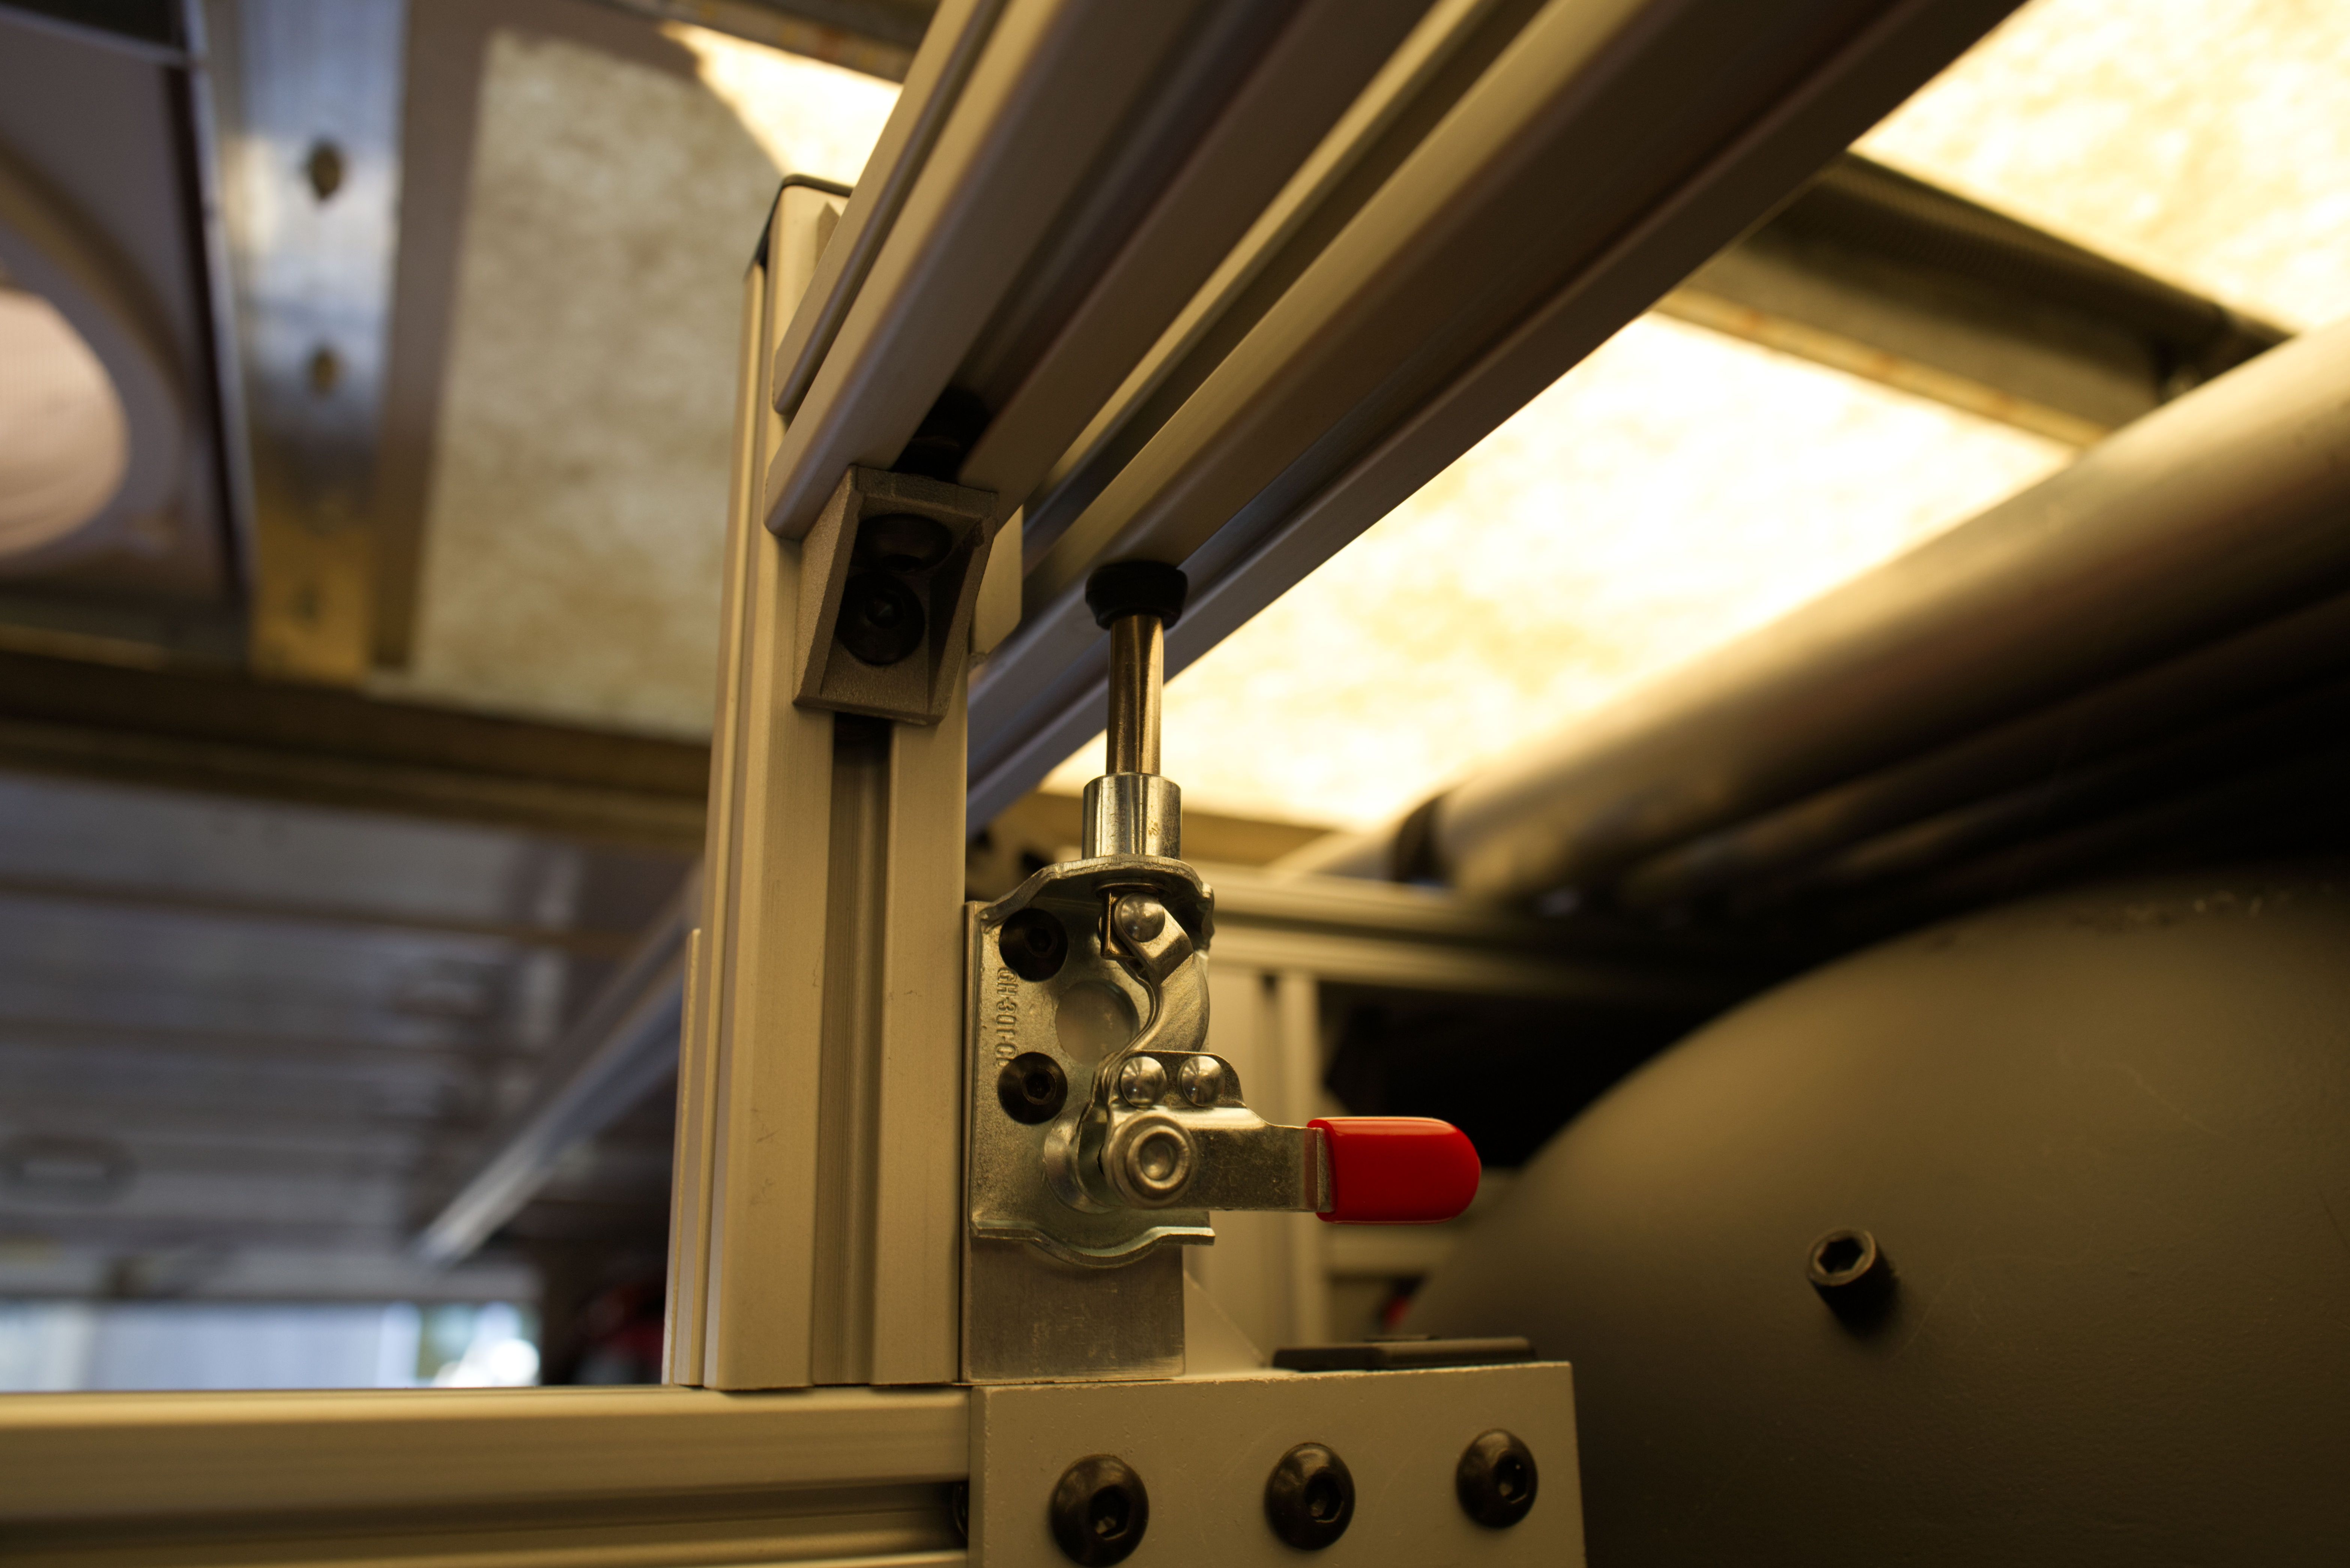
I can also take the diffusion cart off the track and (with help from a second person) take it on location:
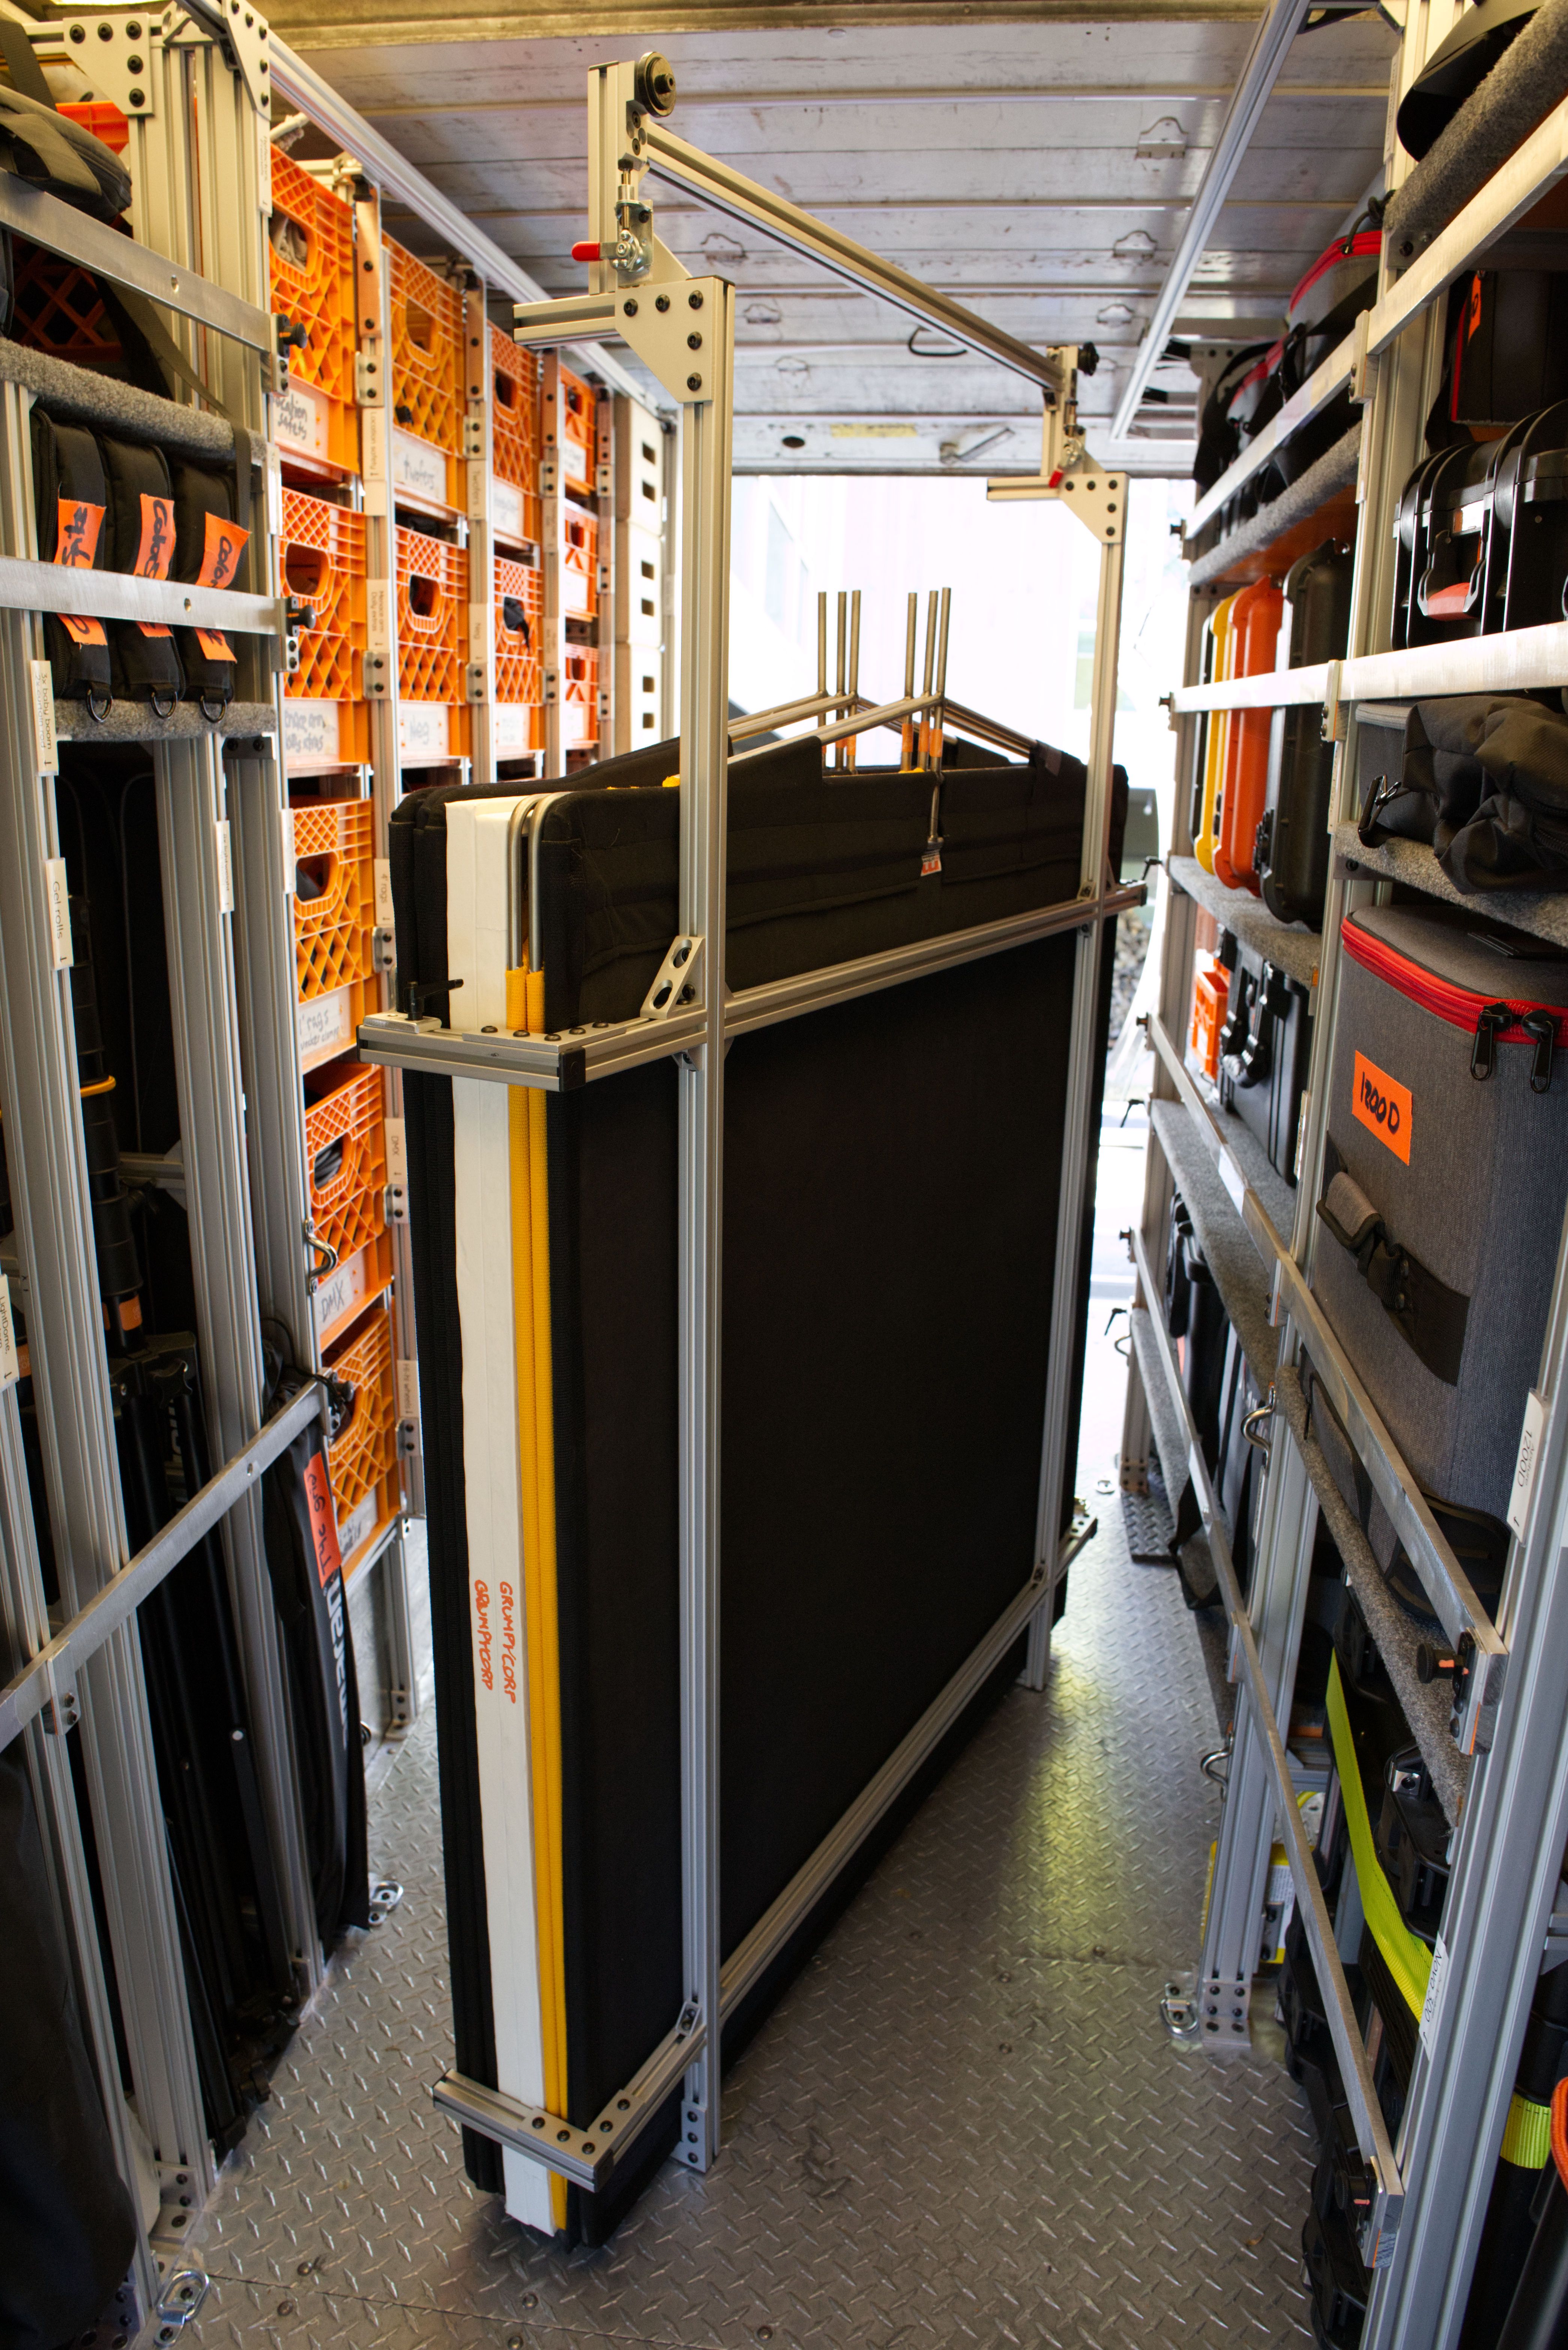
When slid to the right, I can access all the sliding shelves; when slid to the left, I can access a bunch of heavier lights as well as my C-stand cart.
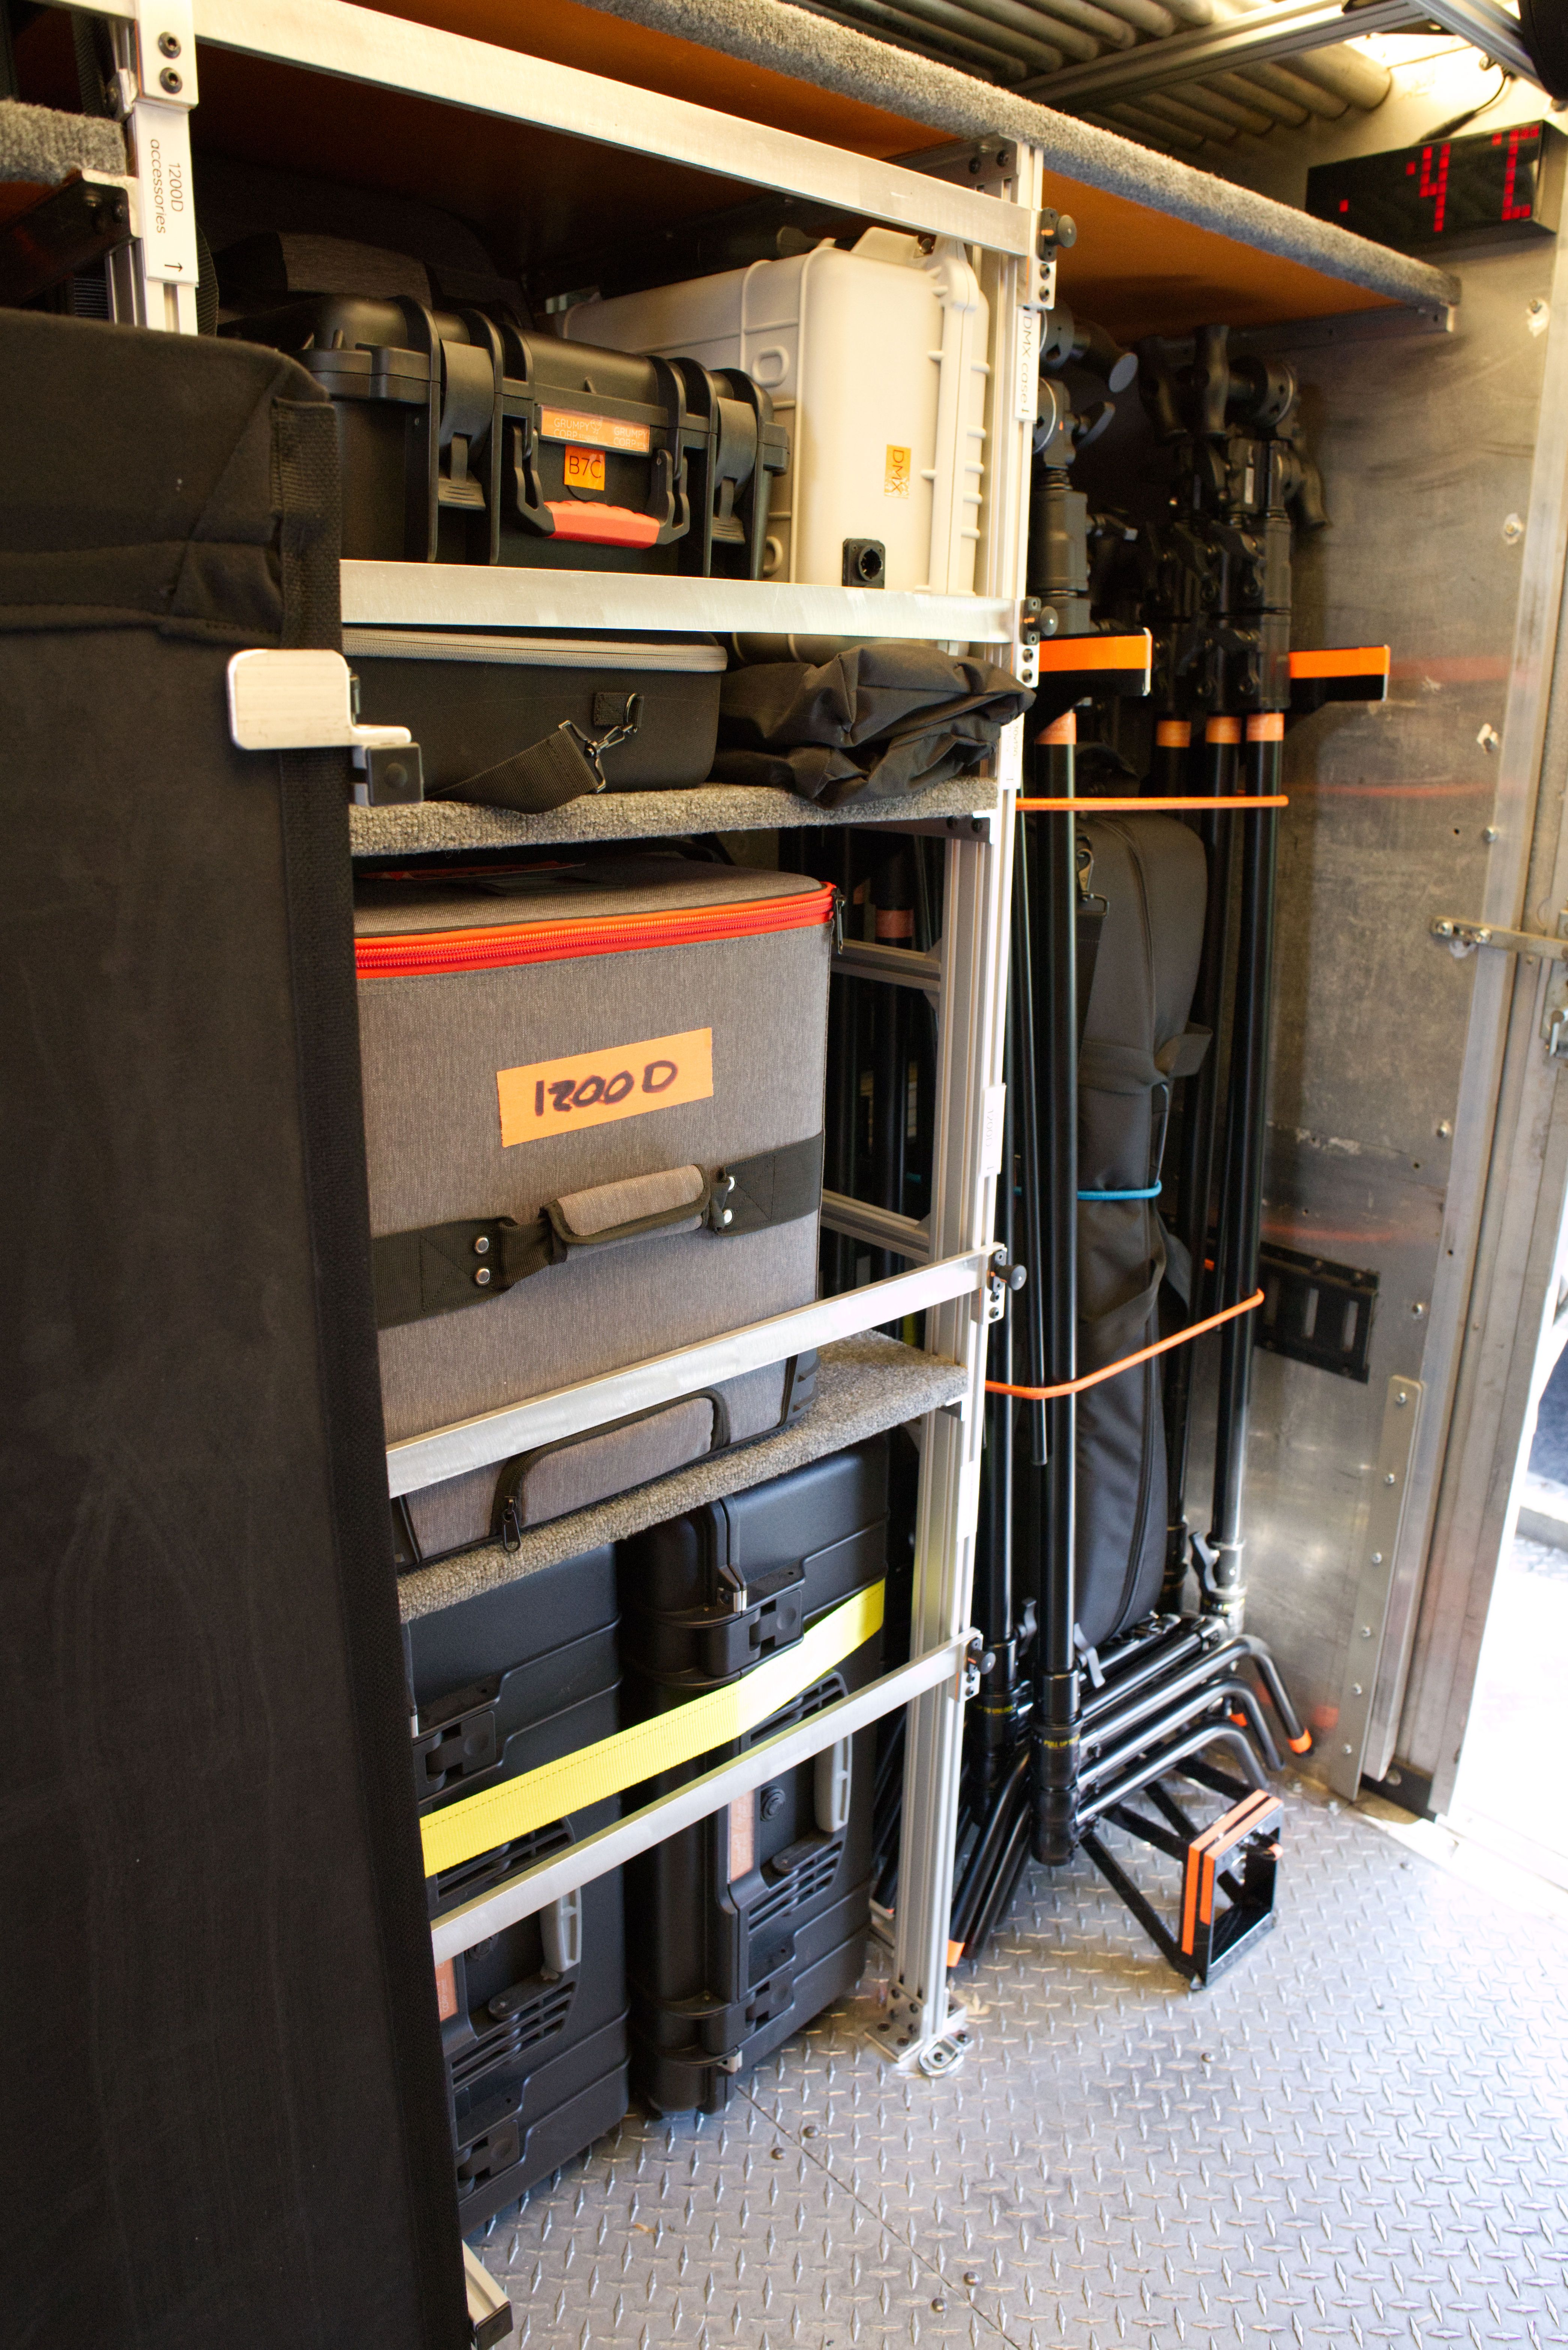
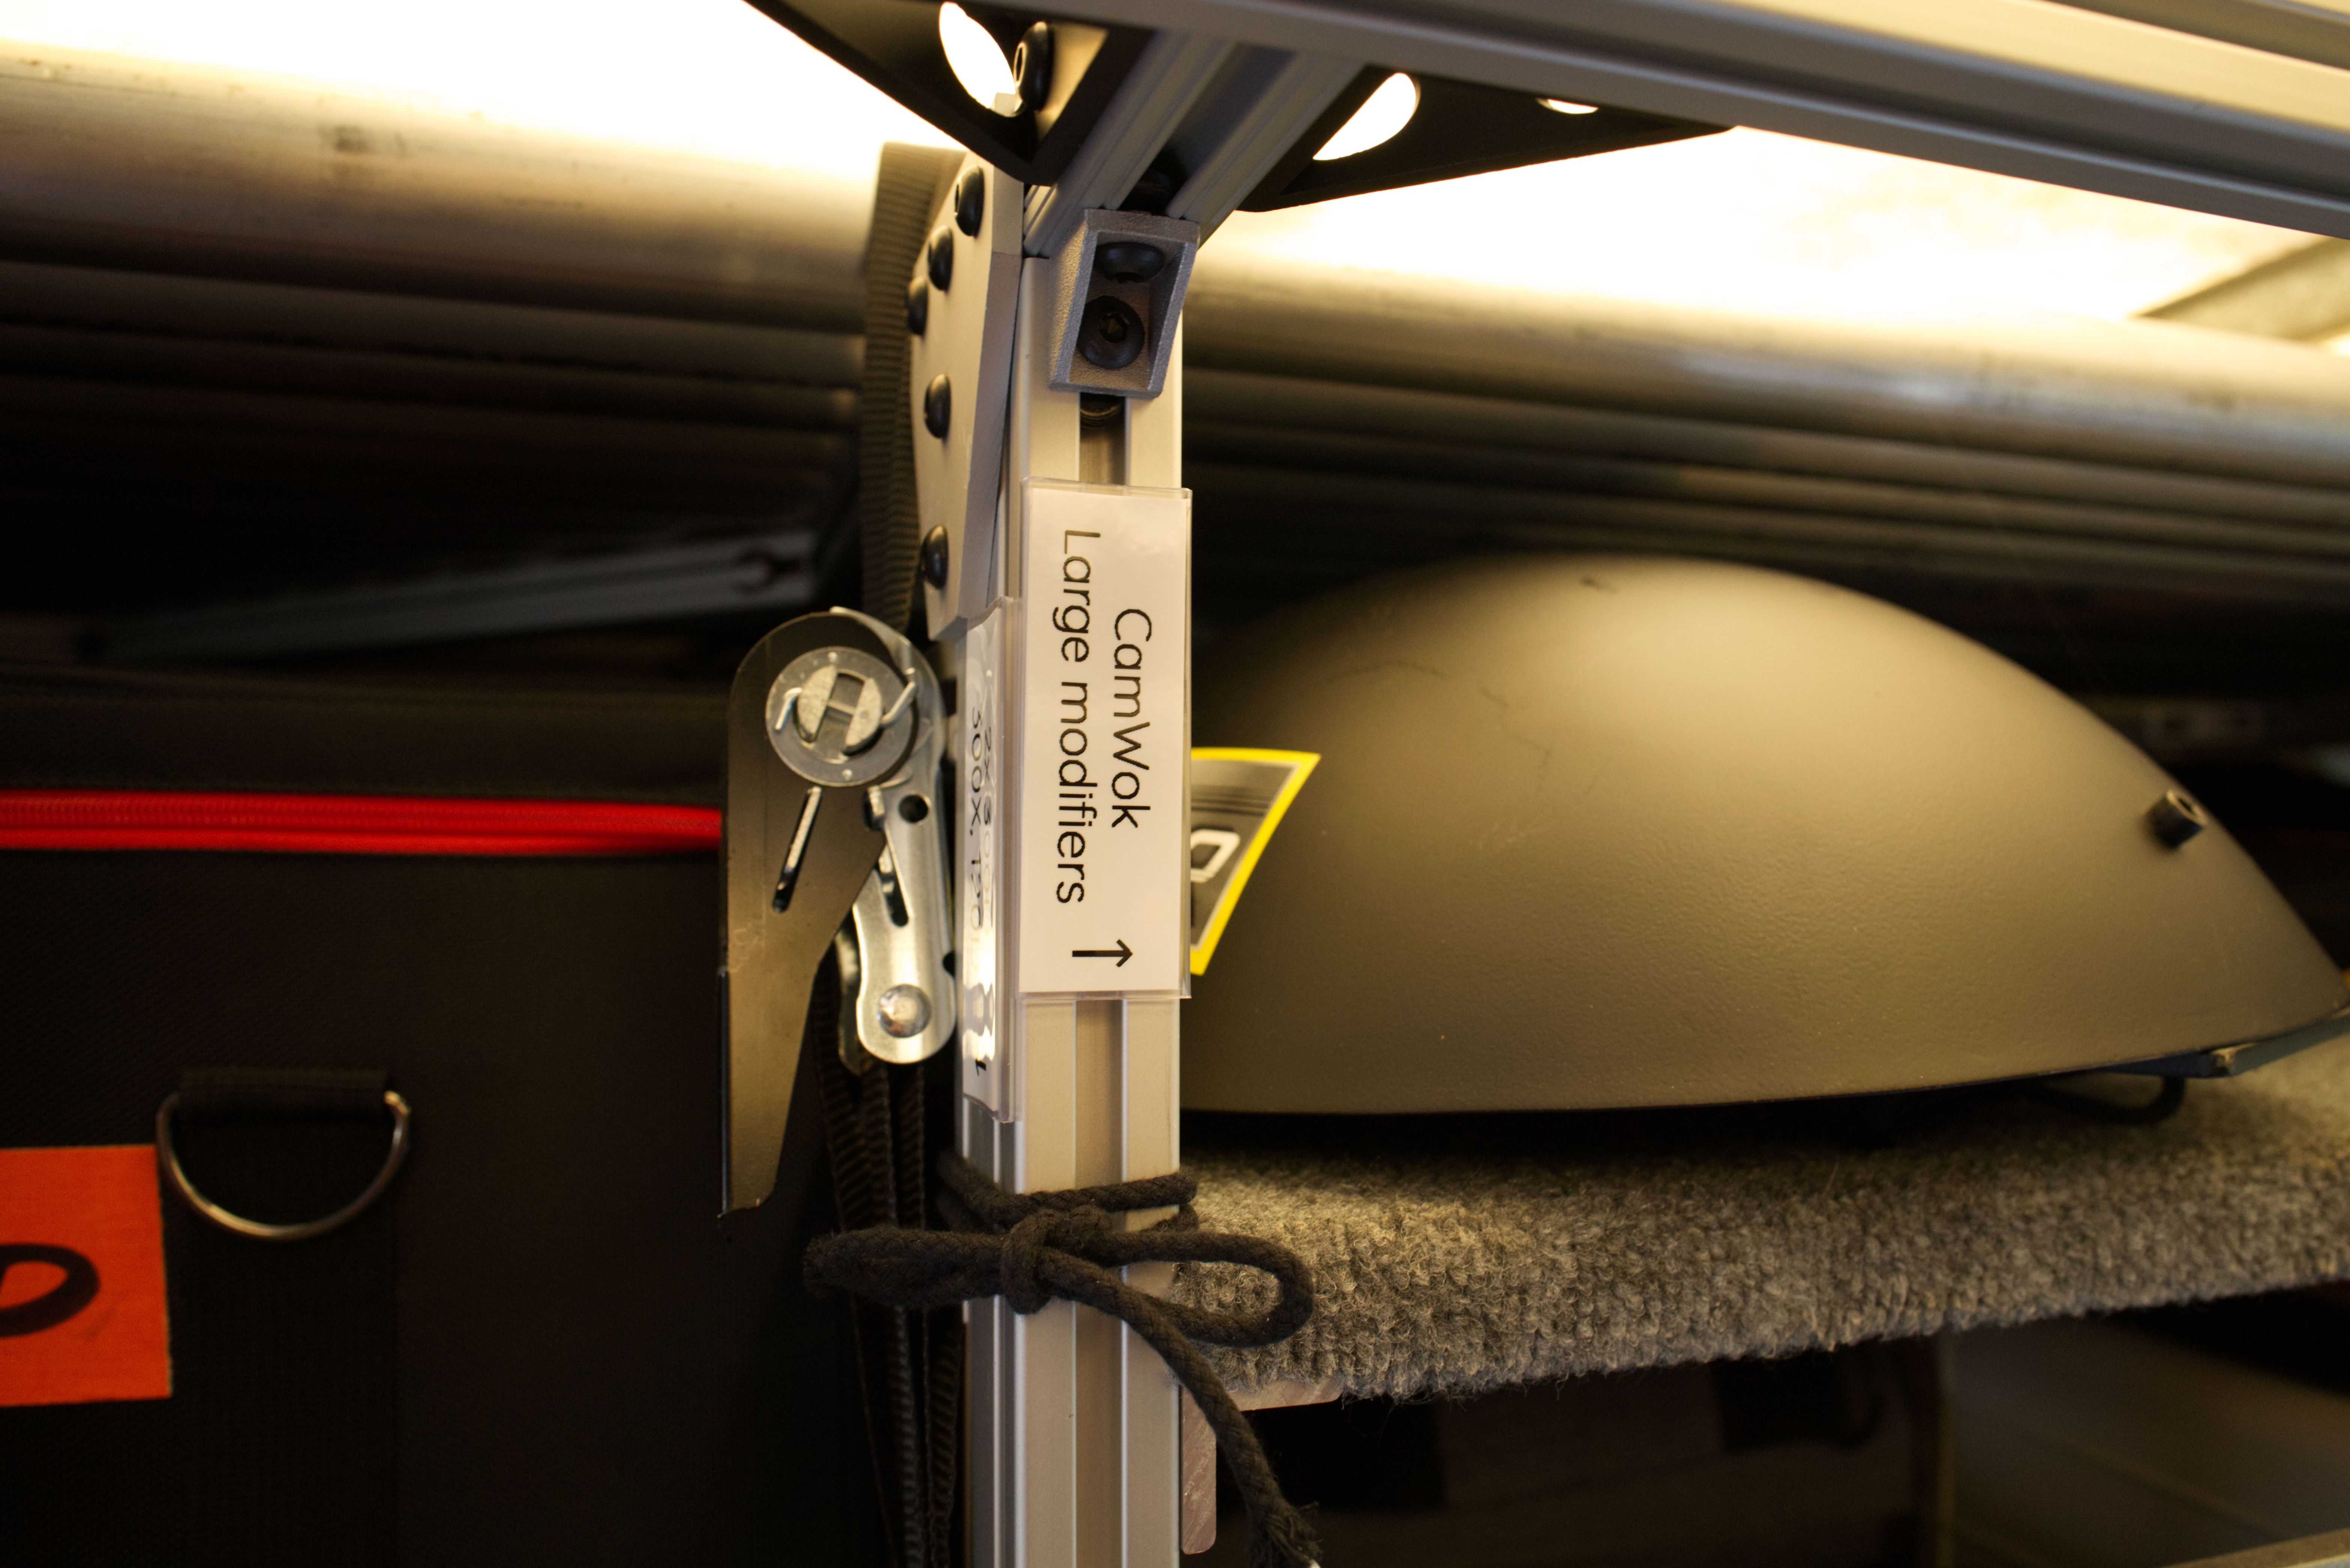
There's a wider-than-4' shelf for looong modifiers/softboxes, and of course my trusty CamWok that I used for at least a quarter of the shots in October:
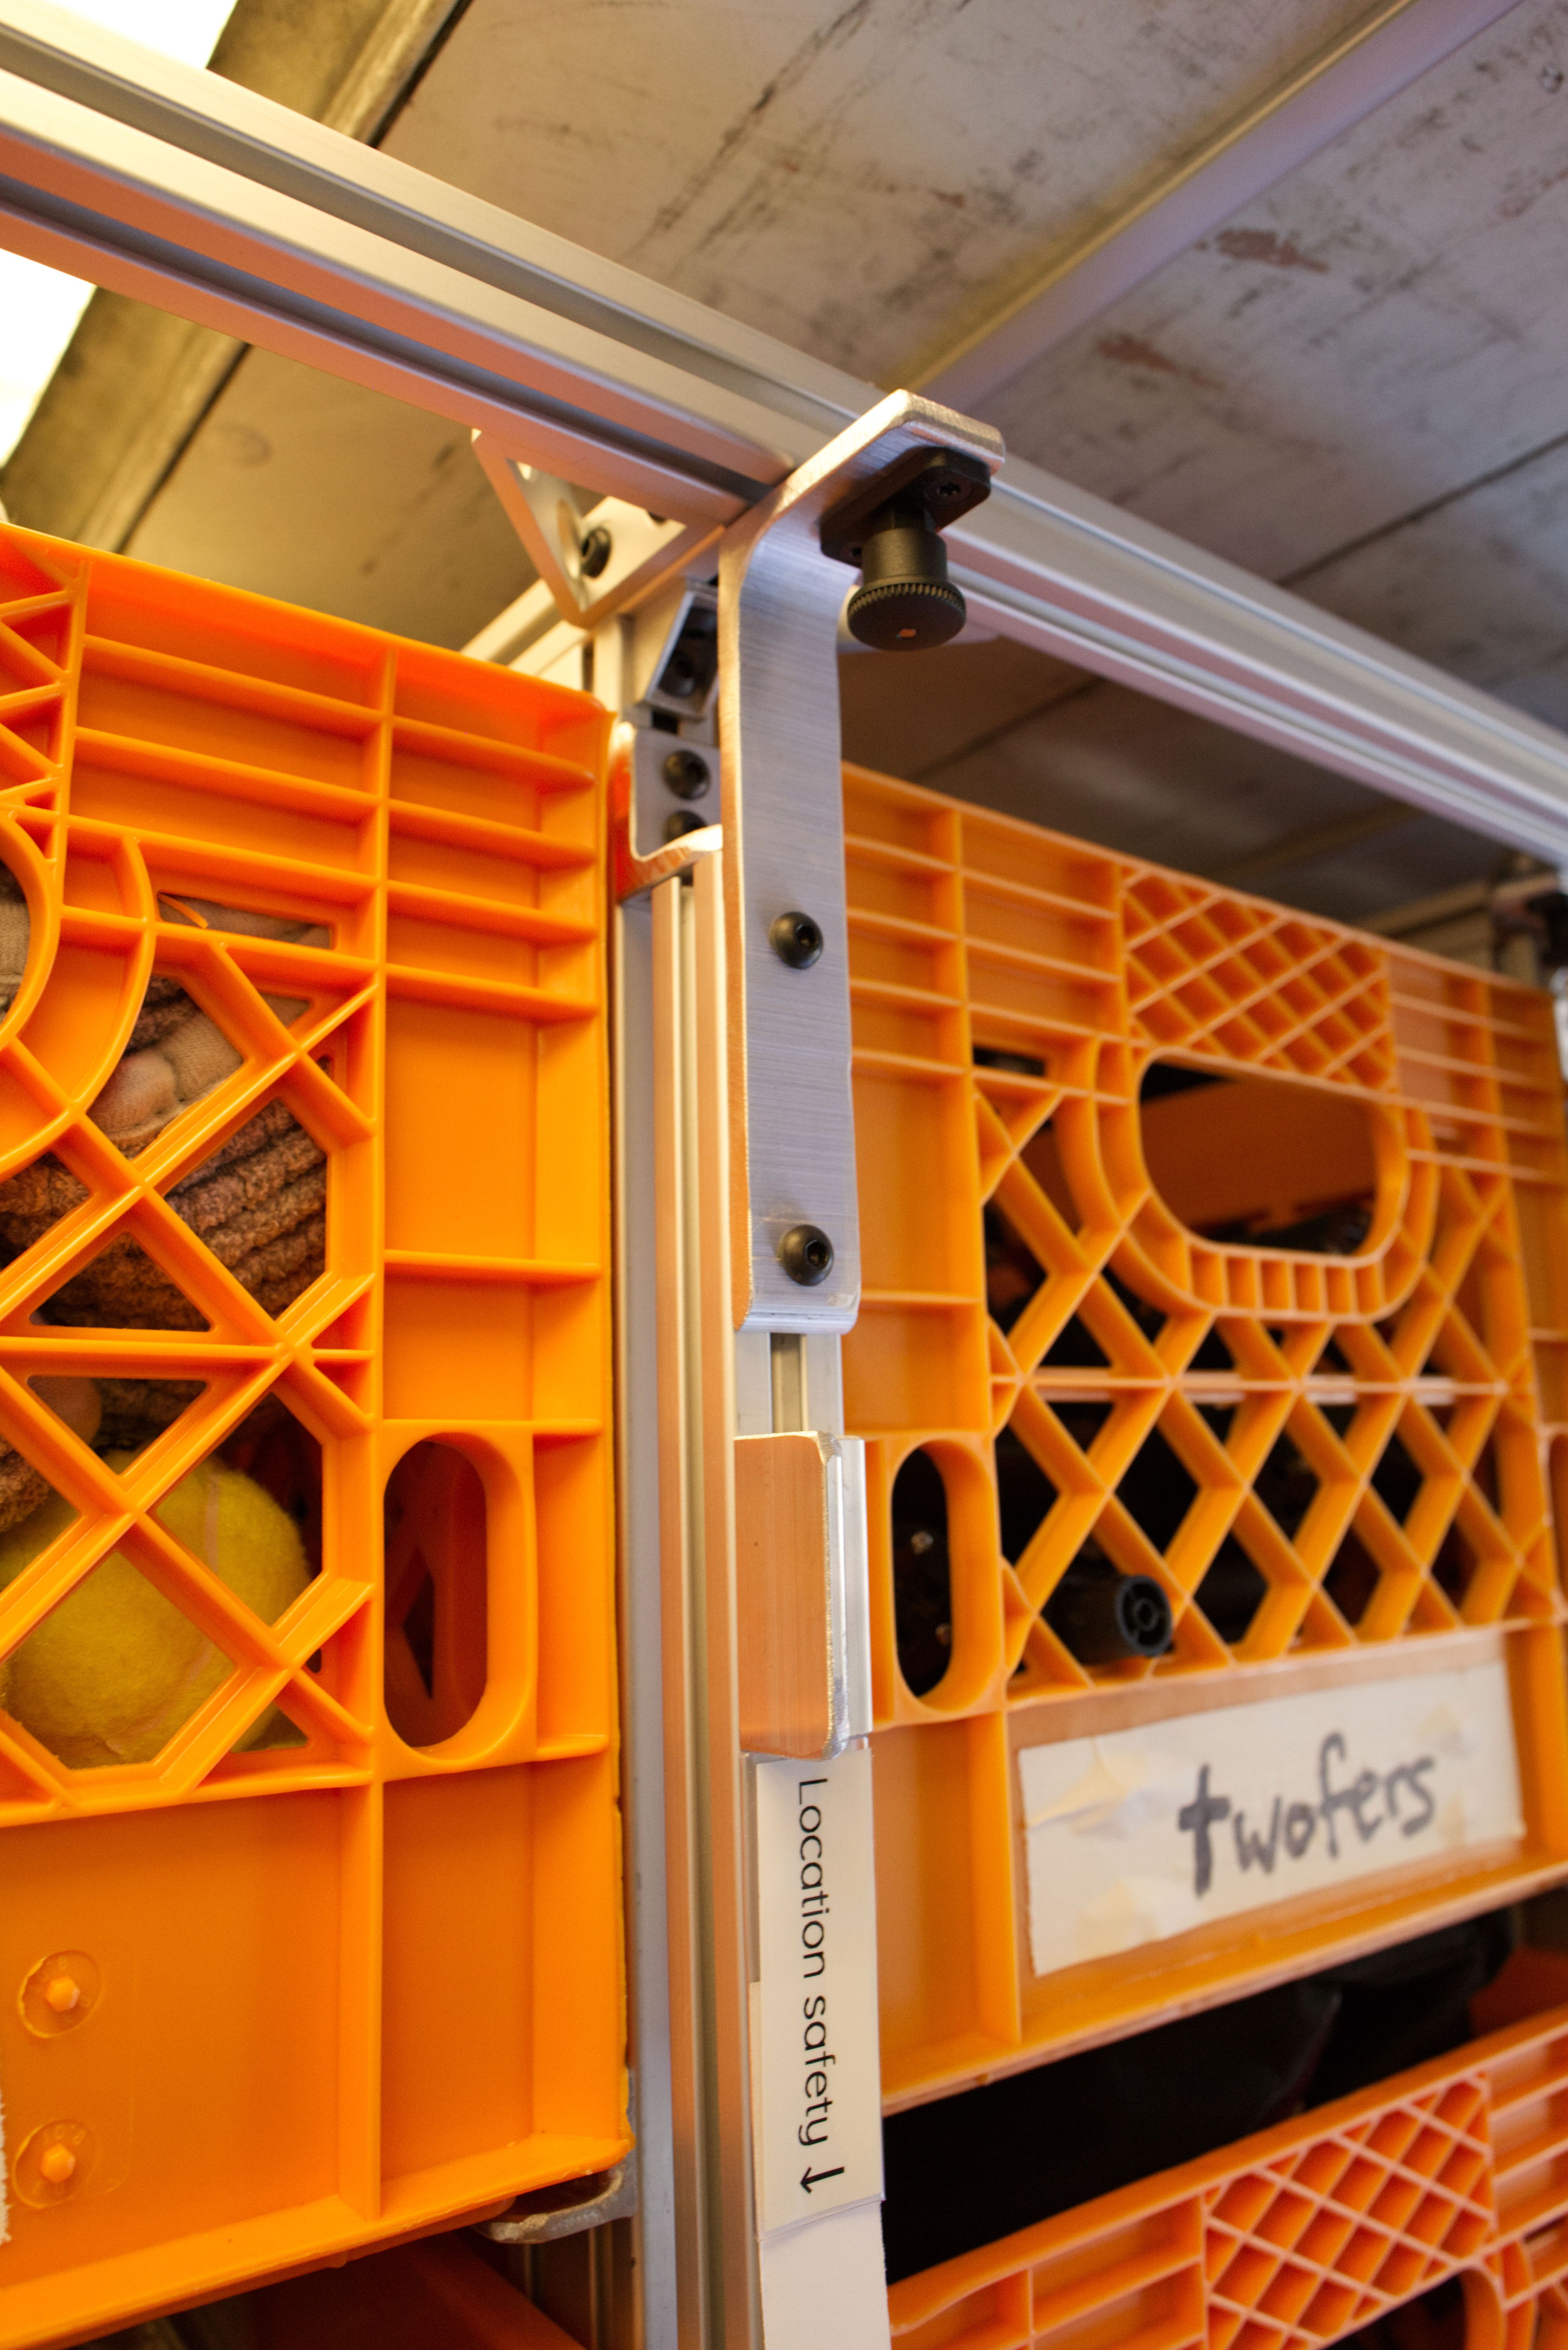
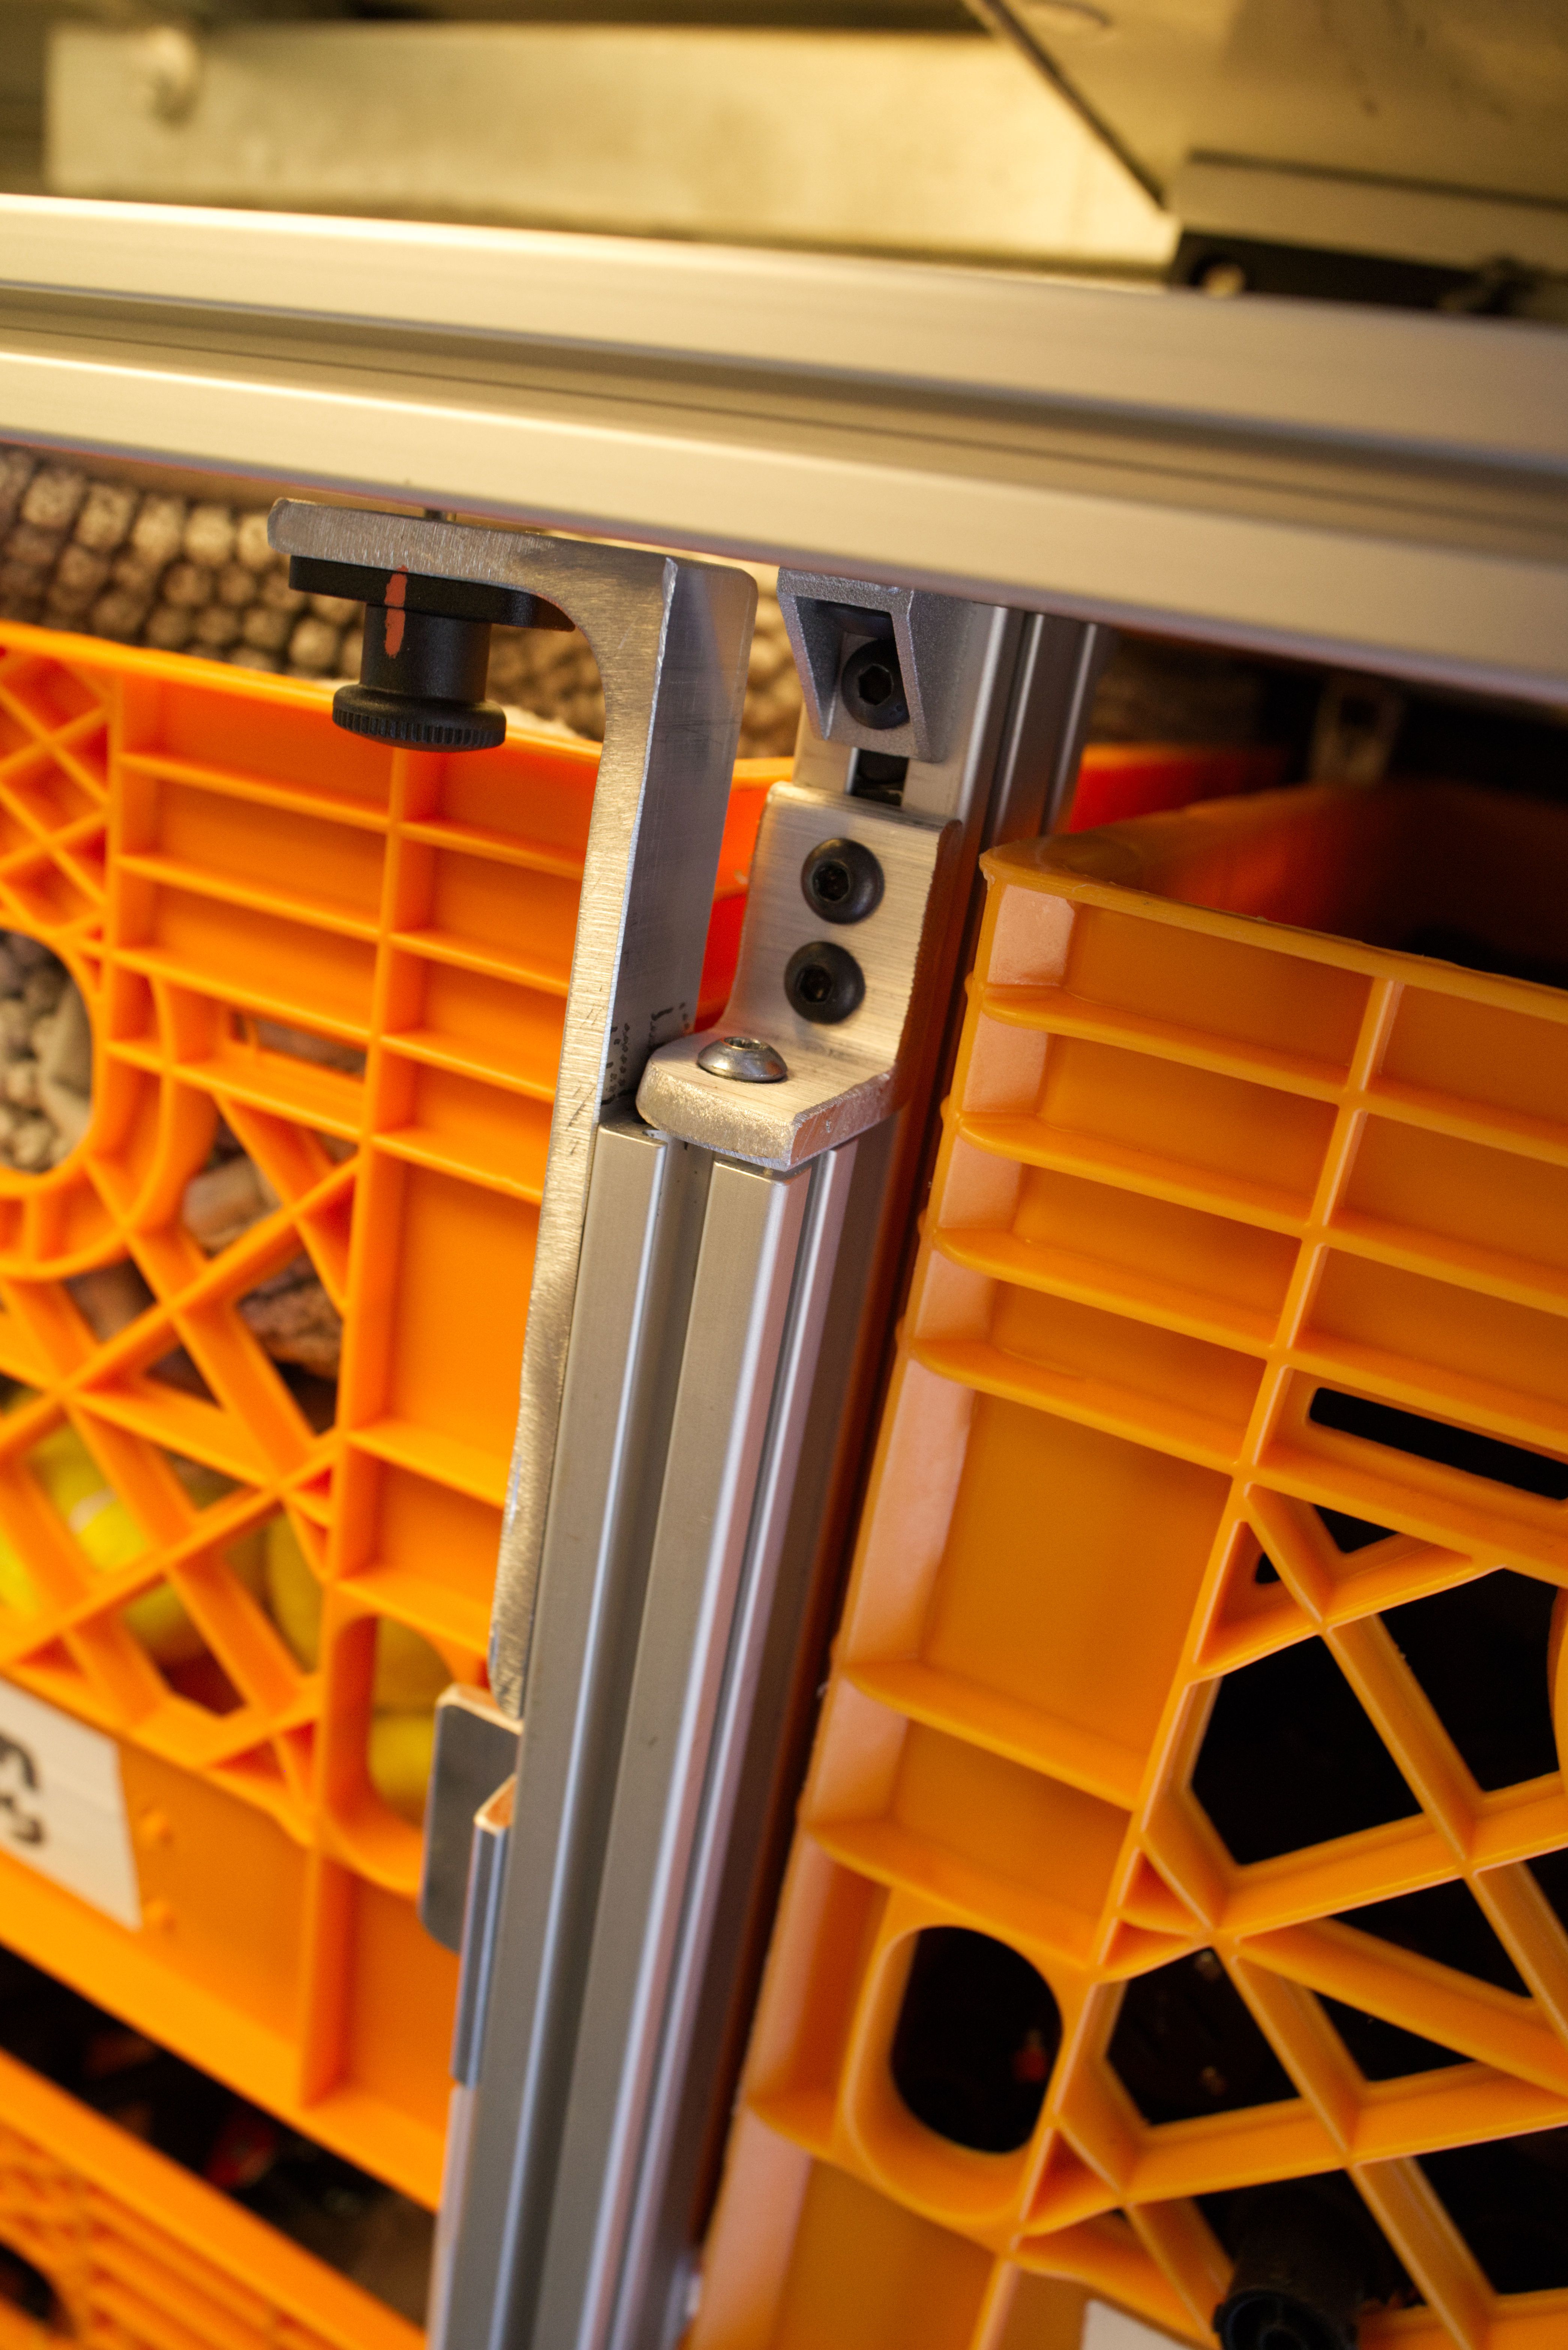
Milk crates and the like are kept from sliding out of their homes using a fairly space-efficient locking system that stays out of the way, whether locked or unlocked.
Construction
The construction starts with some 3x1 extrusion anchored into the framing of the truck, repurposing holes and taps left behind from taking off the original shelving.
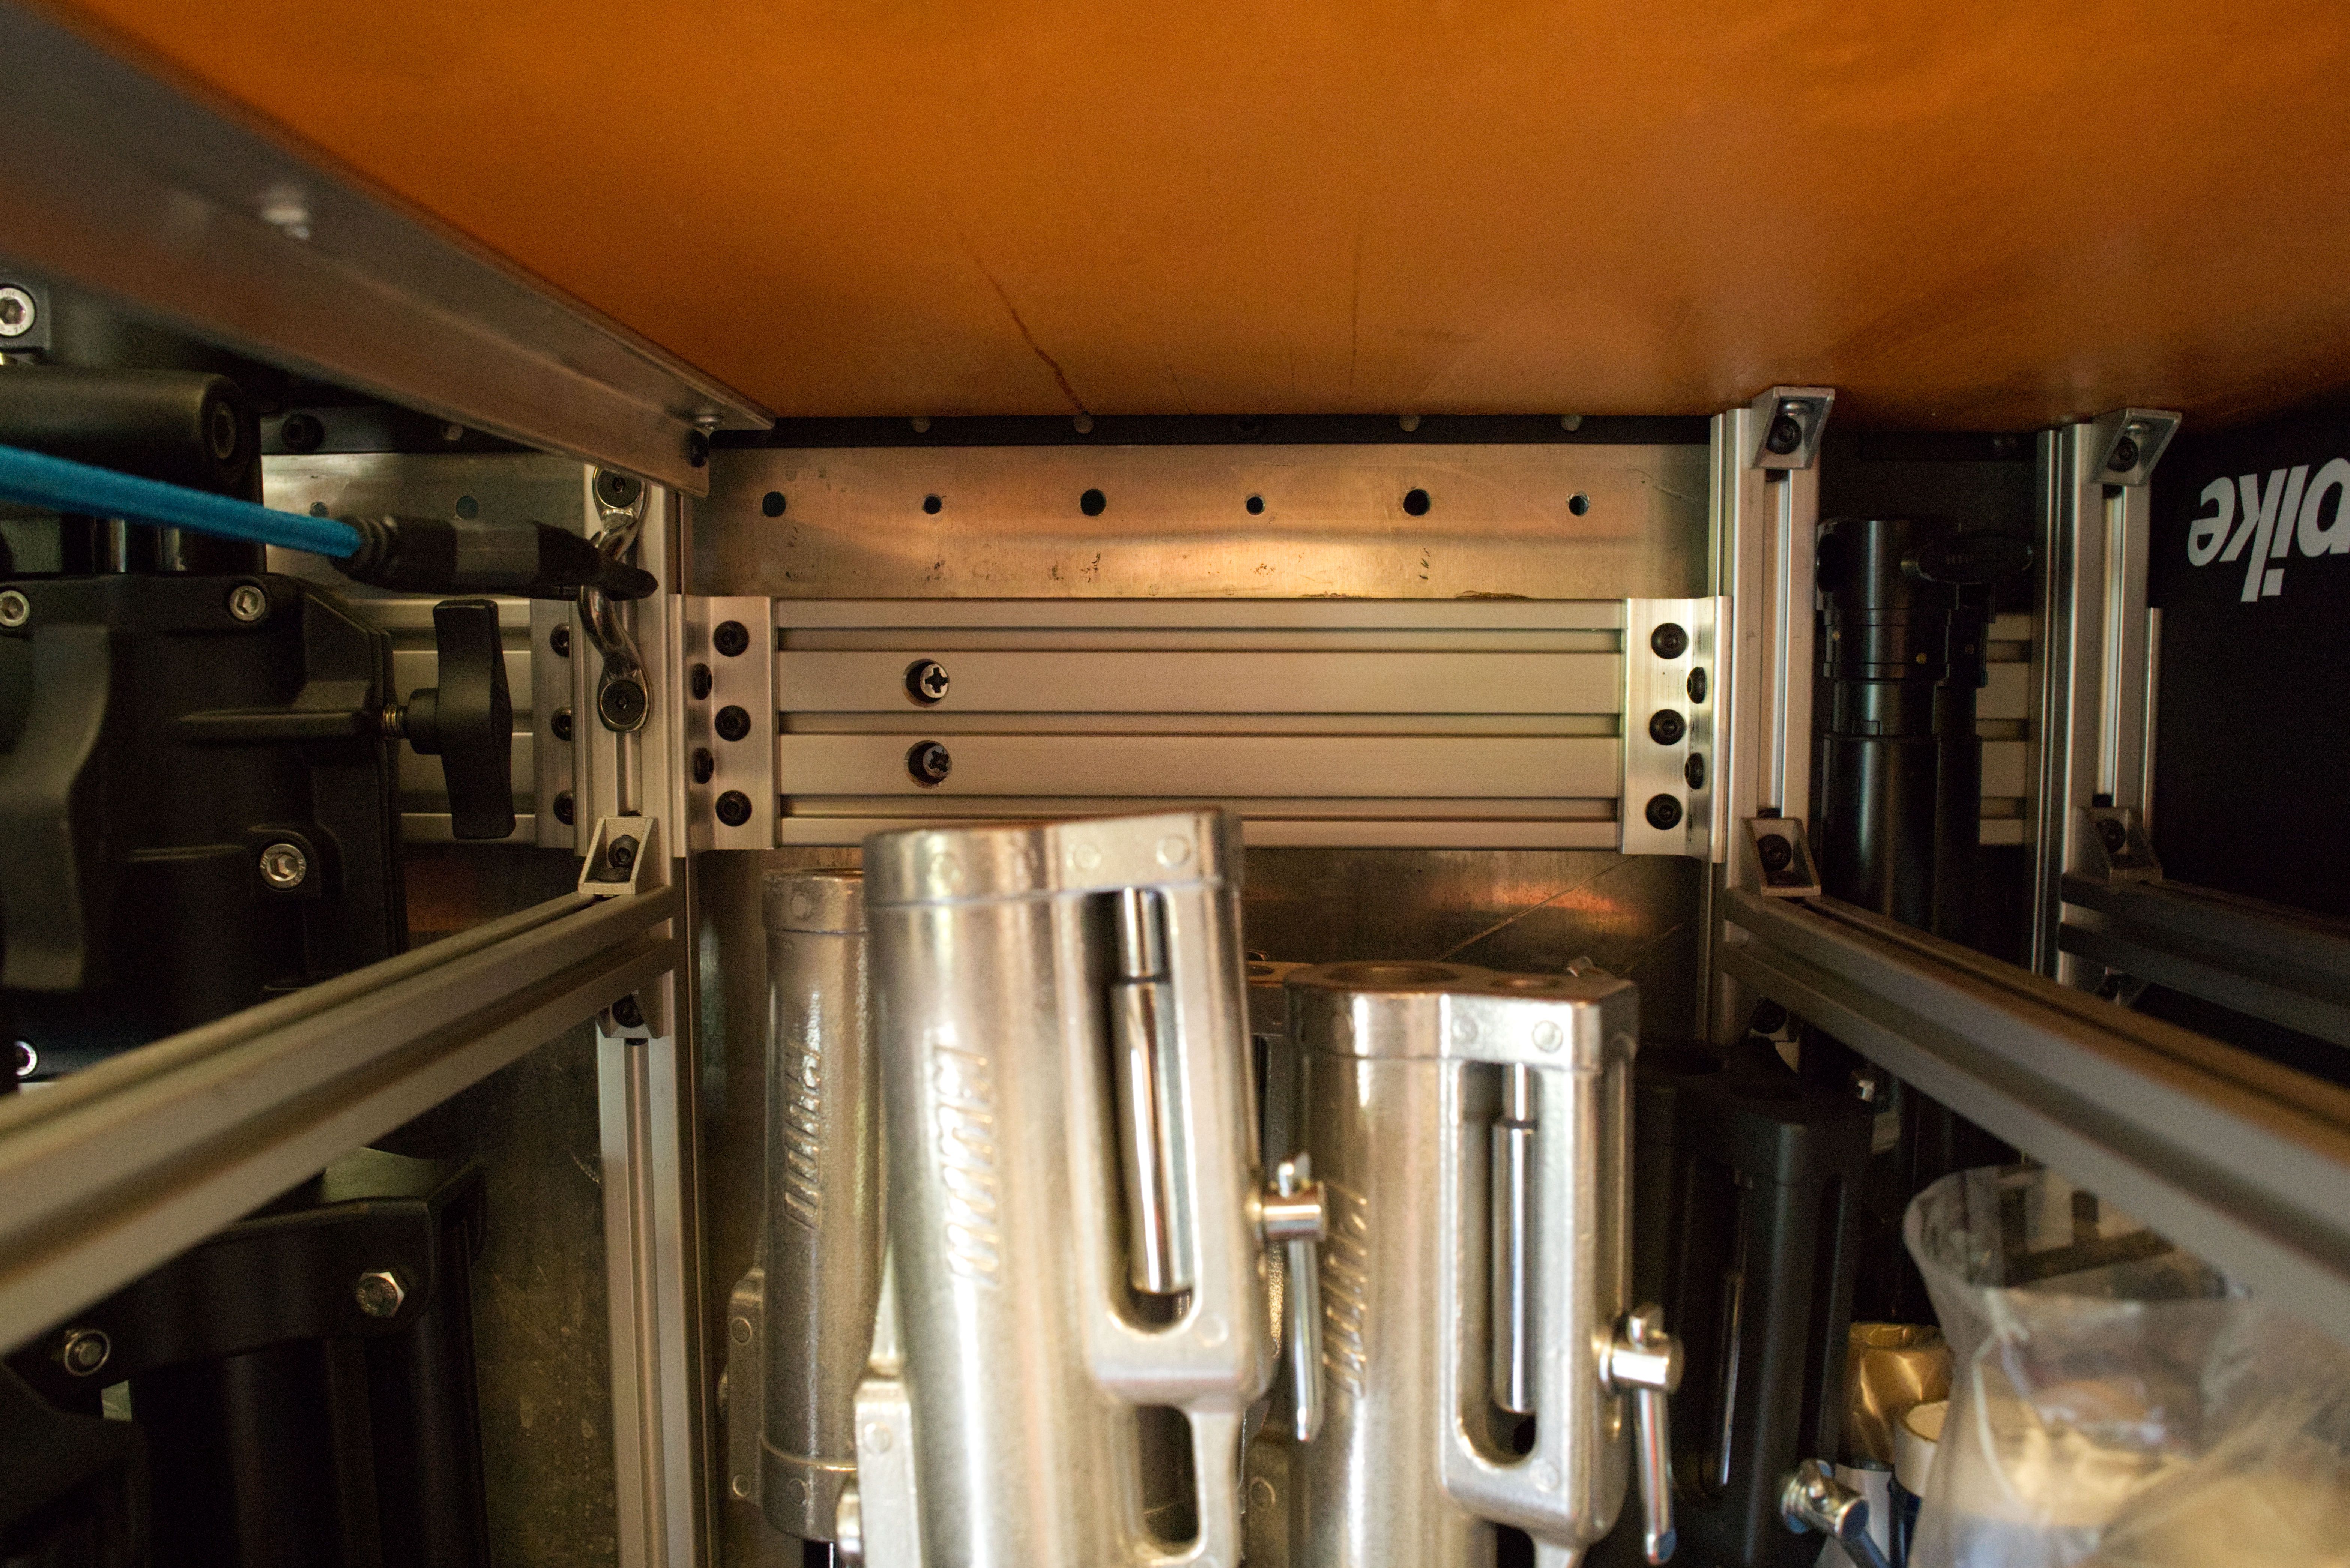
The vertical posts are attached using brackets I fabricated from 3/16" angle aluminum. The back posts are just 1x1 (since they get lateral bracing from the horizontal runs) while the front posts are 1x2, being less braced. They're attached to the floor with another set of custom brackets I fabricated from 1/4" aluminum.
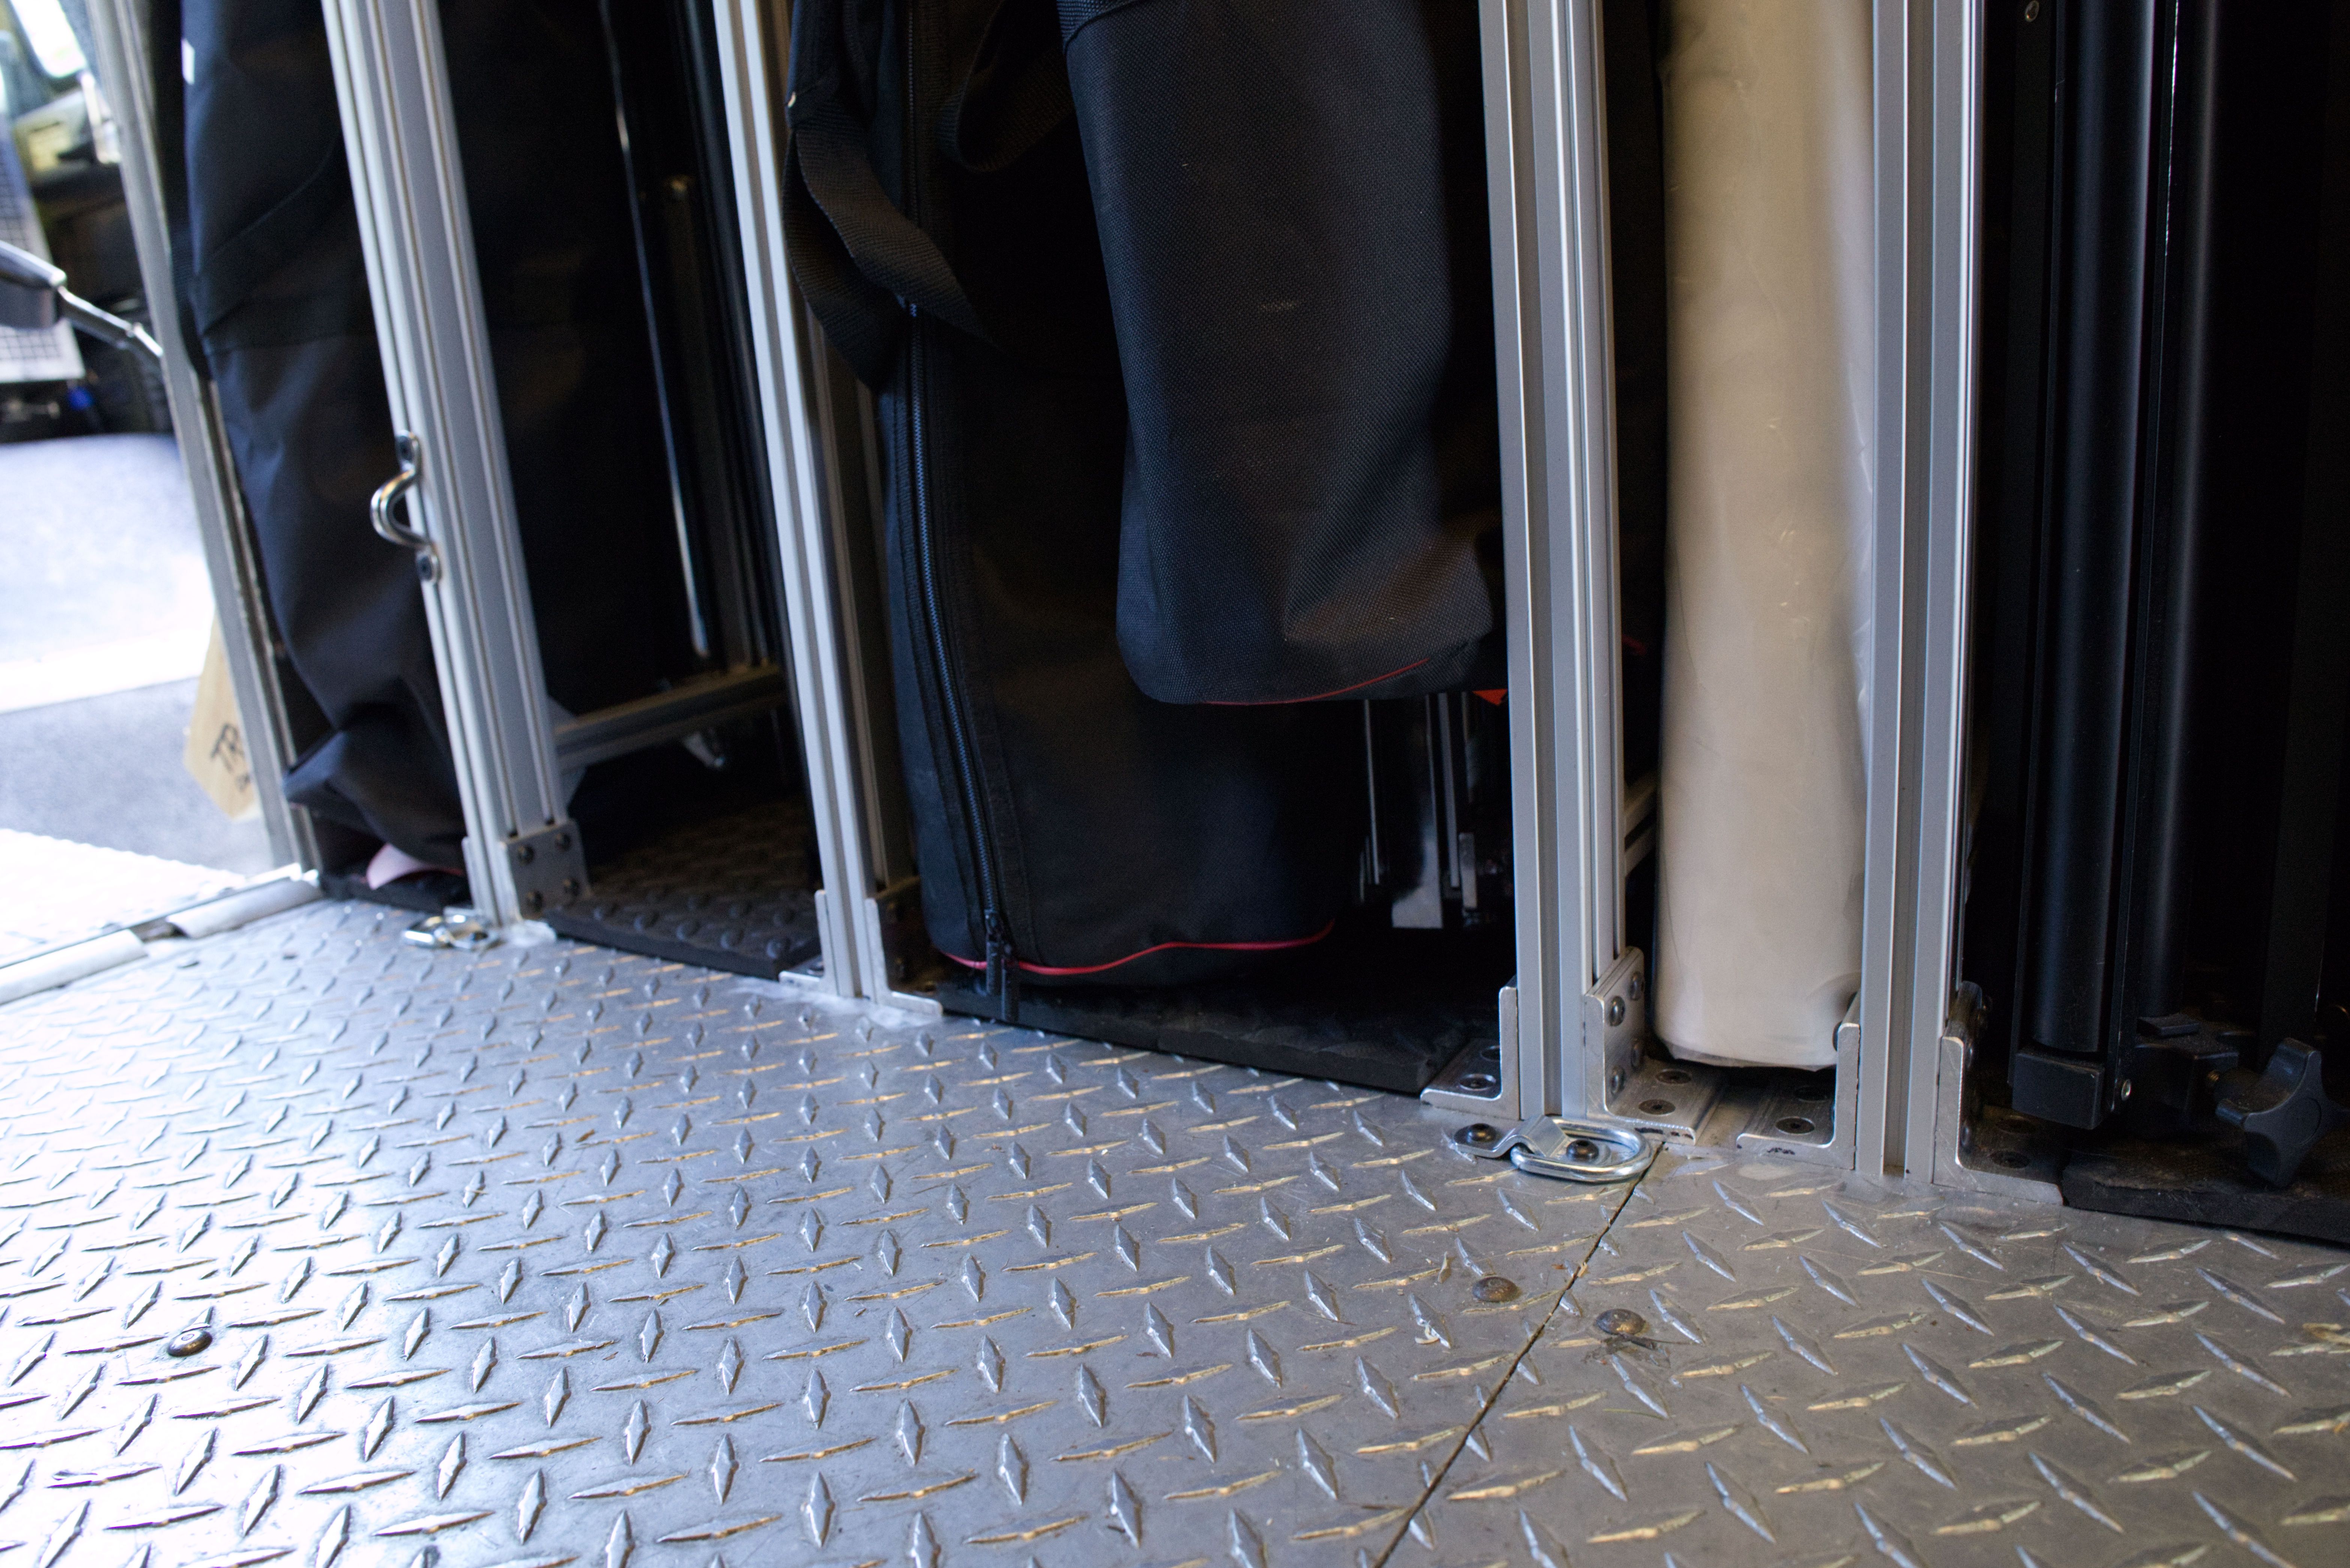
Whenever possible, I use plates to stiffen the joints and give the structure more rigidity. I've also placed diagonal braces in the top plane wherever there's space to keep the shelving from wanting to shear while driving.
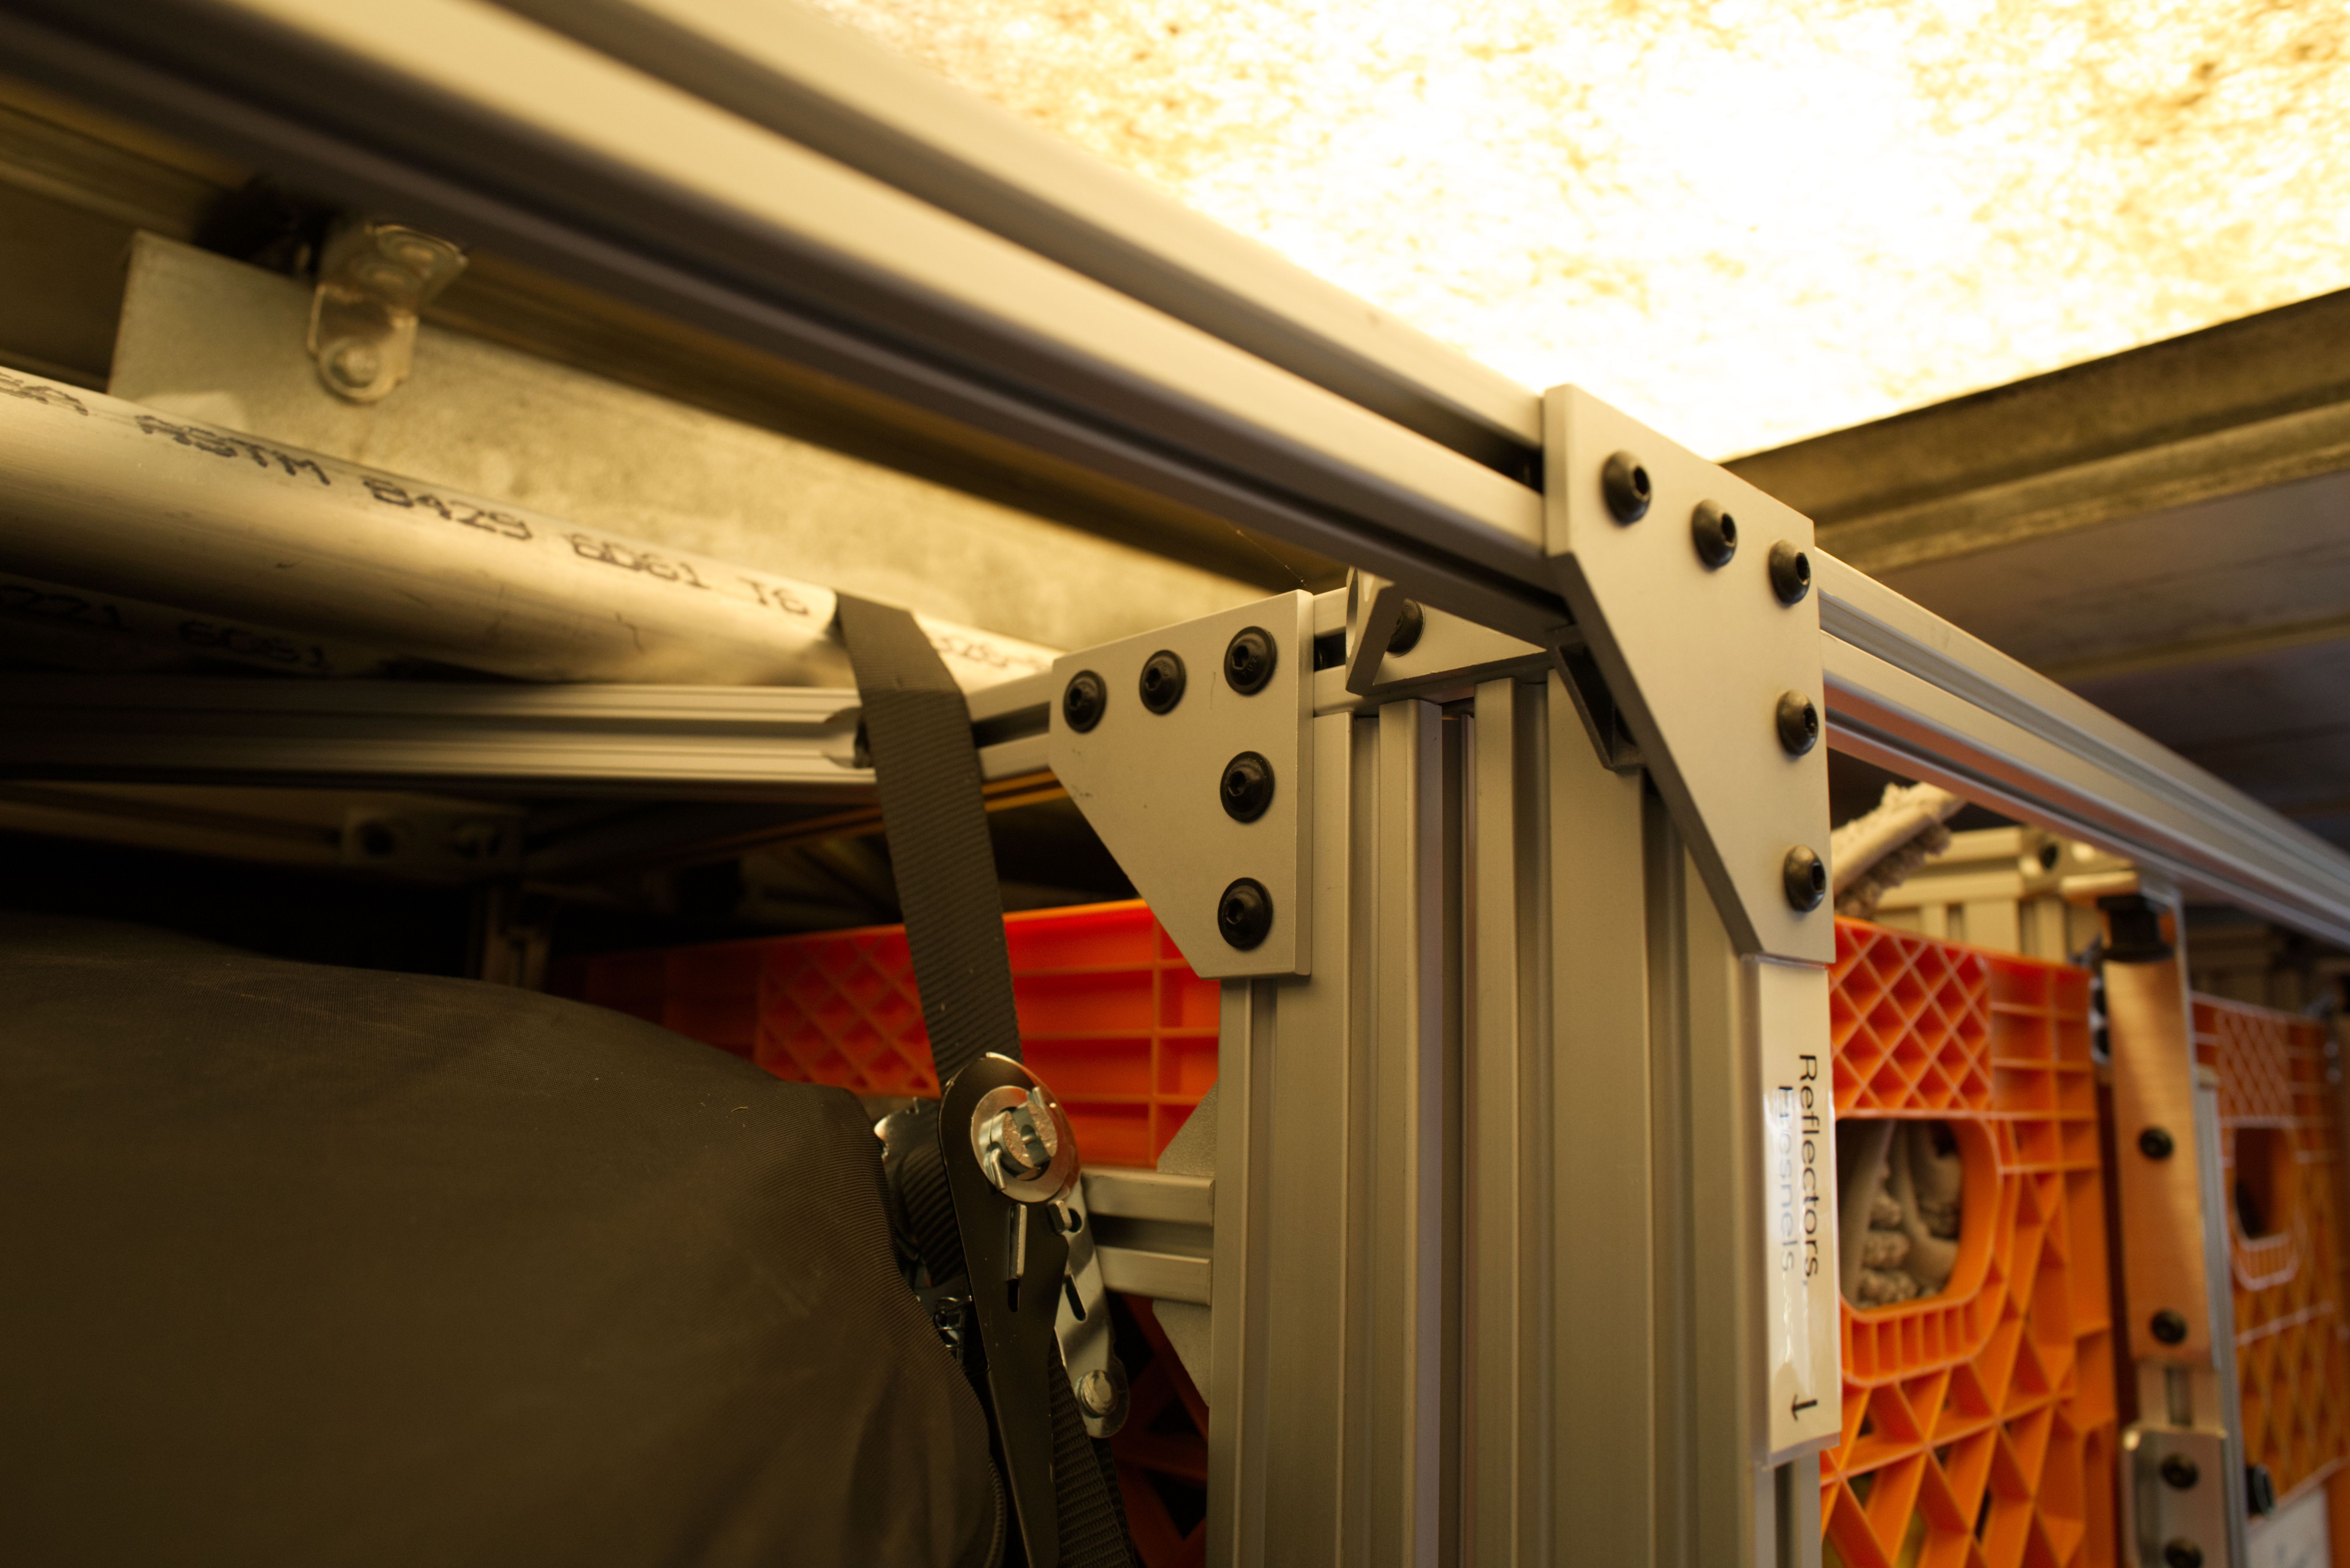
This entire exercise in aluminum fabrication made me a lot more comfortable with aluminum work and much of it could perhaps be described as fun. I will say, however, that working metal in a truck outside in the middle of winter is a stupid idea.
I fabricated basically every bracket I could with the tools I had on hand (cut-off saw and drill press) in an attempt to save money. As we have all learned by now, don't do it - just spend the money and save the time. This was kind of dumb.
Suppliers
- TNutz for custom-cut 80/20-style extrusions, t-nuts, and connectors. They're cheaper than everyone else by a fair margin and their custom cutting service is accurate within 1/32".
- Rumor has it they're using a less sturdy aluminum alloy but, like, come now.
- Parco for whatever 80/20-style connectors and braces that TNutz doesn't offer.
- McMaster for a million different futzy things.
- Hex-drive flat head and button head screws, for example. I have so many different screws now I needed to buy a stack of plastic organizers for them. Oddly these were cheaper from McMaster than TNutz.
- Spring plungers for the various milk crate and shelf guards.
- Rope guides for attachment points for tie-downs etc.
- OnlineMetals is a local aluminum supplier that I got all the dimensional and angle aluminum from.
- Their online checkout system allows but is not optimizing for local pickup so it can be a bunch of trial-and-error to figure out which materials are available locally vs. which will incur massive shipping fees. It can be a bit of a chore to sort this out.
I also got to acquire a bunch of magical and mind-blowing tools that made everything so much easier:
- YG-1 spiral taps for the stupid amount of thread tapping I needed to do. If you've never used a spiral tap, GTFO and buy one right now.
- Tap Magic aluminum tapping fluid smells like the owner of the company really loves Red Hots.
- Wera color-coded hex keys are amazing.
- The Wera ratchet set is perfection.
- The KEO countersink bit blows traditional countersink bits out of the water.
- A good aluminum saw blade is night-and-day different if you're going to make more than a single cut in aluminum. Unlike blades designed for wood cutting, these do not have alternating-bevel teeth so cuts don't blow out and chips don't get stuck. Just brilliant - I've needlessly wasted so many wood-cutting blades before getting one of these.
- It turns out there are aluminum flap disks designed for sanding and grinding aluminum specifically, and they don't gum up nearly as fast as regular (presumably steel-specific) ones.
- The NEIKO spring-loaded punch is pretty darn handy and easily lays into aluminum.
But onward!
Now it's time to actually do something with all this gear! Time to write some scripts and get things moving. See here for an inventory of everything currently on the truck.
| « The Odyssey | From Gatsby to Statiq » |