Cine18 ready to go
| « The Well | Building out a Pyxis » |
Earlier this year, I was on a set that had a Cine18 monitor and I instantly fell in love with both its size and portability. Since a fellow Redditor asked about the customization and 3D-printing I'd done for it, I figured I'd write up how I keep it packed and ready to go and share the files for my 3D-printed goop along the way.
Unpacking
The monitor lives in a Pelican 1600 case with differently-colored handles from ColorCase so I can better tell my various cases apart. Of course it has the Grumpycorp Studios logo spraypainted on it via a 3D-printed stencil. (Apparently I'm too cheap to spring for the Jason Cases version of this.)
Inside, the monitor sits on its back, covered by the sunhood. (That cover sure gets lots of fingerprints on it - glad those are not on the screen).
Underneath the monitor there's just enough space for its power supply, feet, USB cable for connecting my Teradek RT handset for focus readouts, and (in the shade on the right) a magic arm to hold the RT handset. The carveouts are for the battery plate and Teradek receiver.
The back of the monitor has all the core gak permanently attached:
- A Teradek receiver (in this case, a "cheap" one with only HDMI out, since blessedly the Cine18 has one HDMI input) always connected with a right-angle HDMI cable and a right-angle Lemo cable
- The V-mount battery plate
- An Inovativ QR plate for connecting to one of my monitor mounts or arms
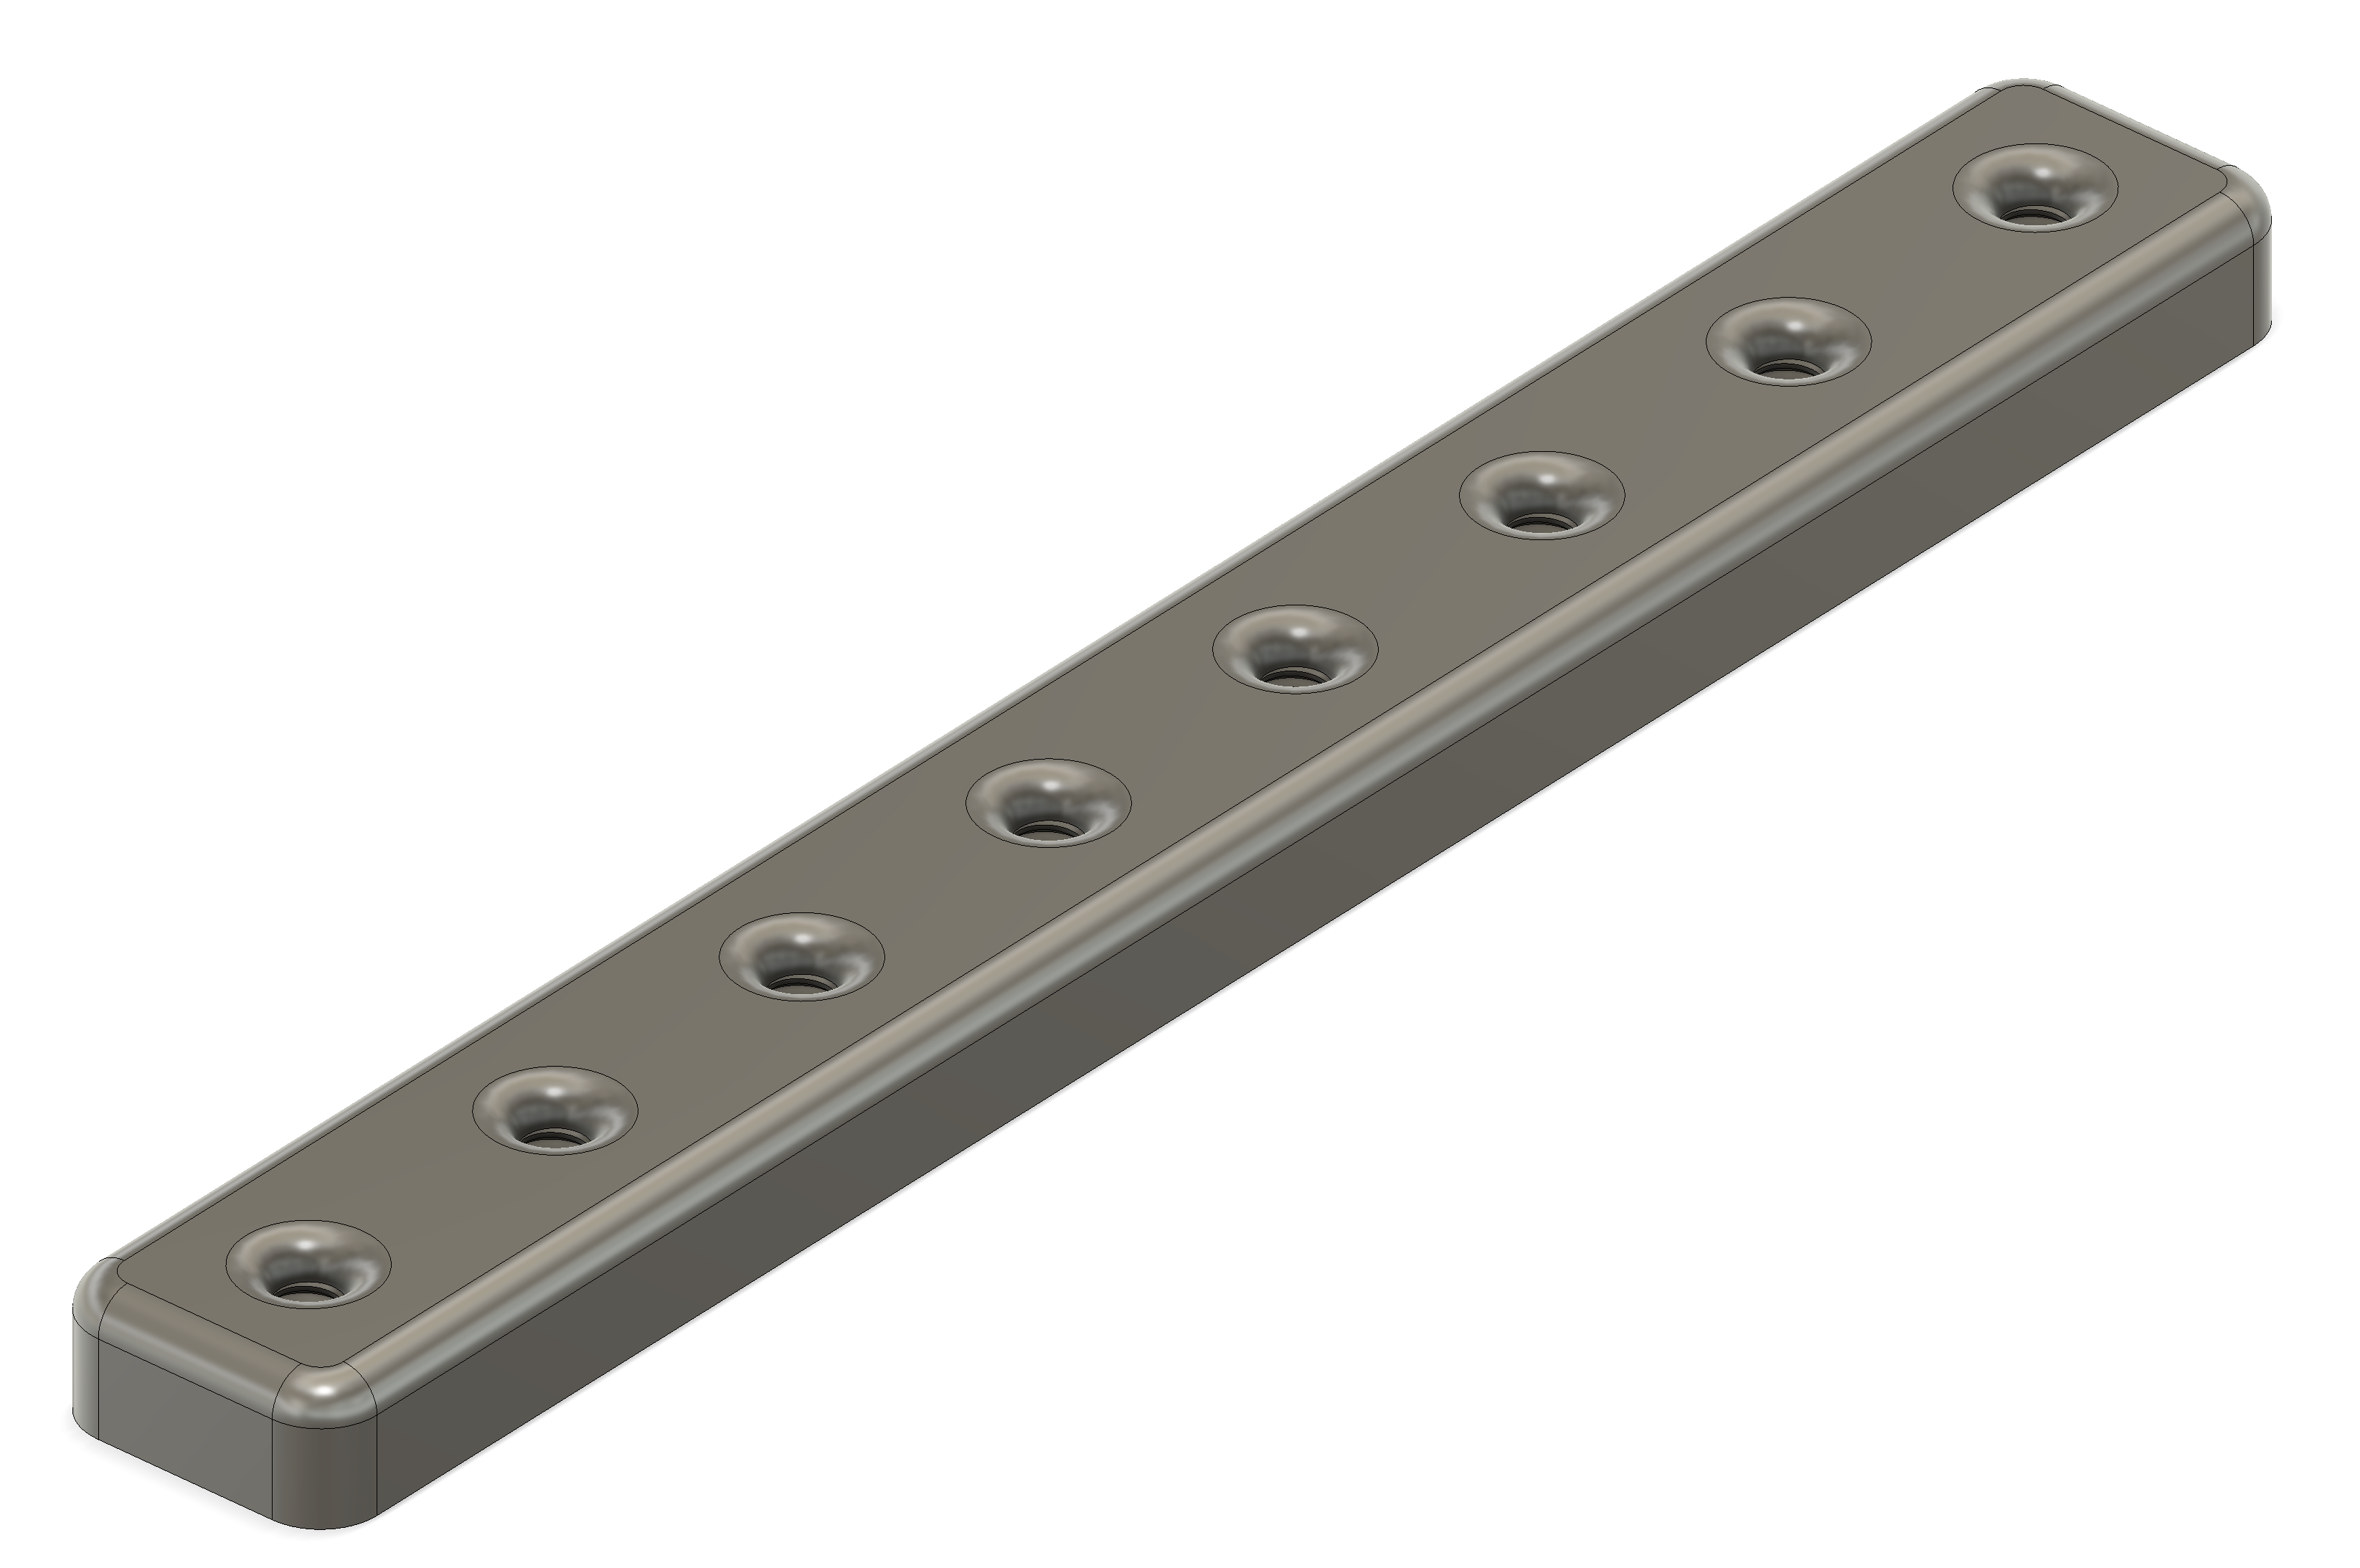
- A 3D-printed rail to store the screws for the sunhood
- A bottom rail with a Nato rail attached for the RT handset magic arm
Overall this means I can go from closed case to a picture-up monitor in about sixty seconds since it just needs to be placed on a QR mount and get batteries slid in.
Mounting a Teradek receiver on a Cine18
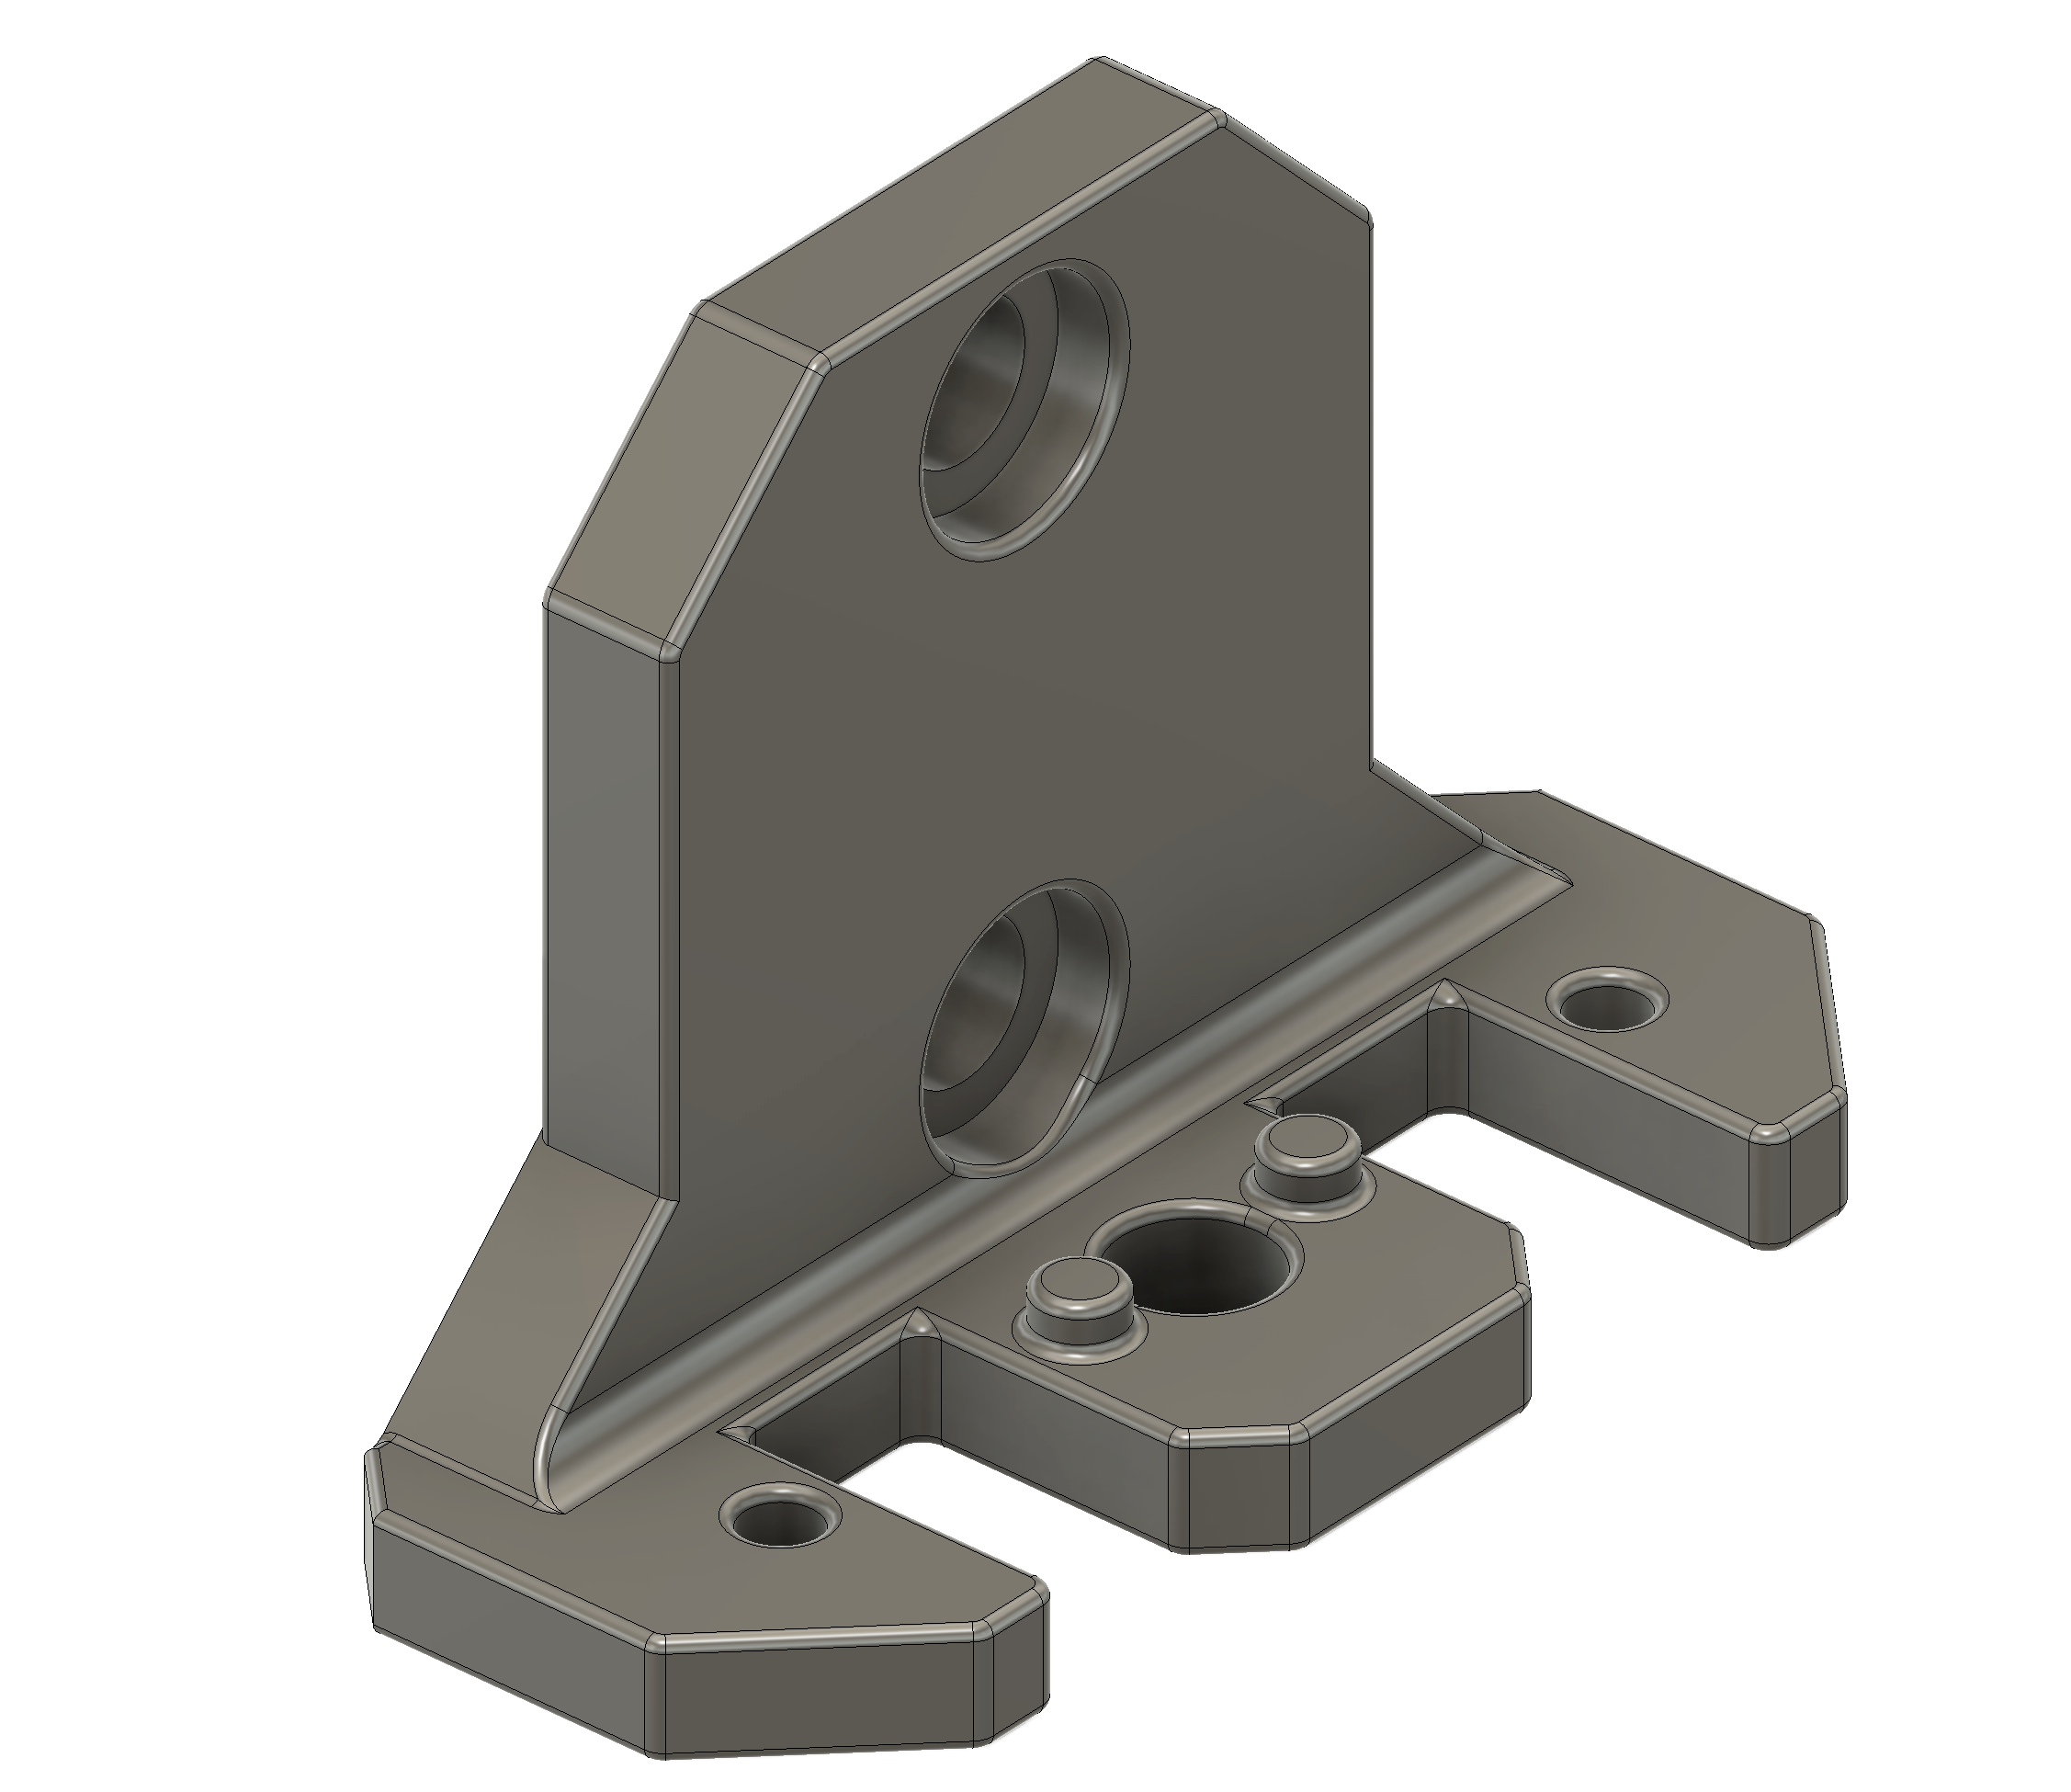
The back of the Cine18 has an Arca Swiss-style vertical rail. I use some no-name clamp and then a 3D-printed part that docks into the Teradek's 1/4-20 thread and secures its position with the SmallHD plugs built into the piece. The 3D-printed part uses standard camera-style 1/4-20 screws with recessed shallow heads to screw into the threads of the clamp.
I also have holes for the 3mm screws that can secure the receiver's position even better but they don't seem worth installing.

Feel free to grab the STL file or the original Fusion360 f3d and run your own. Note that I print these with black carbon fiber PETG and that holds up pretty well.
Mounting sunhood screws

Nothing particularly thrilling here. The 1/4-20 threads are modeled in but I cut them properly with a spiral tap. The whole thing then gets 3M DualLock'd to the back of the monitor.
Feel free to grab the STL file or the original Fusion360 f3d.
QR + monitor mount
I love this mount. I'll allow that the SHAPE one might be even better with its push-button unlock but I just have a thing for Inovativ.
Focus puller handset mounting
There are always many things to be pissed at SmallHD over, and the absence of sensible mounting points along the bottom of the monitor is another one of those, and having to spring for the added cost of their bottom rail on top of the already absurdly expensive monitor is just a needless poke in the eye, but here we are.
SmallHD bottom rail, SmallRig NATO rail screwed on, SmallRig magic arm with a Tilta rosette ball Frankenstein'd in to connect to the RT handset.
And of course Stubbies
Of course the Teradek setup wouldn't be complete if I didn't chuck the factory antennas for some of Nick's Stubby antennas. This way I don't need to worry about folding them every time I go in or out of the case.
| « The Well | Building out a Pyxis » |